
You might start by asking what actually is a PRS Command Center… Well, for me, it’s a portable and stable station to hold all the tools I need and use between stages (in other words, between the actual shooting part of the match).
Here were my requirements for the complete build:
1) Sturdy platform for a spotting scope, that wont shake
2) All in 1 setup, that I can quickly fold up, carry to the next stage and deploy
3) Necessary capabilities:
a) Spotting ideally with reticle
b) Ranging target
c) Atmospheric readings
d) Wind readings
e) Ballistics calculations
f) Organisation of Dope related gear (matchbook, pens, dope cards, etc…)
So, here it is, in all its glory.. 🙂
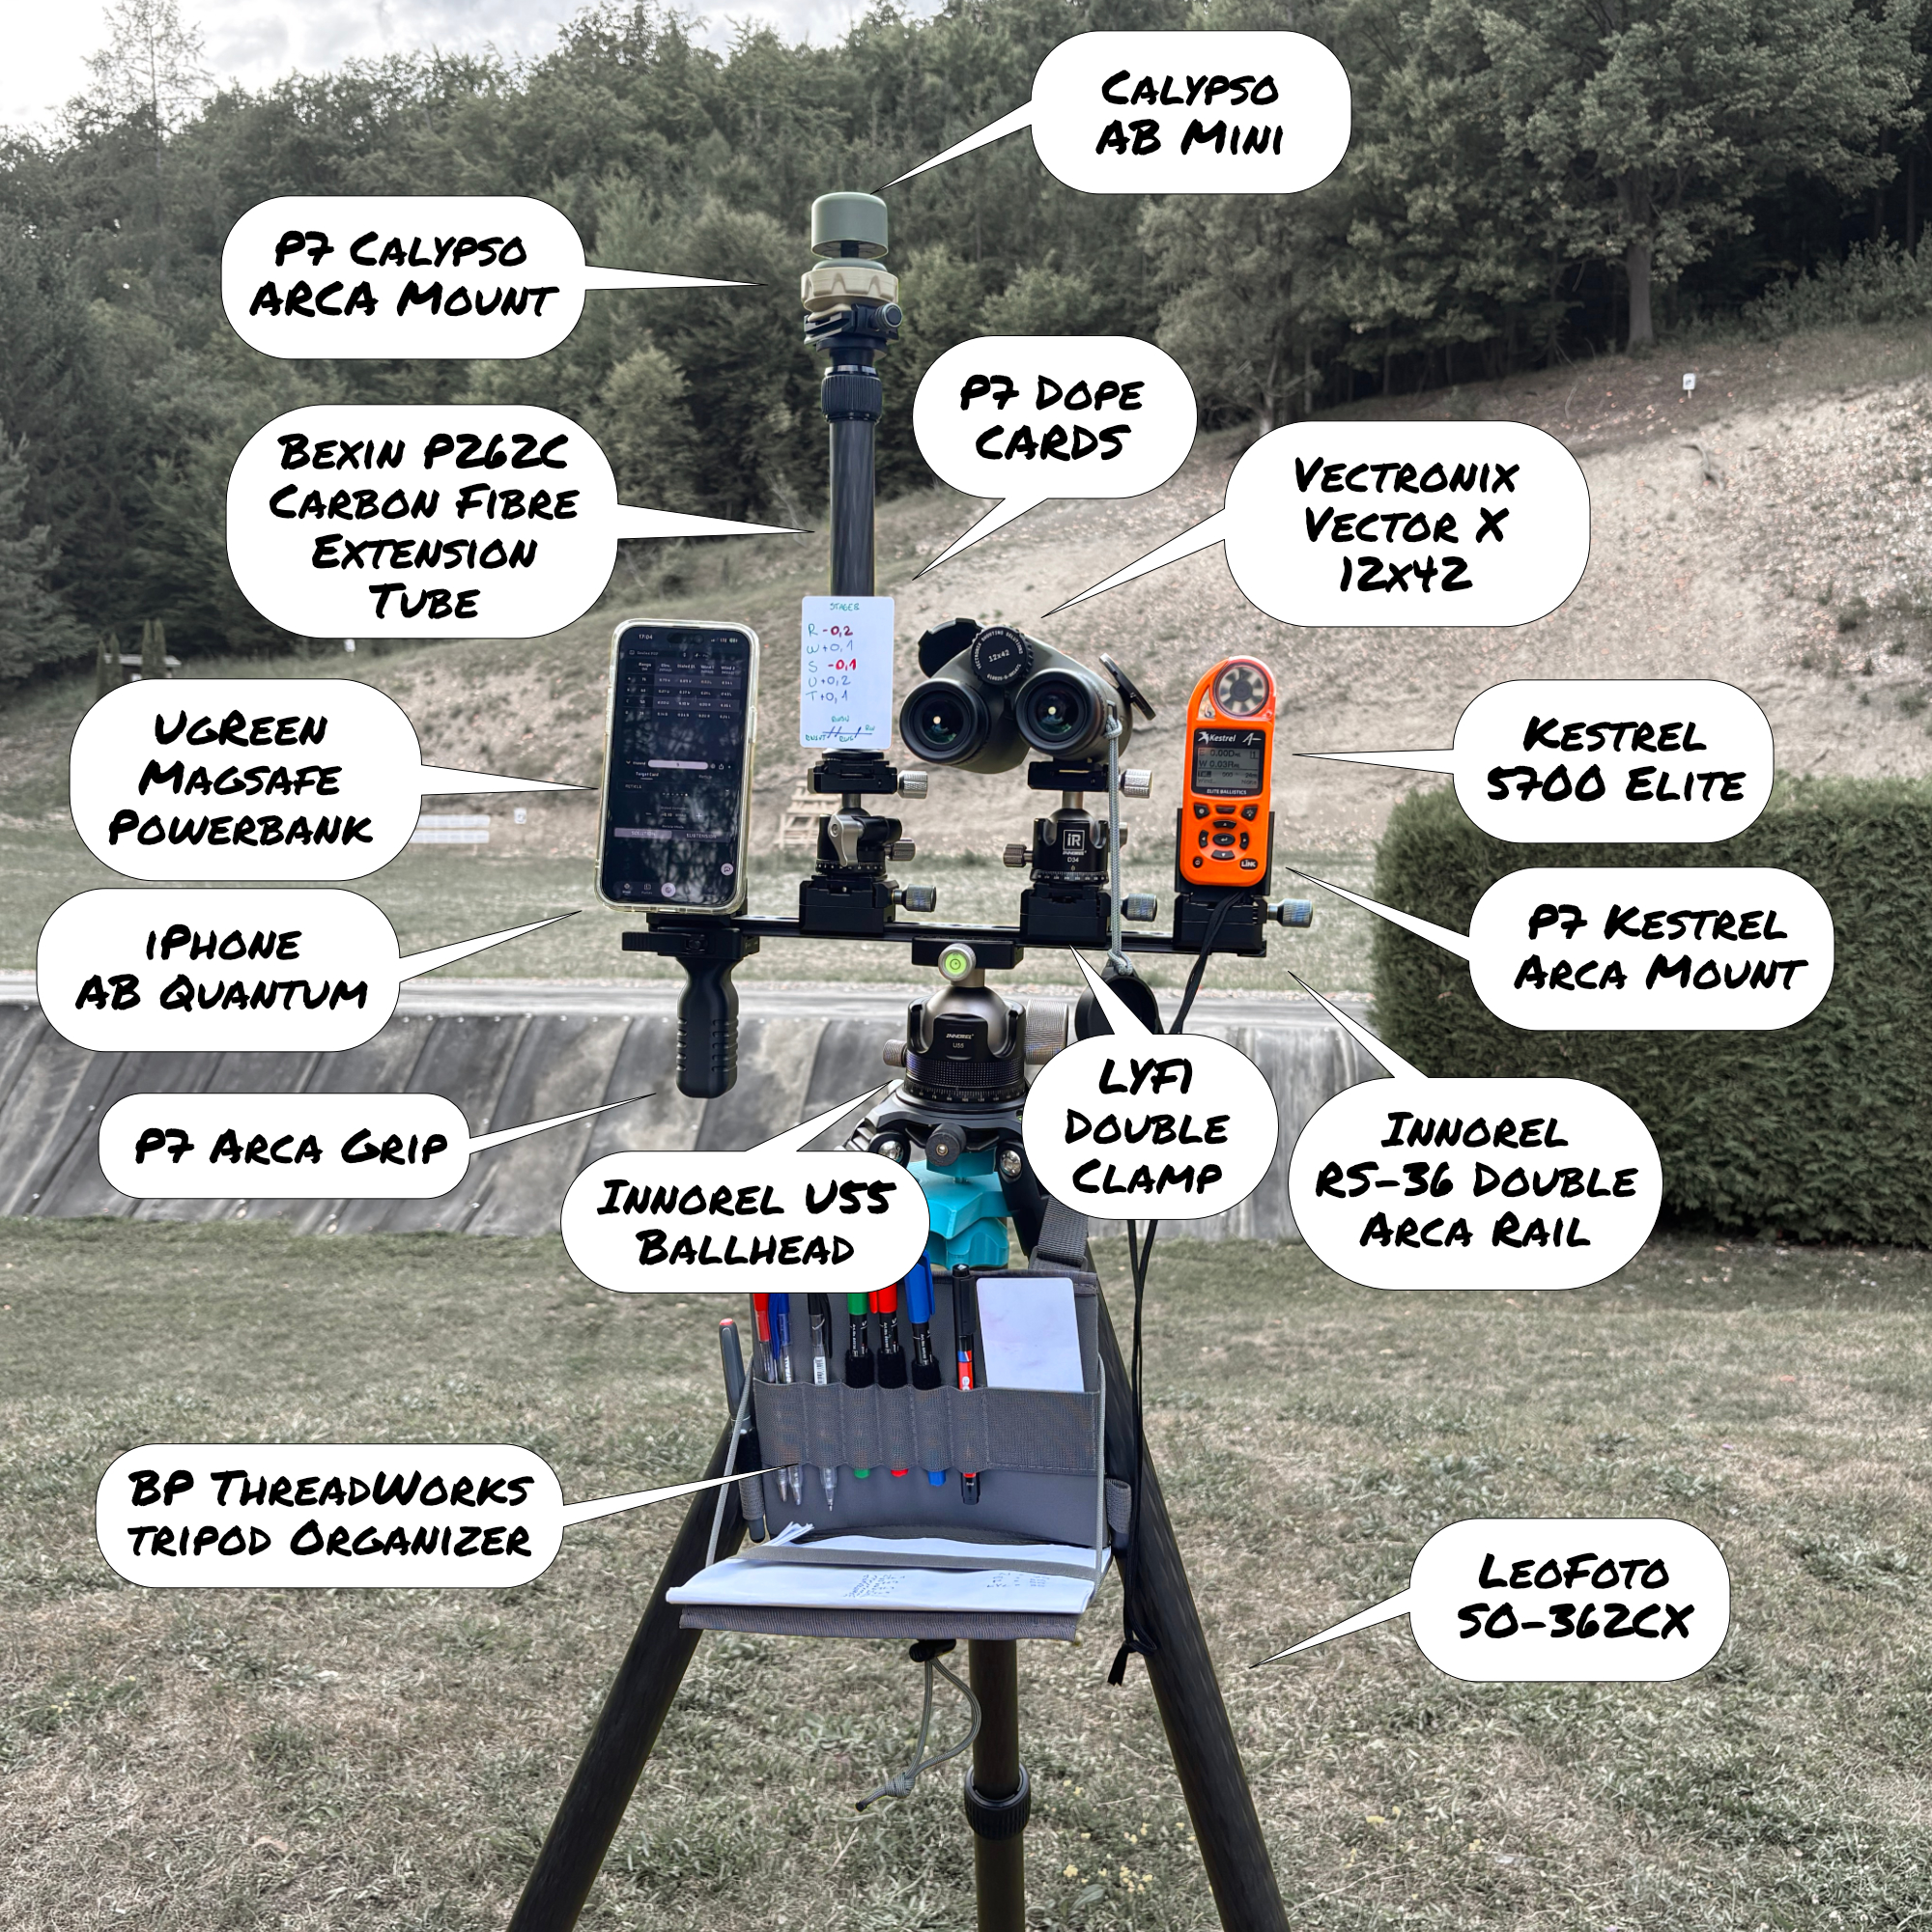
Stability first
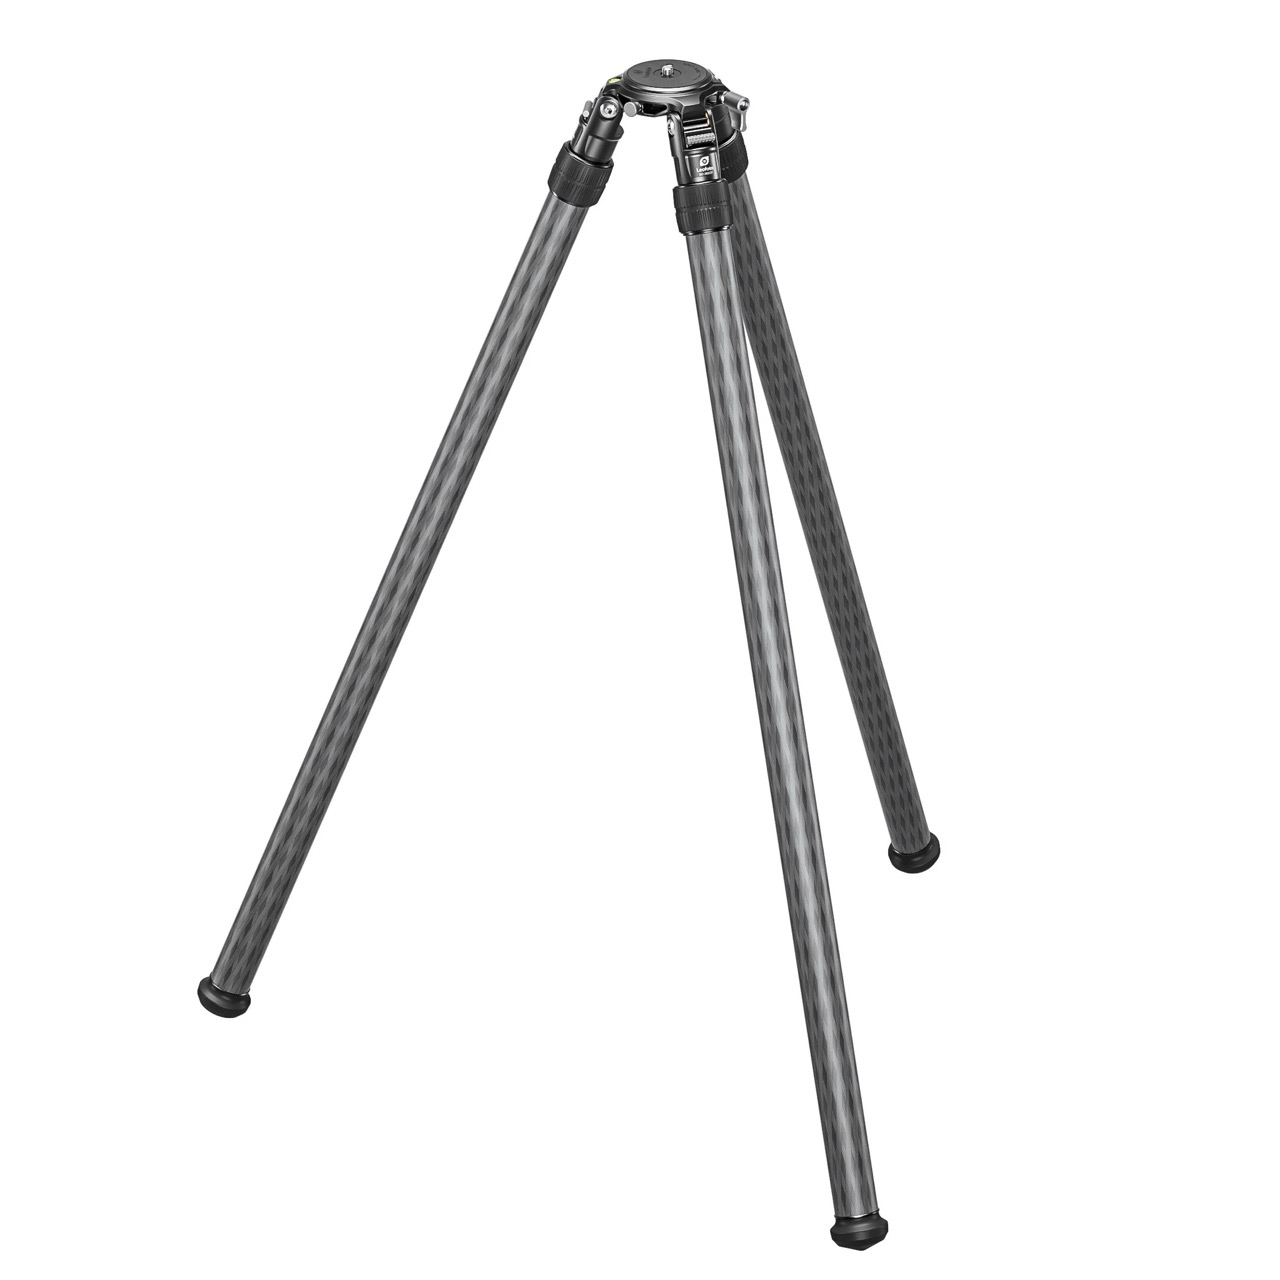
Every setup needs to start with choosing a tripod. For me, since i don’t hunt and don’t need to pack the tripod into a backpack, I searched for the thickest (most stable) and most comfortable to use tripod. I ended up settling on the LeoFoto SO-362CX. It has inverted legs and only one joint, so deployment and height adjustments are super quick and you don’t have to bend over to set it up. LeoFoto also makes a SO-362C which is basically the same but doesn’t have leg locks preventing the legs crossing in the middle when folding. They also make SO-322CX which has thinner legs and is overall a little smaller (both folded and deployed). I didn’t see any advantage for me in the thinner one, and as the goal was to get the most stability, i went for the thickest one they make.
Modular mounting
This setup is probably version 16 of the layout of the gear. To make adjustments quickly and be able to move things around before I found a good location, I decided to ARCA mount everything.
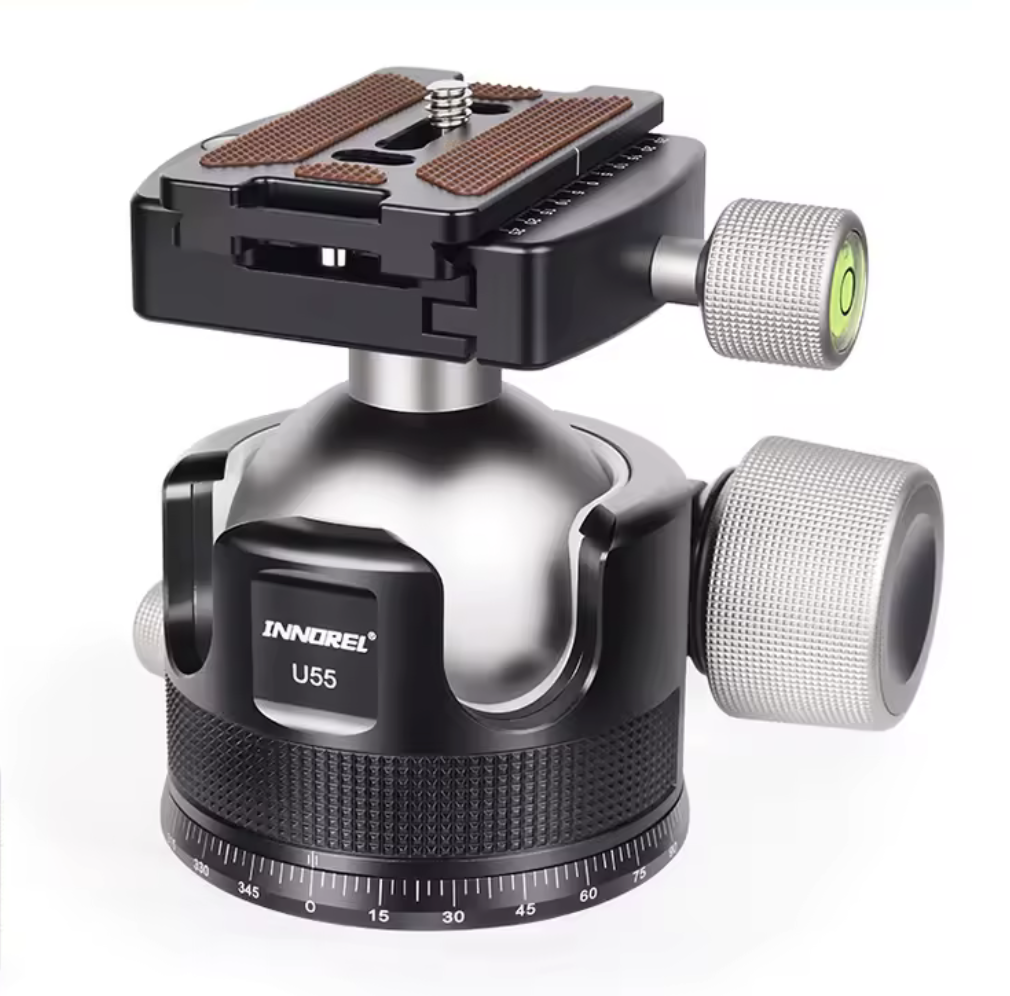
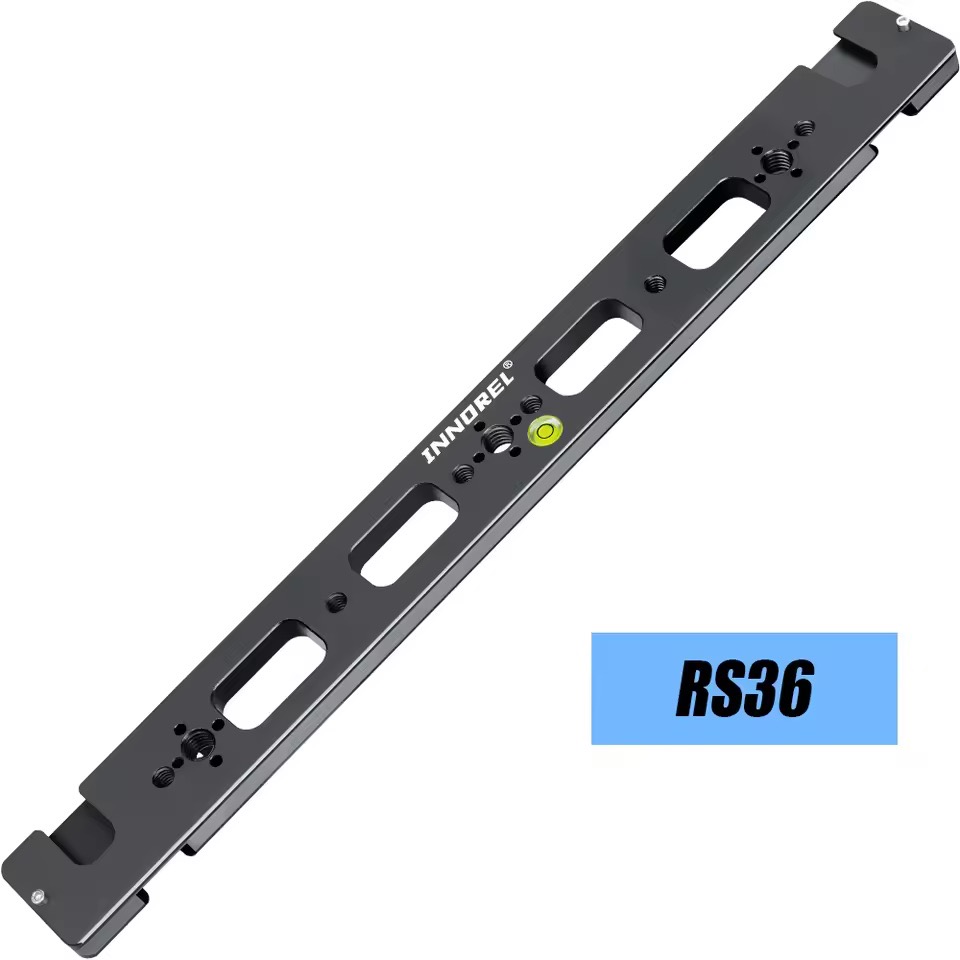
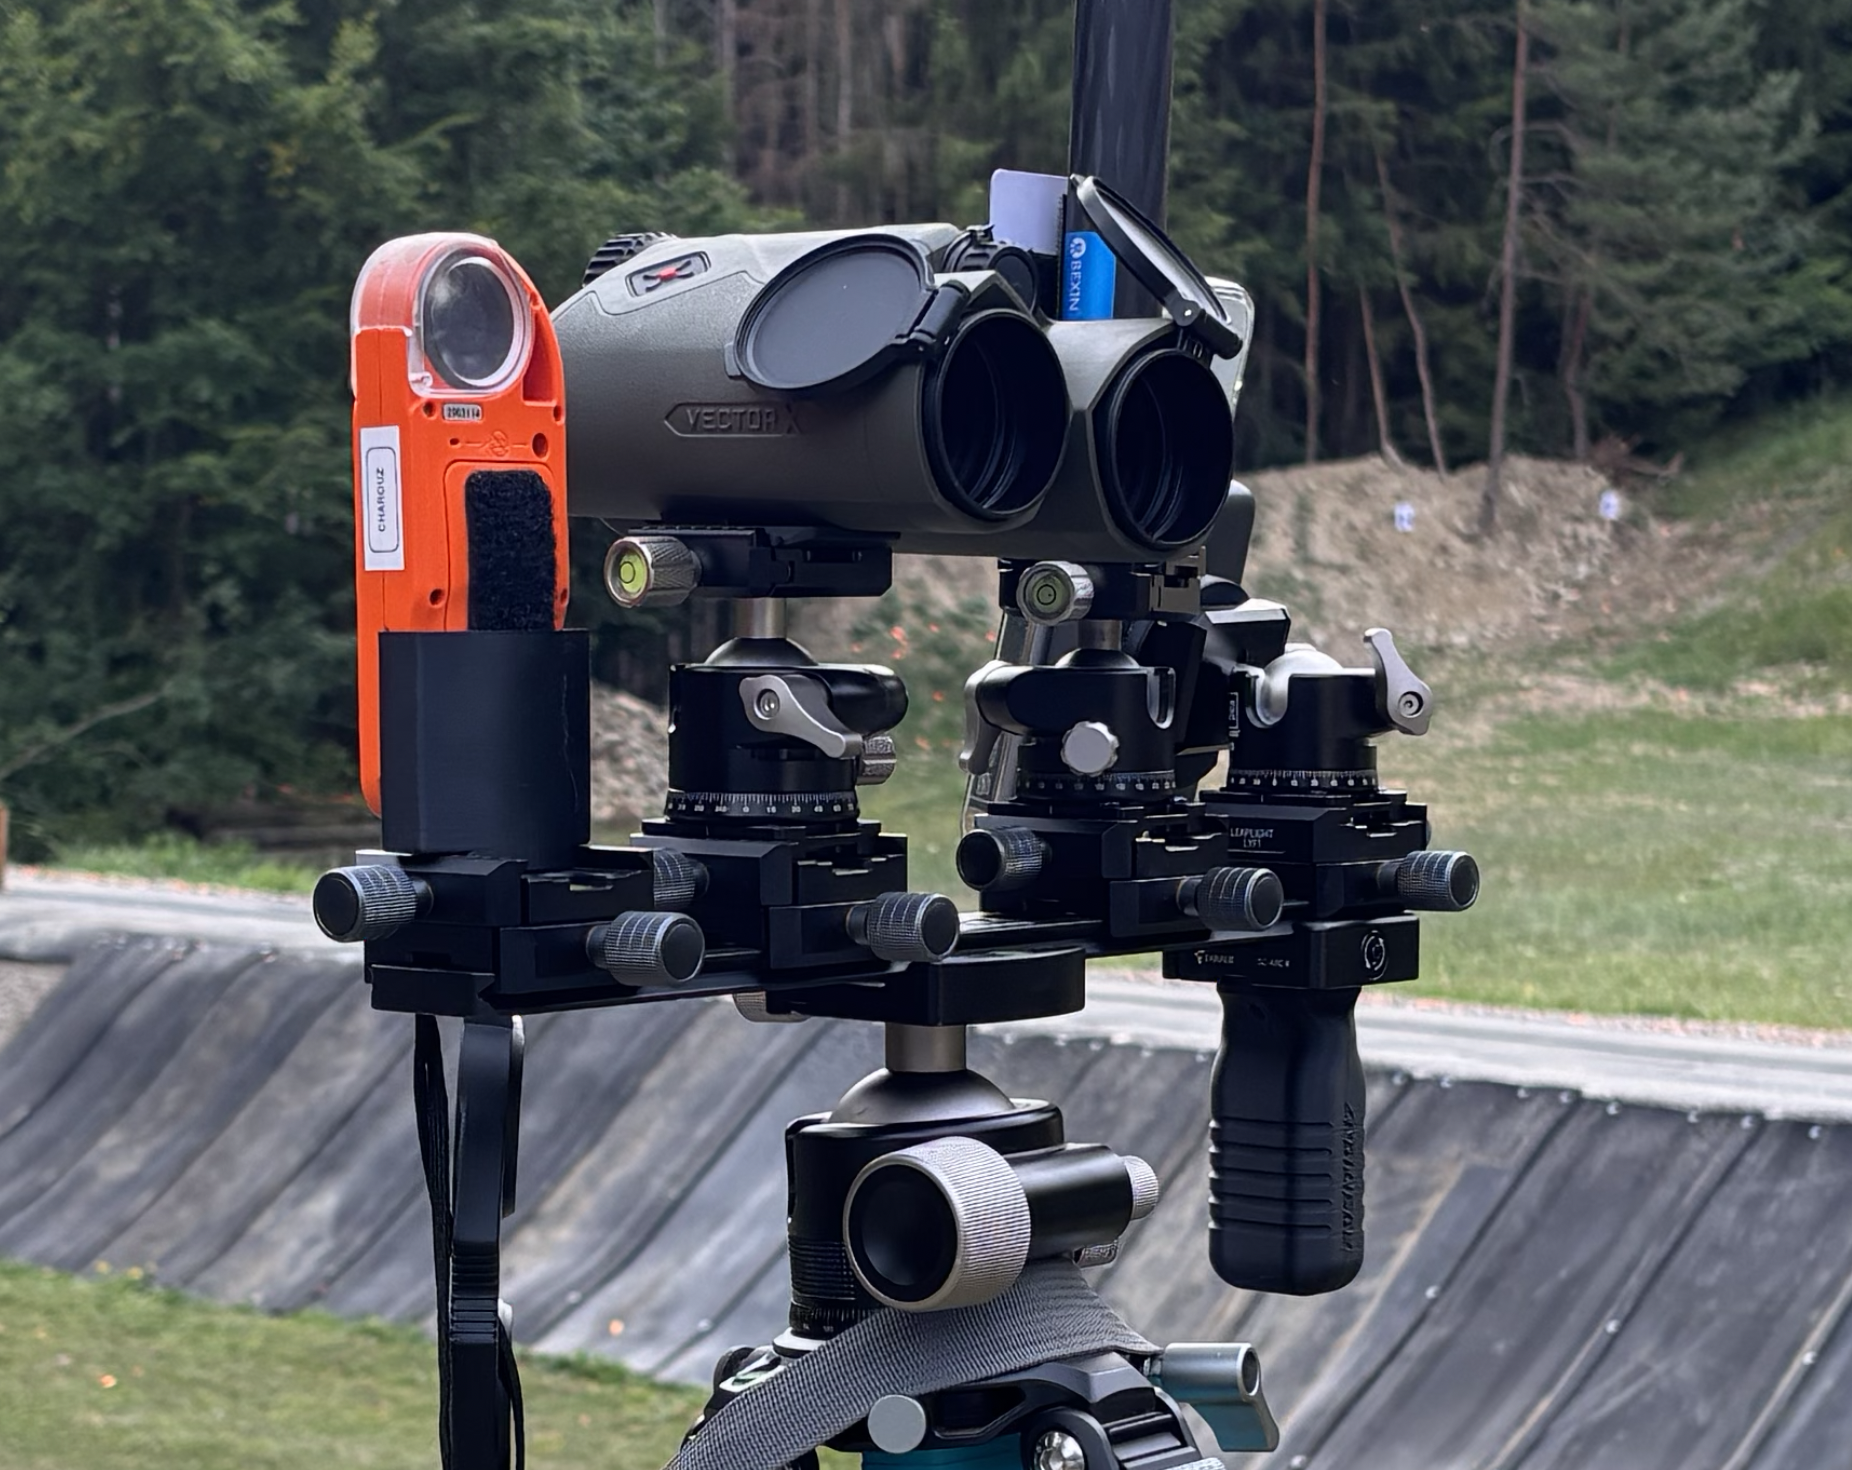
Right above the tripod is a meaty Innorel U55 ball head (the biggest i could find). It swivels and adjust tilt with really nice tension controls. On top of that is an Innorel RS-36 Double sided ARCA rail. The brand doesn’t really matter, the main trick is to have a ARCA interface on top and on the bottom. This makes positioning the other gear much easier and makes everything really modular, without the need for tools. I chose a 36cm length, but this depends on how much gear you want to mount. The more space (length) you have the more gear will fit. This length even will fit another spotting scope, if i decide to add one later.
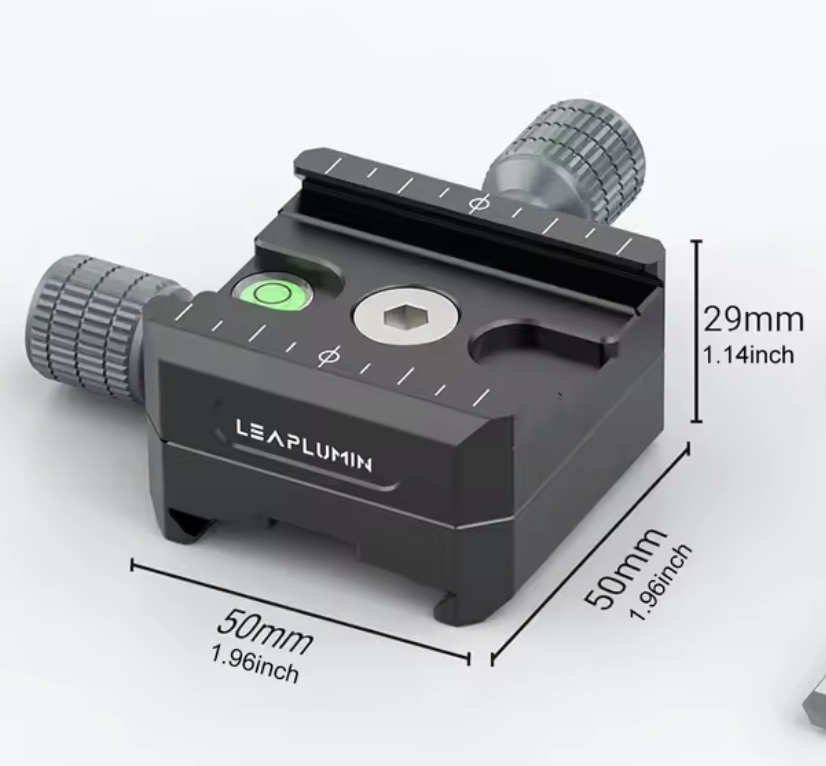
On the top side of the rail, continuing the modular theme, i found these Leaplumin LYF1 Double ARCA clamps. The good thing about these is that they are basically two ARCA clamps screwed together with a center screw. This allows you to take it apart and turn the top clamp by 90/180/270 degrees to get the right orientation of the mounting interface and clamping/adjustment knobs.
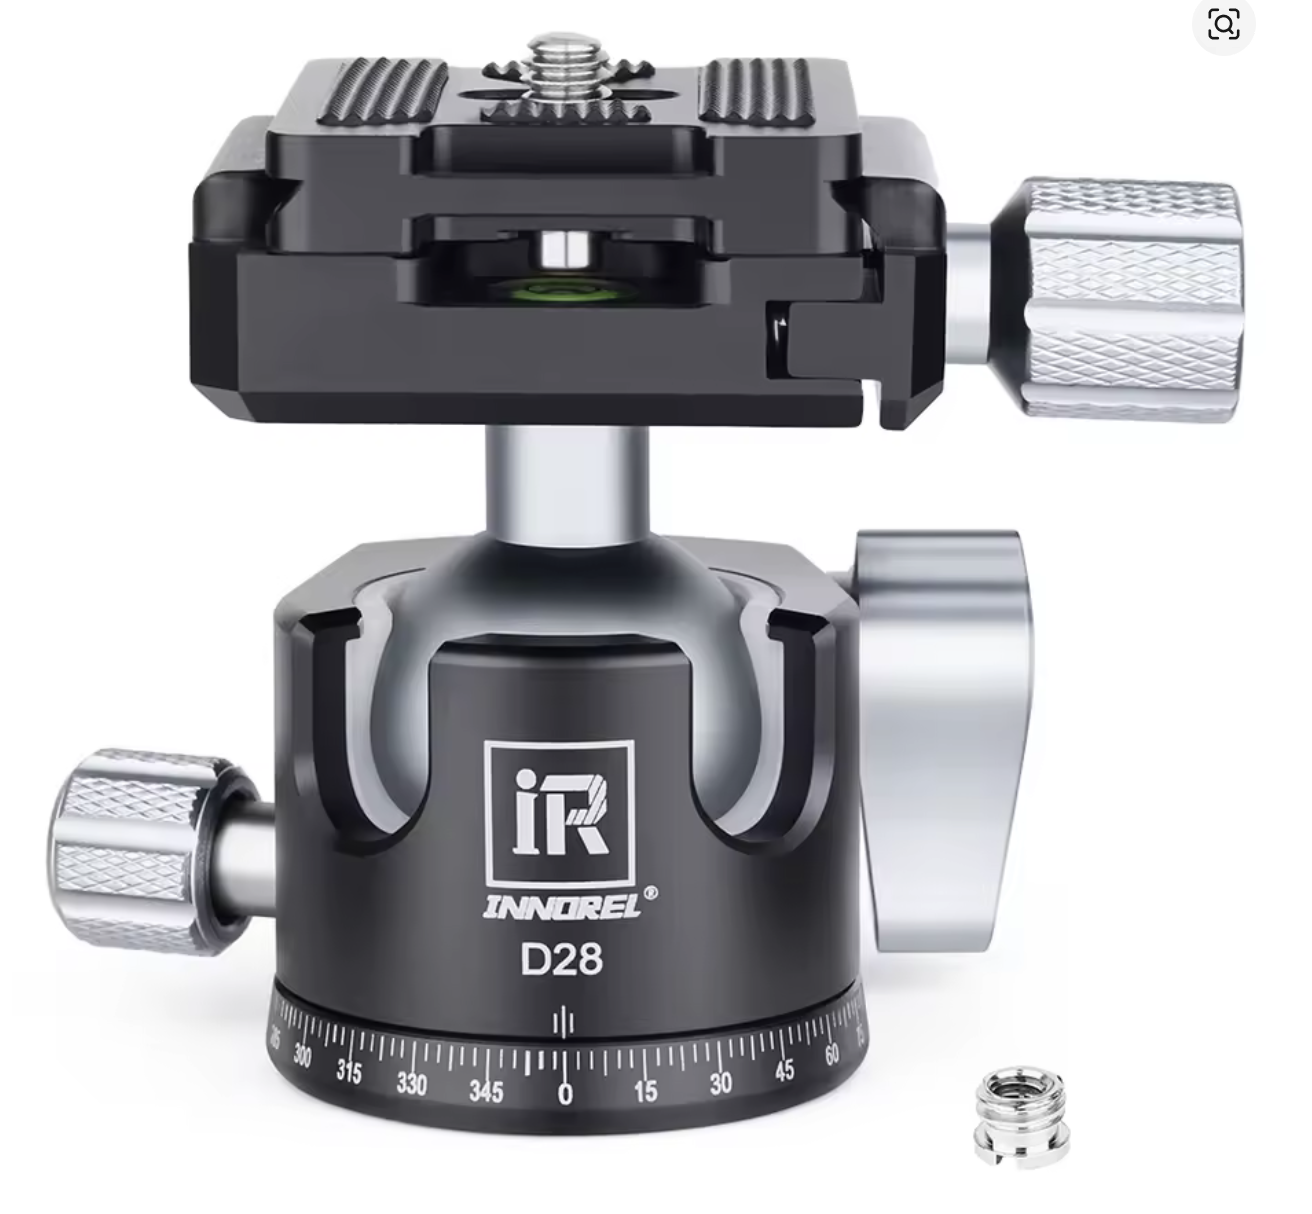
On top of those, some gear attaches directly to the ARCA clamp and some gear has a smaller Innorel D28 ballhead for further adjustment. In my case, There is are 3 smaller ballheads. One for the Ugreen magsafe powerbank, one for the Calypso AB mini mount (so i can position it in the target direction and easily fold it down when going indoors.
Spotting and Ranging
For the longest time, I used a separate laser range finder and a normal “dumb” binocular for spotting. My theory was that if its a dedicated device, it will do a better job at the thing its dedicated to without any compromises. I used the Vortex Viper 12×50 Binos and I was/am really happy with those. They are really easy to look through and the image is crips and extremely close to high end binos that cost 3-6x as much as these. The only thing i was missing was a reticle.
For range finding I stayed in the Vortex family with the Razor 4000 GB. At the time up purchase, this was one of the top range finders on the market. Yes, it was accurate but I had several griper with it. The magnification was only 7x making it hard to find small targets. The reticle or aiming point was a big red circle, usually about twice the size of the targets i wanted to range. Finally it only connects up to Geo Ballistics (Vortexes own ballistic solver) that isn’t bad, but also isn’t as good as AB quantum.
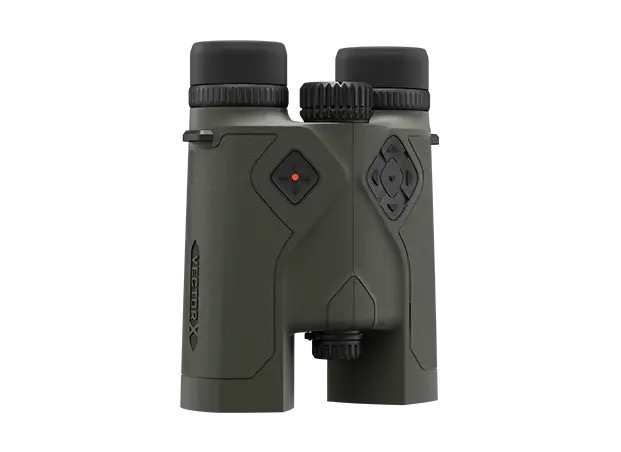
So I was keeping my eyes open for a better range finder. Every post and every review kept pointing me towards the Vectronix Terrapin X. When I finally decided to get one, to my dismay, I found it was discontinued. I didn’t really want the binocular version (the Vector X) as I kept to the theory I mentioned earlier- a spotting scope with a laser range finder will never be as good as a dedicated binocular.
Then at one match, I had a chance to look through them. And wow! I instantly knew this was exactly what i was looking for. Extremely accurate etched reticle, extremely accurate ranging even on tiny rimfire target, astonishing glass quality (actually better than my Vortex Vipers). So we contacted Vectronix, and got some Vectors not only for ourselves, but also became their dealers. 🙂
I chose the 12×42 DMR (double reticle) version and got the range enhancers as well, for the occasional center fire match I attend.
Stage prep and DOPE
So here is my flow before a new stage:
1) Read the stage description and listen to the ROs instructions.
2) Open AB Quantum on my phone and connect the Kestrel. Get the temperature, humidity and pressure. (Skip if it hasn’t changed that much from the previous stage)
3) Connect AB Quantum to the Vector X and open a new stage card. Measure all stage targets. I find that on every match, there are targets in the match book with inaccurate distances. In rimfire, every meter counts, so i double check. If its wildly off the stage description, I measure again and ask the RO for clarification. If its off by 1-5m, I use my own measurements.
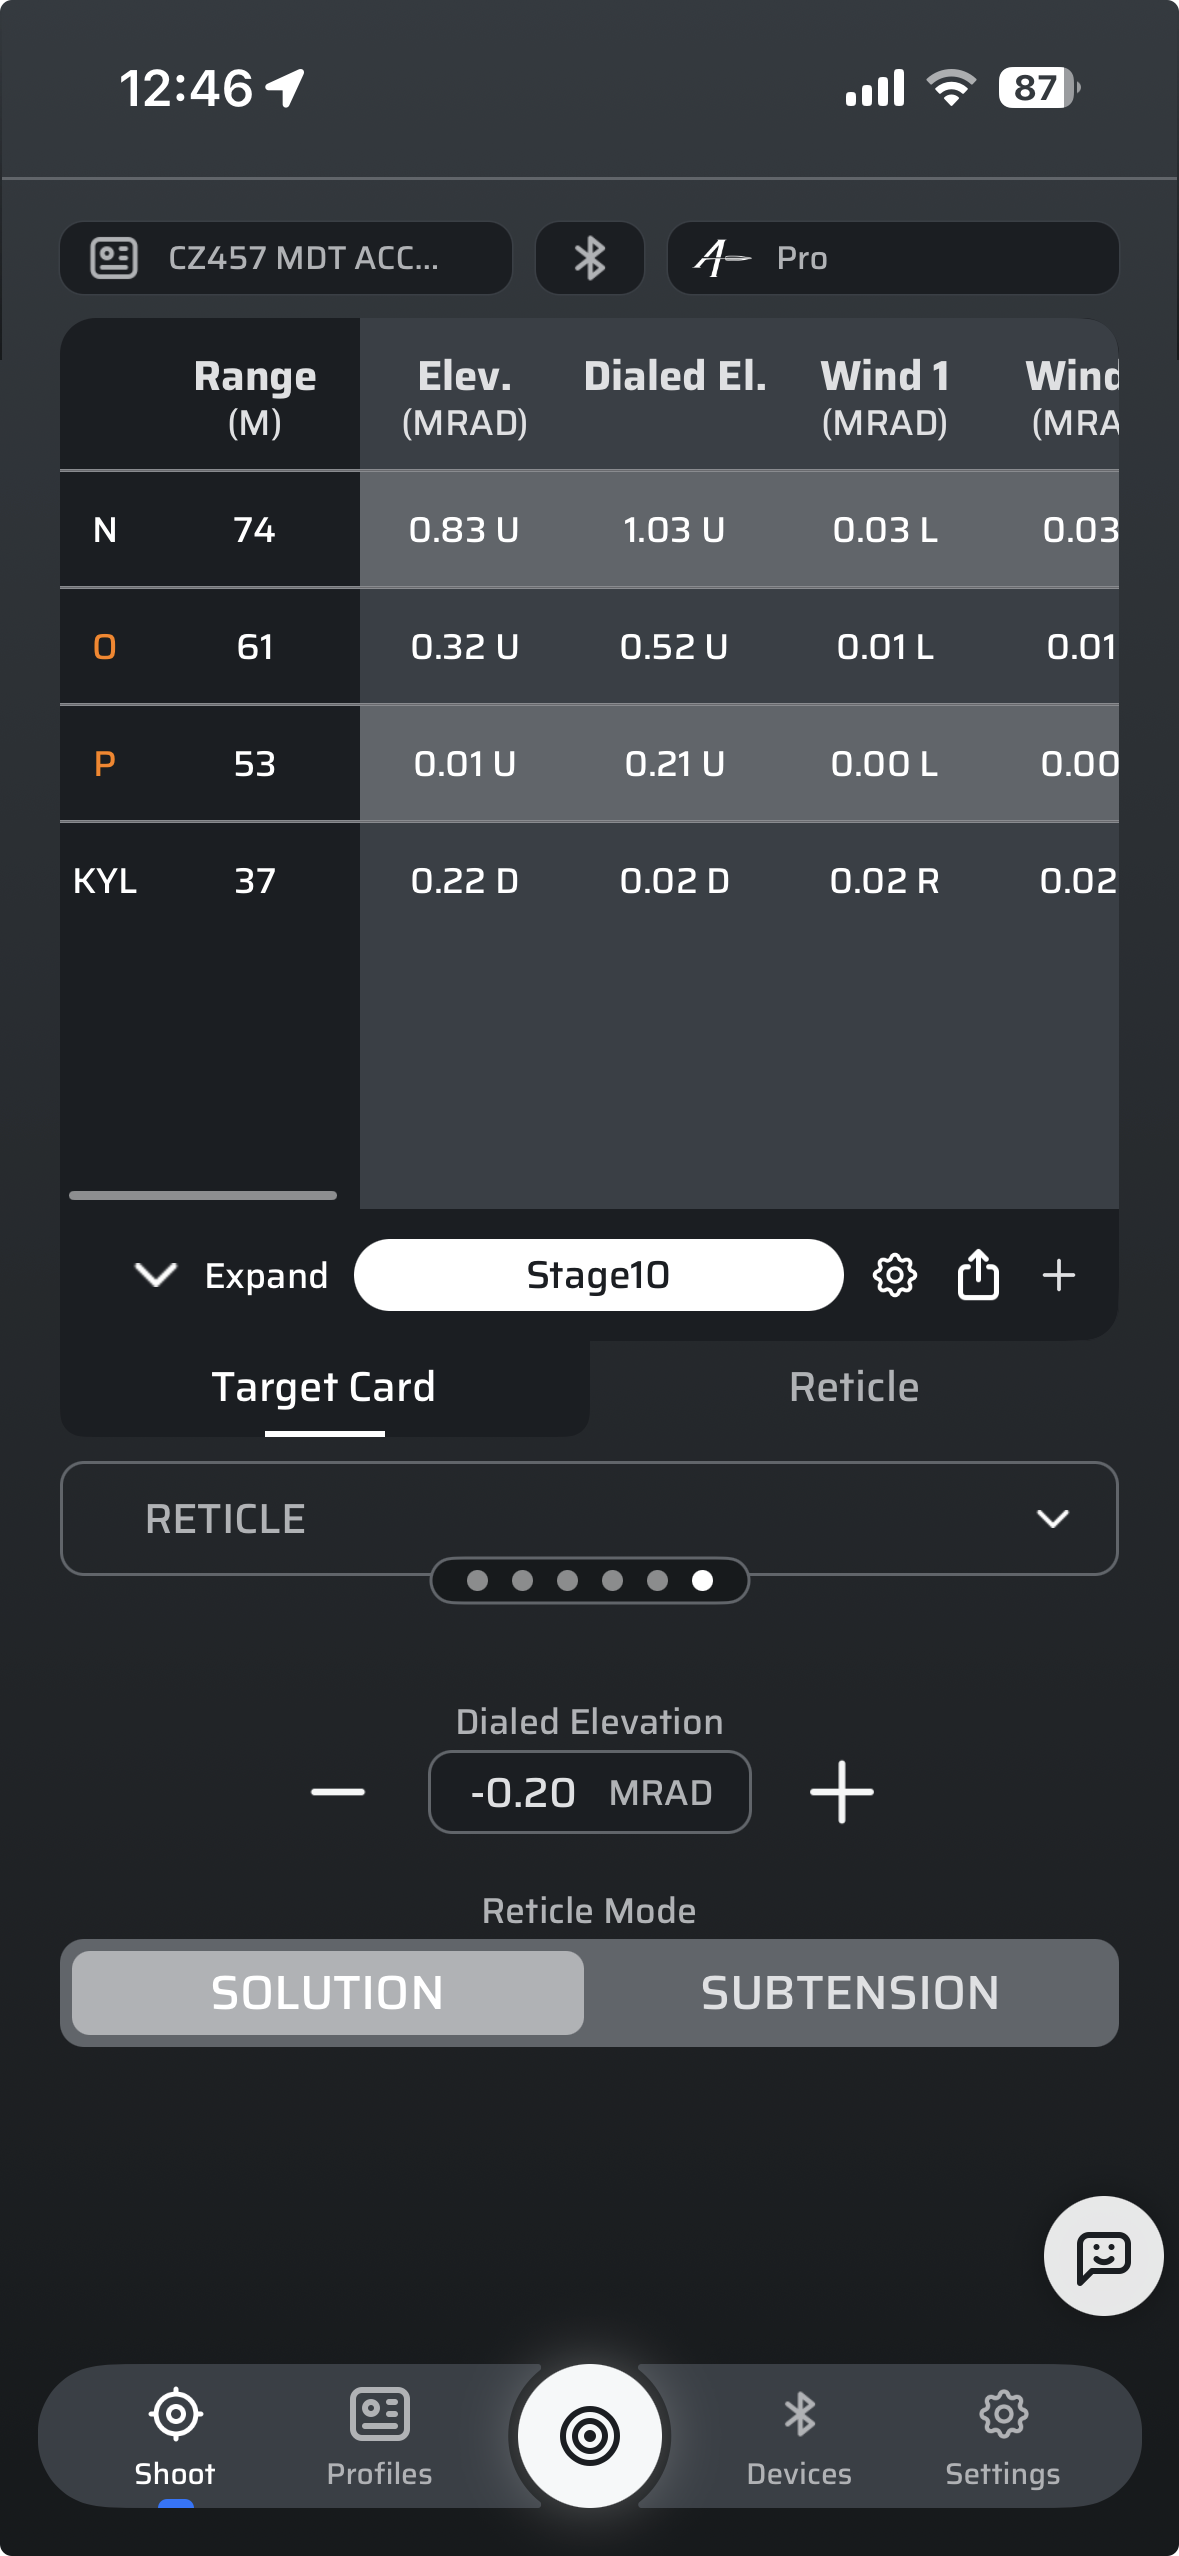
4) Thanks to the Vectors Xs integration with Applied Balistics, the stage card gets automatically populated. I double check the targets in the AB Quantum app, rename them to match the matchbook and remove any duplicates.
5) Then I think about what to dial on my scope. I try to avoid negative holdovers and try to have at least one target (ideally the one shot most often in that stage) on zero (centre of crosshairs).
6) In the AB quantum app, in the reticle tab, you can add a dialled elevation value. When you add this, find the recalculated dope for the other targets (I moved this column to second place, because I use it all the time.
7) Then I write my DOPE solution in matchbook and then transfer it to the plastic white DOPE card. When the shooting starts, I keep my DOPE card visible and try to remember the stage and holdovers. I try to spot everyone else’s shooting, as it helps out the organisers but helps me as well as I can read the wind and see where people are missing.
8) If the range allows for it, I can also connect my Calypso AB mini to the AB Quantum app and monitor wind in real time.
Finally, to keep everything organised, I found this tripod organizer from BP Threadworks. It works great, packs away cleanly, fits in my range bag and keeps everything organised.
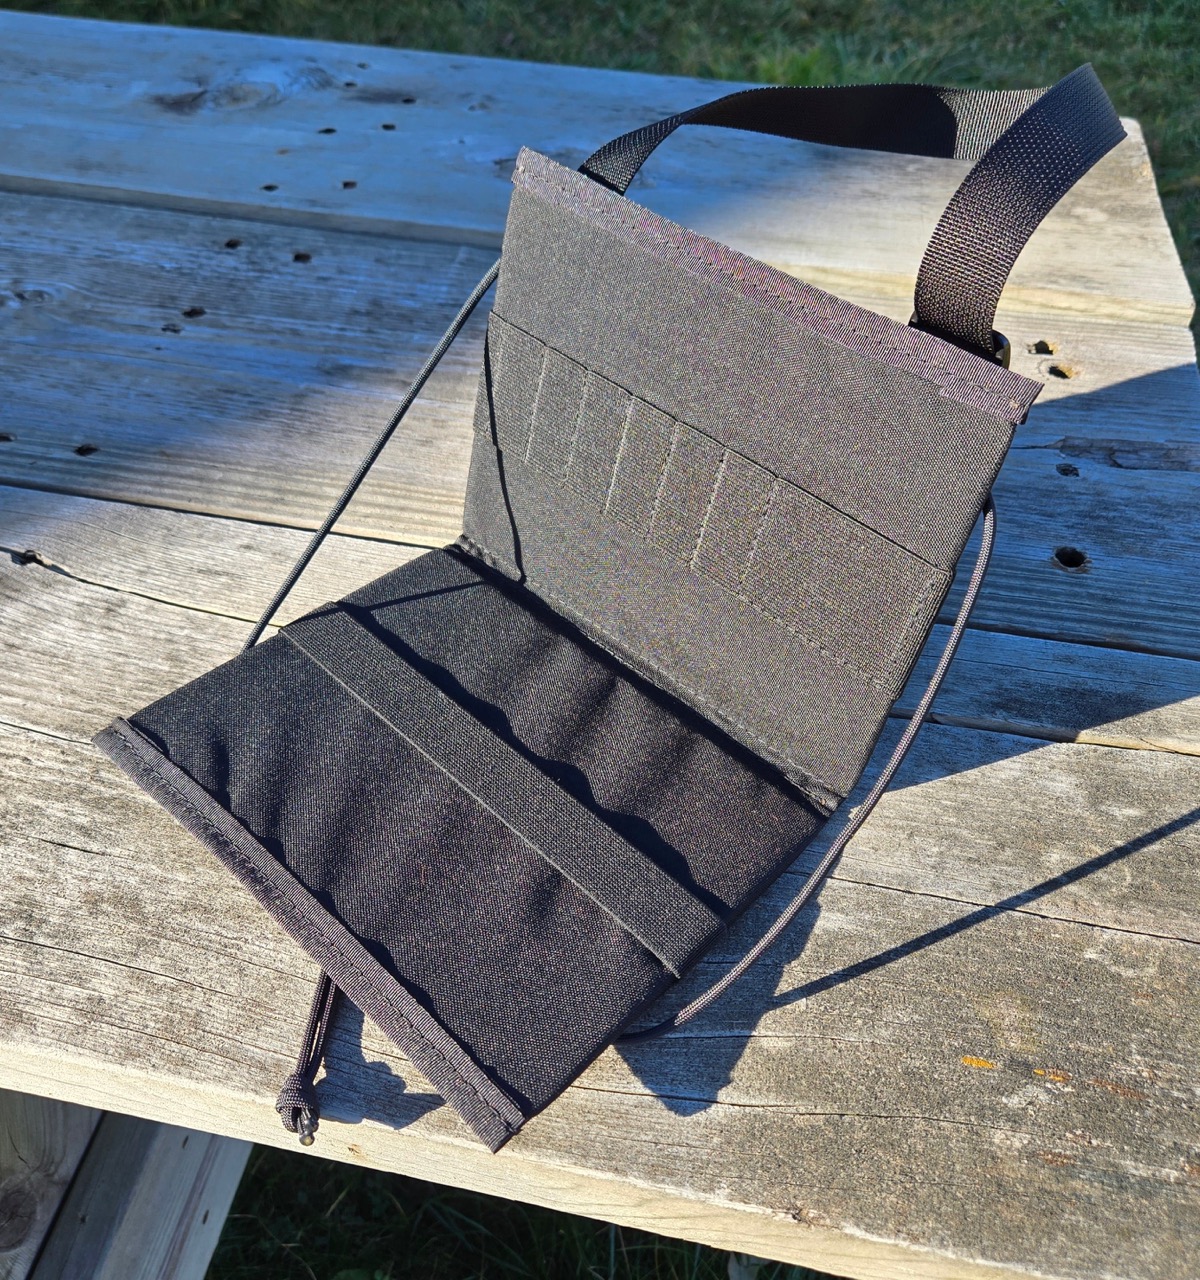
Honorable Mentions
– Calypso mount extension: In this setup I used the Bexin carbon fibre tube extension because I already had. The brand doenst really matter though. The important part is to elevate the calypso. We also sell a selfie stick which is great for this application and is a bit lighter while having a longer reach.
https://www.position7.com/product/p7-precision-selfie-stick/
–Kestrel ARCA mount: to mount the kestrel like this, you can use our Kestrel ARCA mount. Hook and loop tape works as well. I used to have the Kestrel on the extension tube, but then I started putting my “active” dope card there.
https://www.position7.com/product/arca-mount-for-kestrel-5700-series/
–OBI Link tripod post: Not really visible from the picture, but in the I have two different OBI Link posts on the tripod. One for when the tripod is collapsed and one for when its extended. This clips into the OBI Clip on my backpack, for easy transport from stage to stage
–DOPE Cards and markers: I use permanent markers after I accidentally rubbed off all my notes before a stage. They can still be wiped off with alcohol (100% IPA). We also stock these at Position7, I usually carry 10 so I don’t have to wipe them during the day and then clean them up at the hotel or at home.
https://www.position7.com/product/extra-dope-cards-5/
Phone mount: I use the uGreen MagSafe charger as it fill two functions. Keeps my battery level high throughout the day and holds onto my iphone. I stuck a mini ARCA rail to the back, to keep it modular.
https://eu.ugreen.com/products/magflow-magnetic-power-bank-10000mah-25w?_pos=4&_sid=75c2e3d48&_ss=r
Conclusion
So this is it. I found it does what I need, everything is organized and has its place. To me, it’s the perfect PRS command centre. That being said, its probably not the best for hunting or other styles of competition. Its also quite heavy, so if that is a factor for you, you will need to sacrifice the modularity for simple screw mounts.
So what are your thoughts? What would you change?