
In PRS, stability is everything. Small inconsistencies in rifle setup, body position, or support can easily turn solid impacts into frustrating misses — especially under time pressure and awkward positional stages. The good news is that many stability problems are caused by a few common mistakes that are entirely fixable.
Here are five issues we regularly see affecting shooter stability, along with practical ways to improve them.
A Proper Shooting Bag Matters More Than Most People Think
A good shooting bag is one of the biggest stability upgrades a PRS shooter can make. Many beginner shooters prefer lightweight fills such as airsoft BBs, Git-Lite, rice, or polystyrene pellets. While lightweight bags are easier to carry, the larger fill material often does not conform well to either the barricade or the rifle. That lack of conformity creates instability and inconsistent support surfaces.
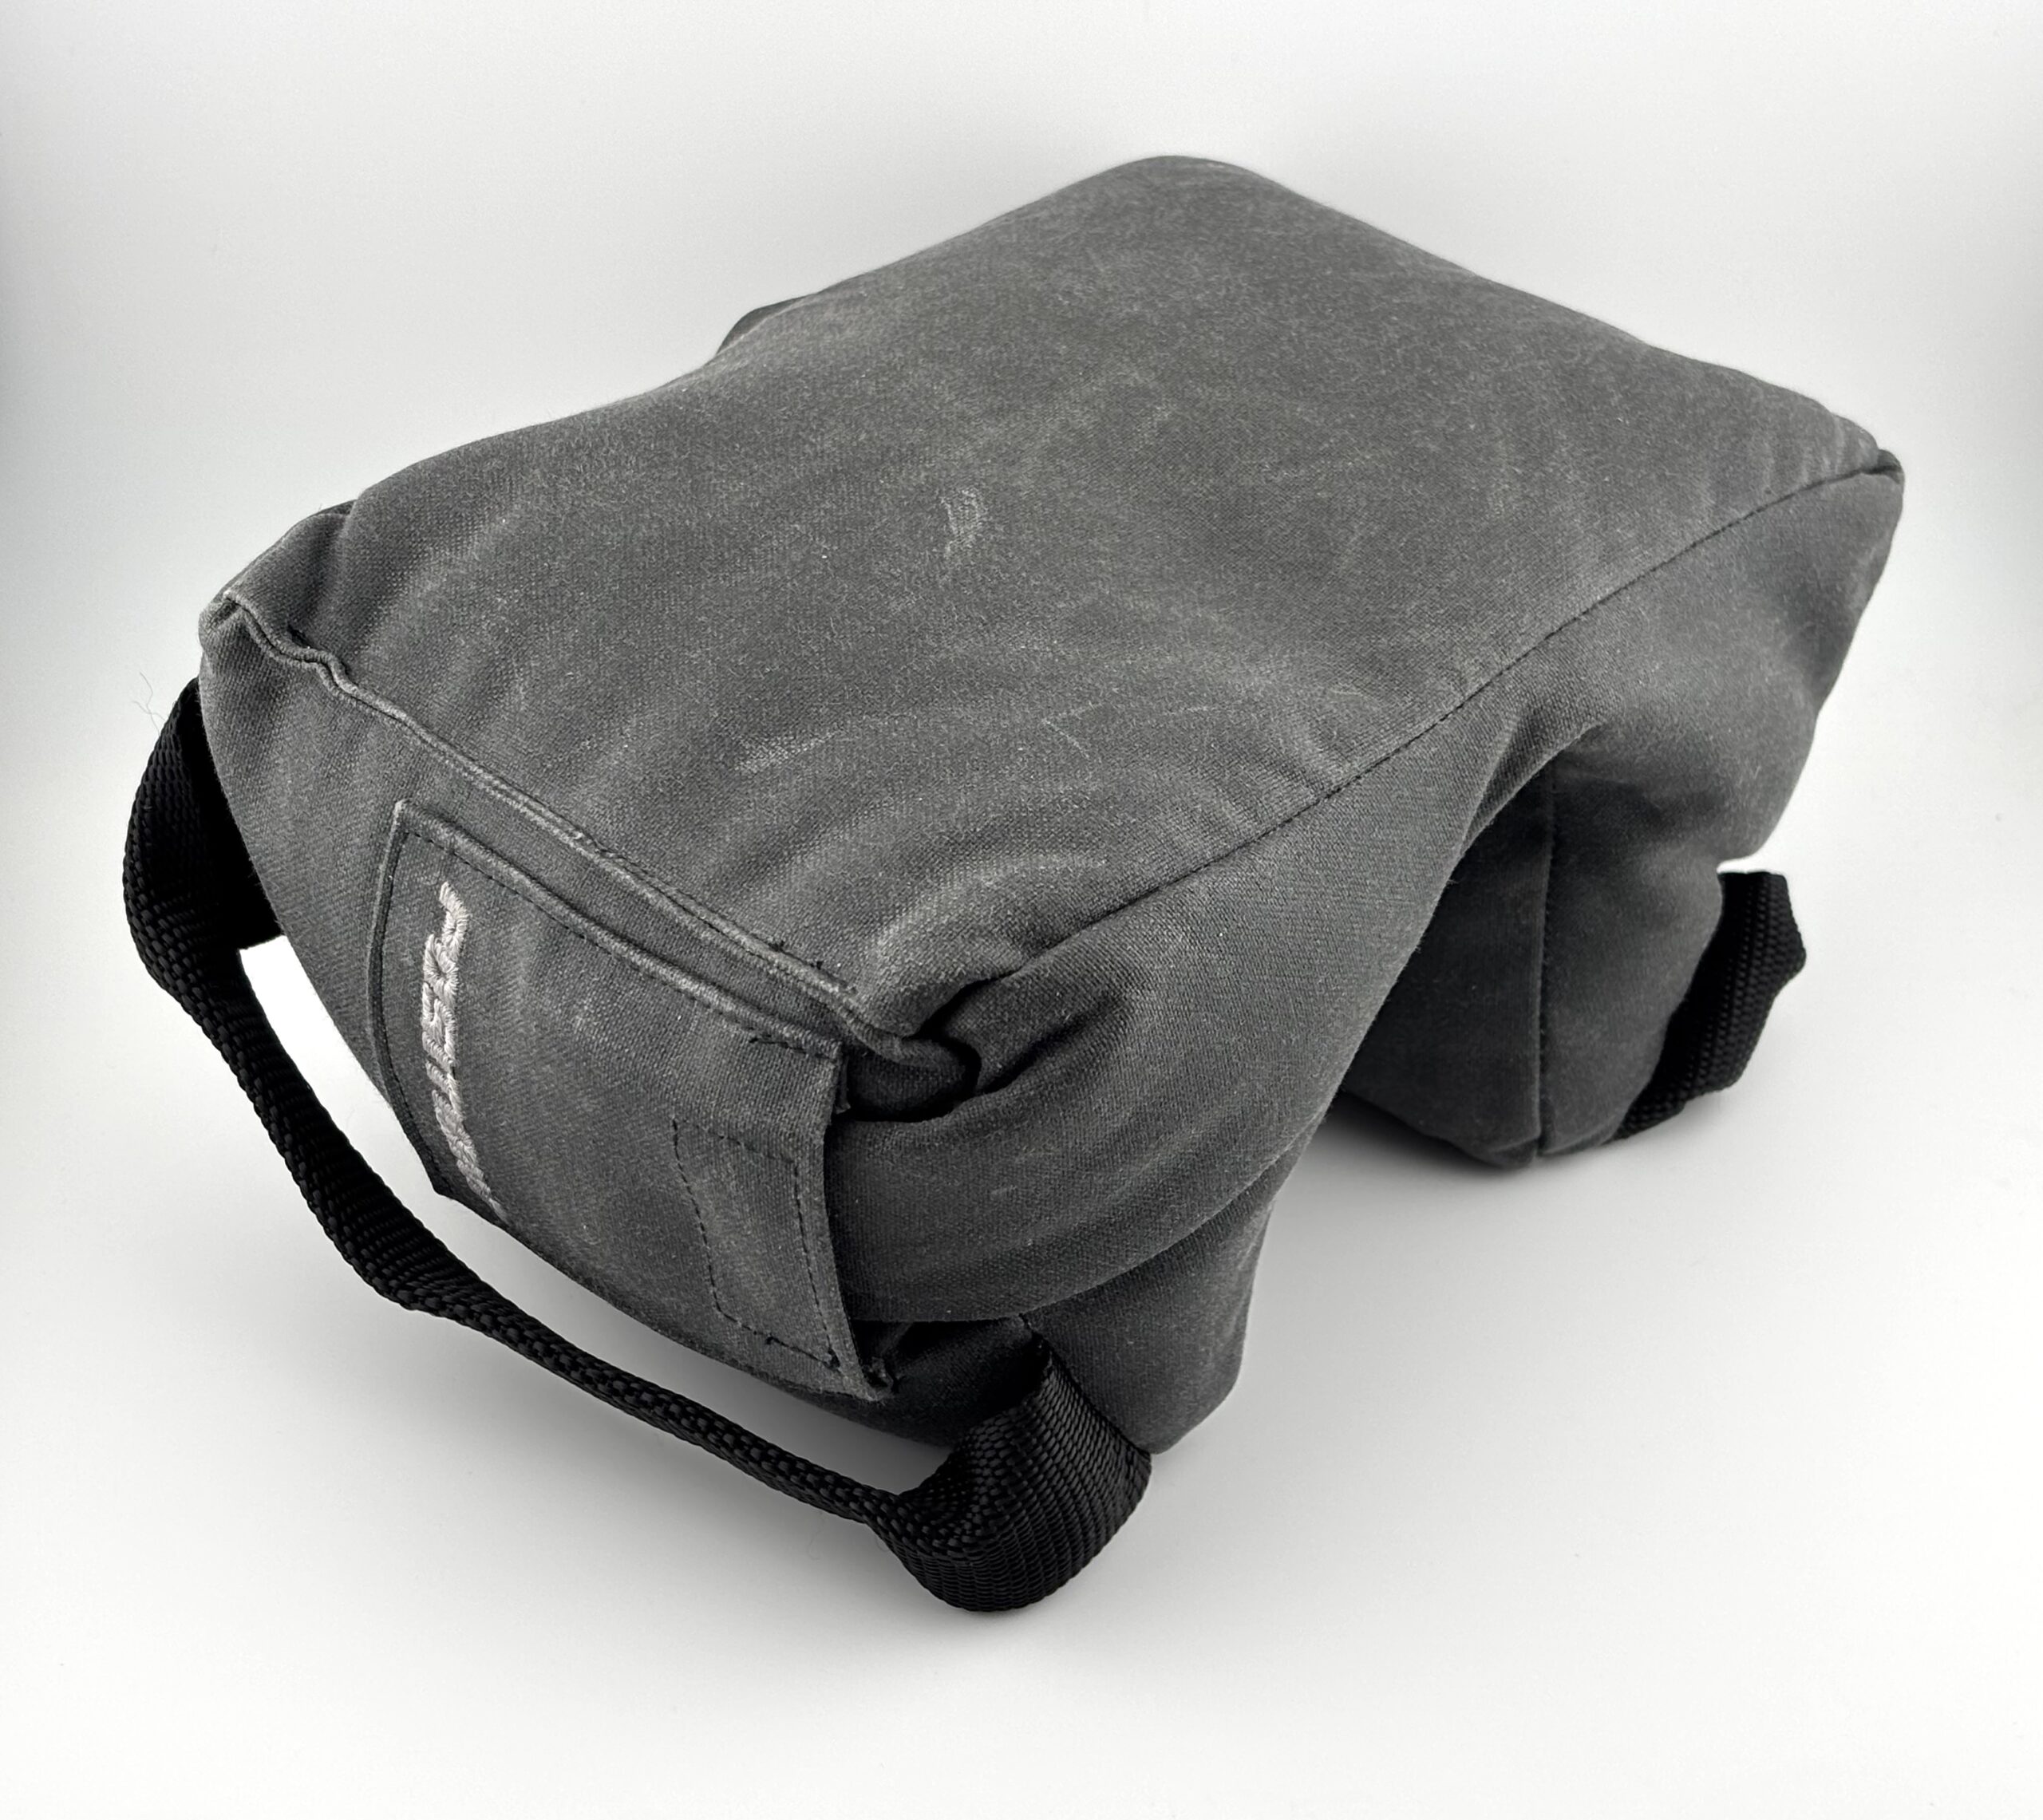
The material of the bag itself also plays a major role. Cordura is extremely durable and widely used, but in terms of pure usability and stability, it does not compare to waxed canvas. Waxed canvas grips barricades better, conforms to the rifle shape better and provides a more stable shooting surface, and generally feels more predictable under recoil.
This type of shooting bag was pioneered by Armageddon gear, with their game changer. And a game changer it really was. In fact, PRS competition organisers had to make the targets smaller after shooters started to use the game changer, as it became too easy to score max points.
What works best?
In our experience, the best combination is:
- Waxed canvas
- Heavy sand fill or glass bead fill
A heavier, finer fill conforms much better to both the rifle and the support surface, creating a noticeably more stable position.
At Position7, we offer both heavy sand and glass bead fills in our shooting bags because they provide significantly better stability than lightweight alternatives. See our Bang Bag here.
Other excellent bags currently on the market include:
Rifle Balance Is Key
Many shooters focus primarily on total rifle weight, but balance is often even more important.
A common issue — especially with factory .22LR rifles — is that they tend to be rear-heavy. Once a chassis, larger optic, or adjustable buttstock is added, the imbalance can become even more noticeable.
An imbalanced rifle requires the shooter to apply additional force to keep the rifle on target. That extra muscular input introduces instability and inconsistency, especially during positional shooting.
Balance also directly affects recoil behavior and target tracking. After the shot breaks, a poorly balanced rifle is much harder to keep on target through the scope, making it more difficult to spot impacts and misses.
Ever wondered why top PRS shooters often run rifles weighing well over 10 kg? Its not just about reducing recoil, as that is minimal anyway, especially with a 22LR. The answer is simple: balance and stability.
How to fix it:
- Identify the ideal balance point
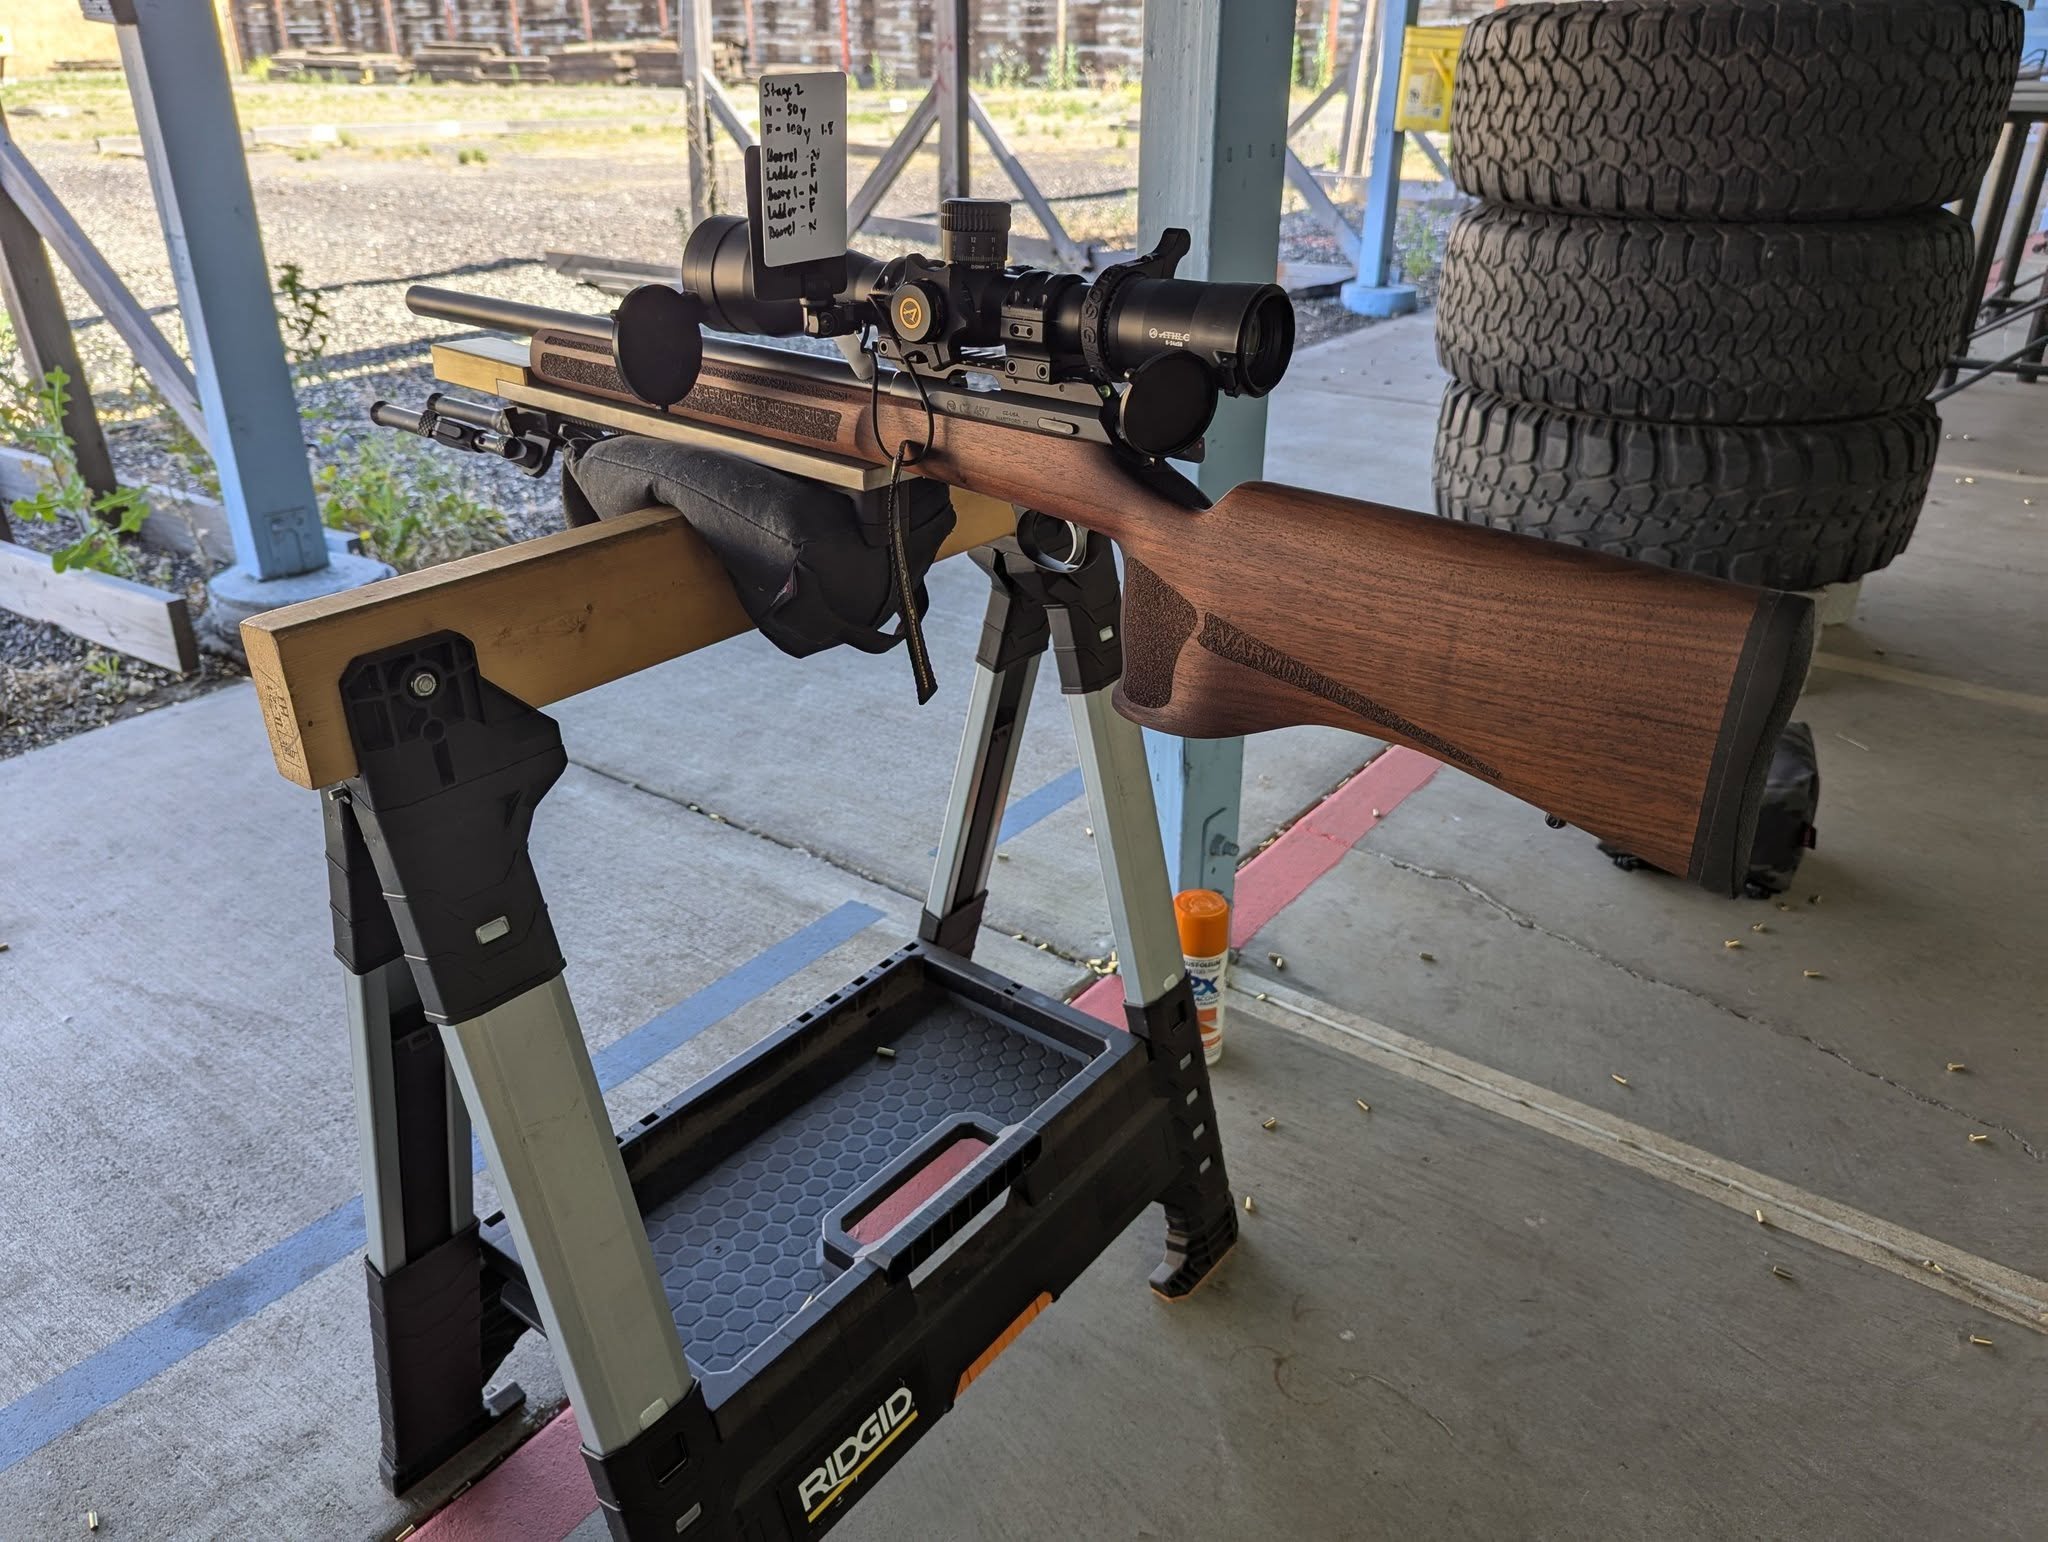
Place the rifle on a support bag. In most cases, the rifle should balance roughly around the middle of the bag for stable positional shooting. - Find the current balance point
Balance the rifle on a narrow object or edge to identify where the center of gravity currently sits. - Shift the balance using weights
Add weight strategically to move the balance point toward the desired location. - Remember that leverage matters
The further away from the balance point you add weight, the greater the effect. Small amounts of weight at the front of the rifle can dramatically change balance. - Adding weight to factory rifles and stocks
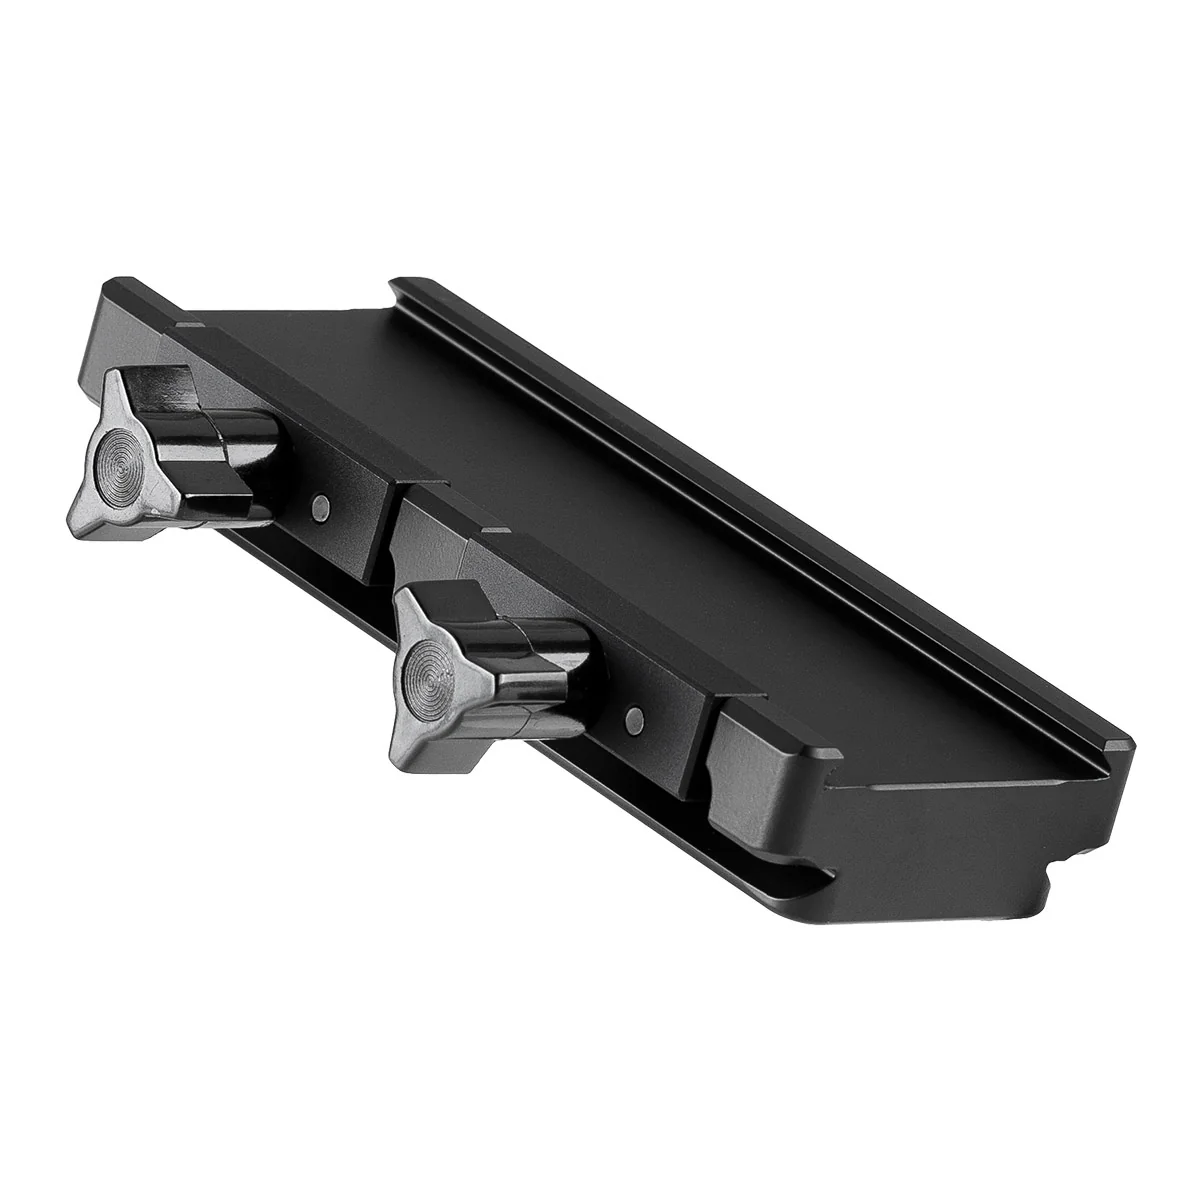
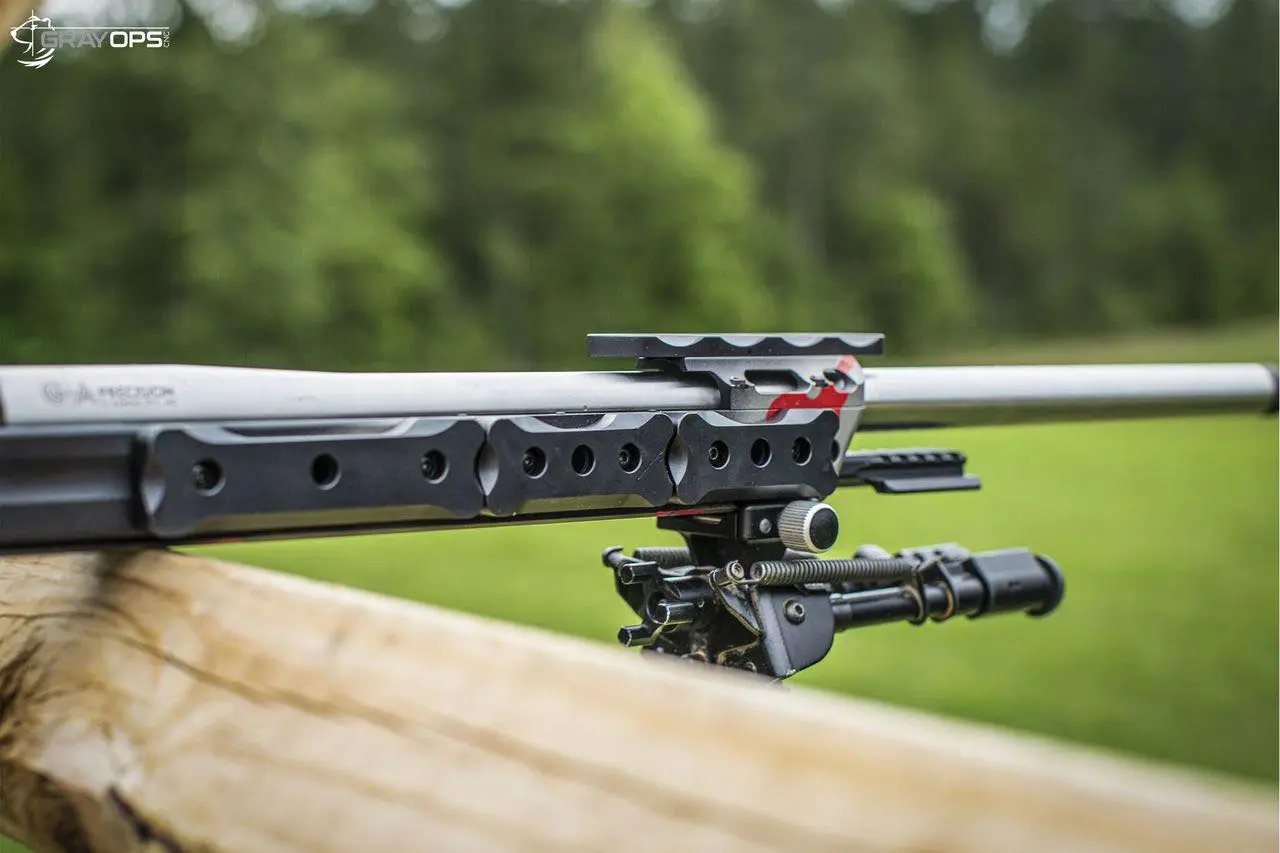
One of the easiest solutions is adding a longer ARCA rail extending forward from the stock and attaching weights to the rail. - Adding weight to chassis systems
Many chassis systems allow internal forend weights or external M-LOK weights, making it easier to fine-tune balance and overall rifle behavior.
Stop Muscling the Rifle
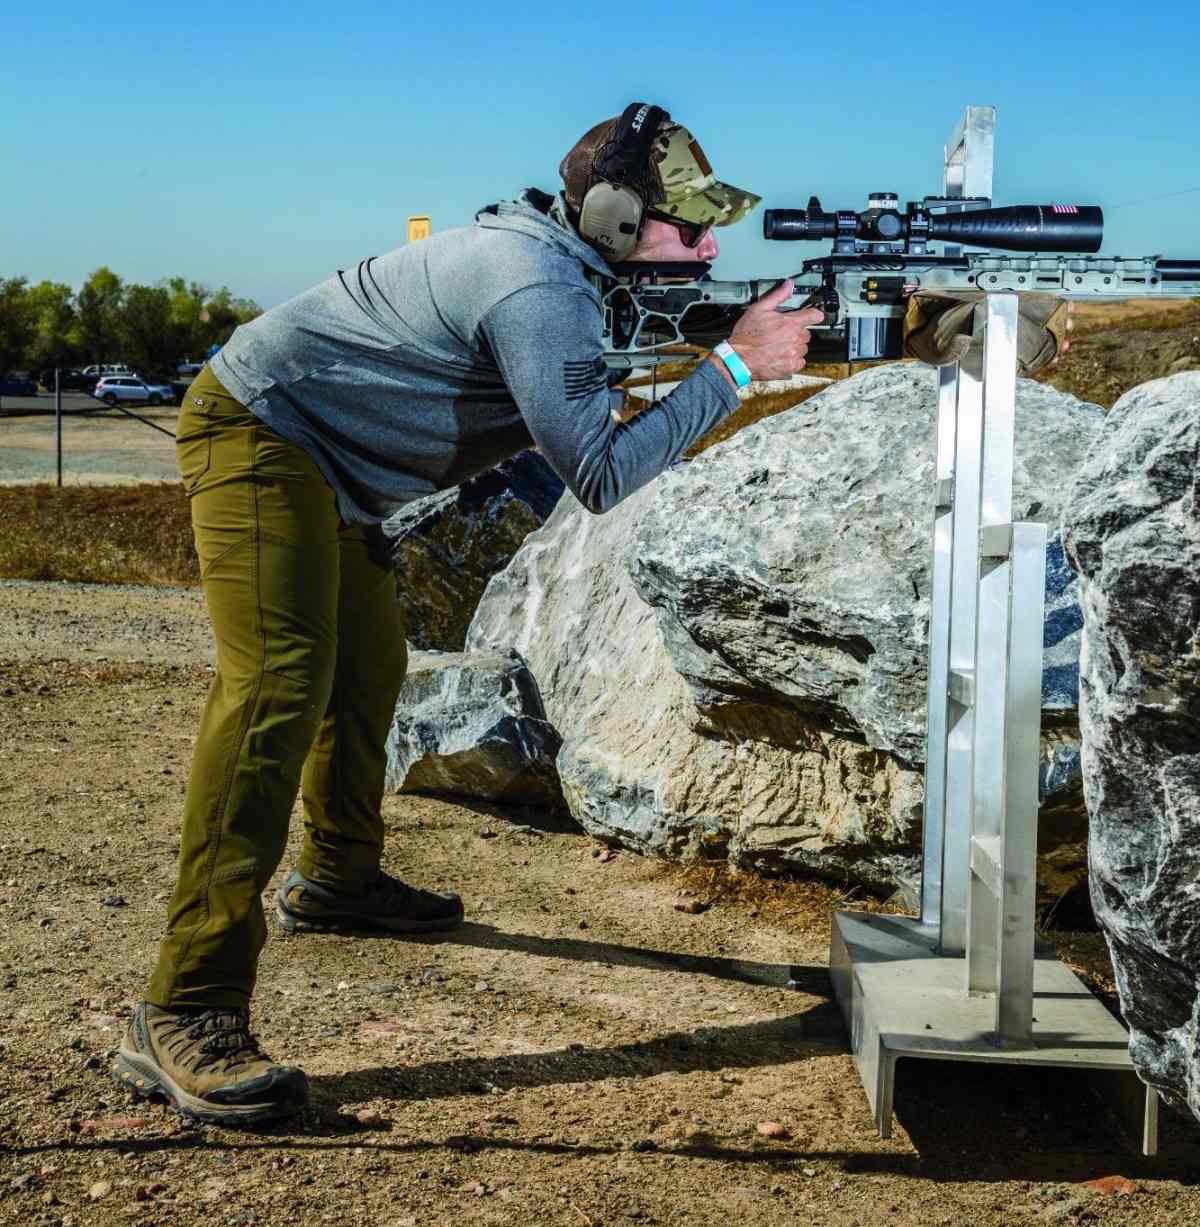
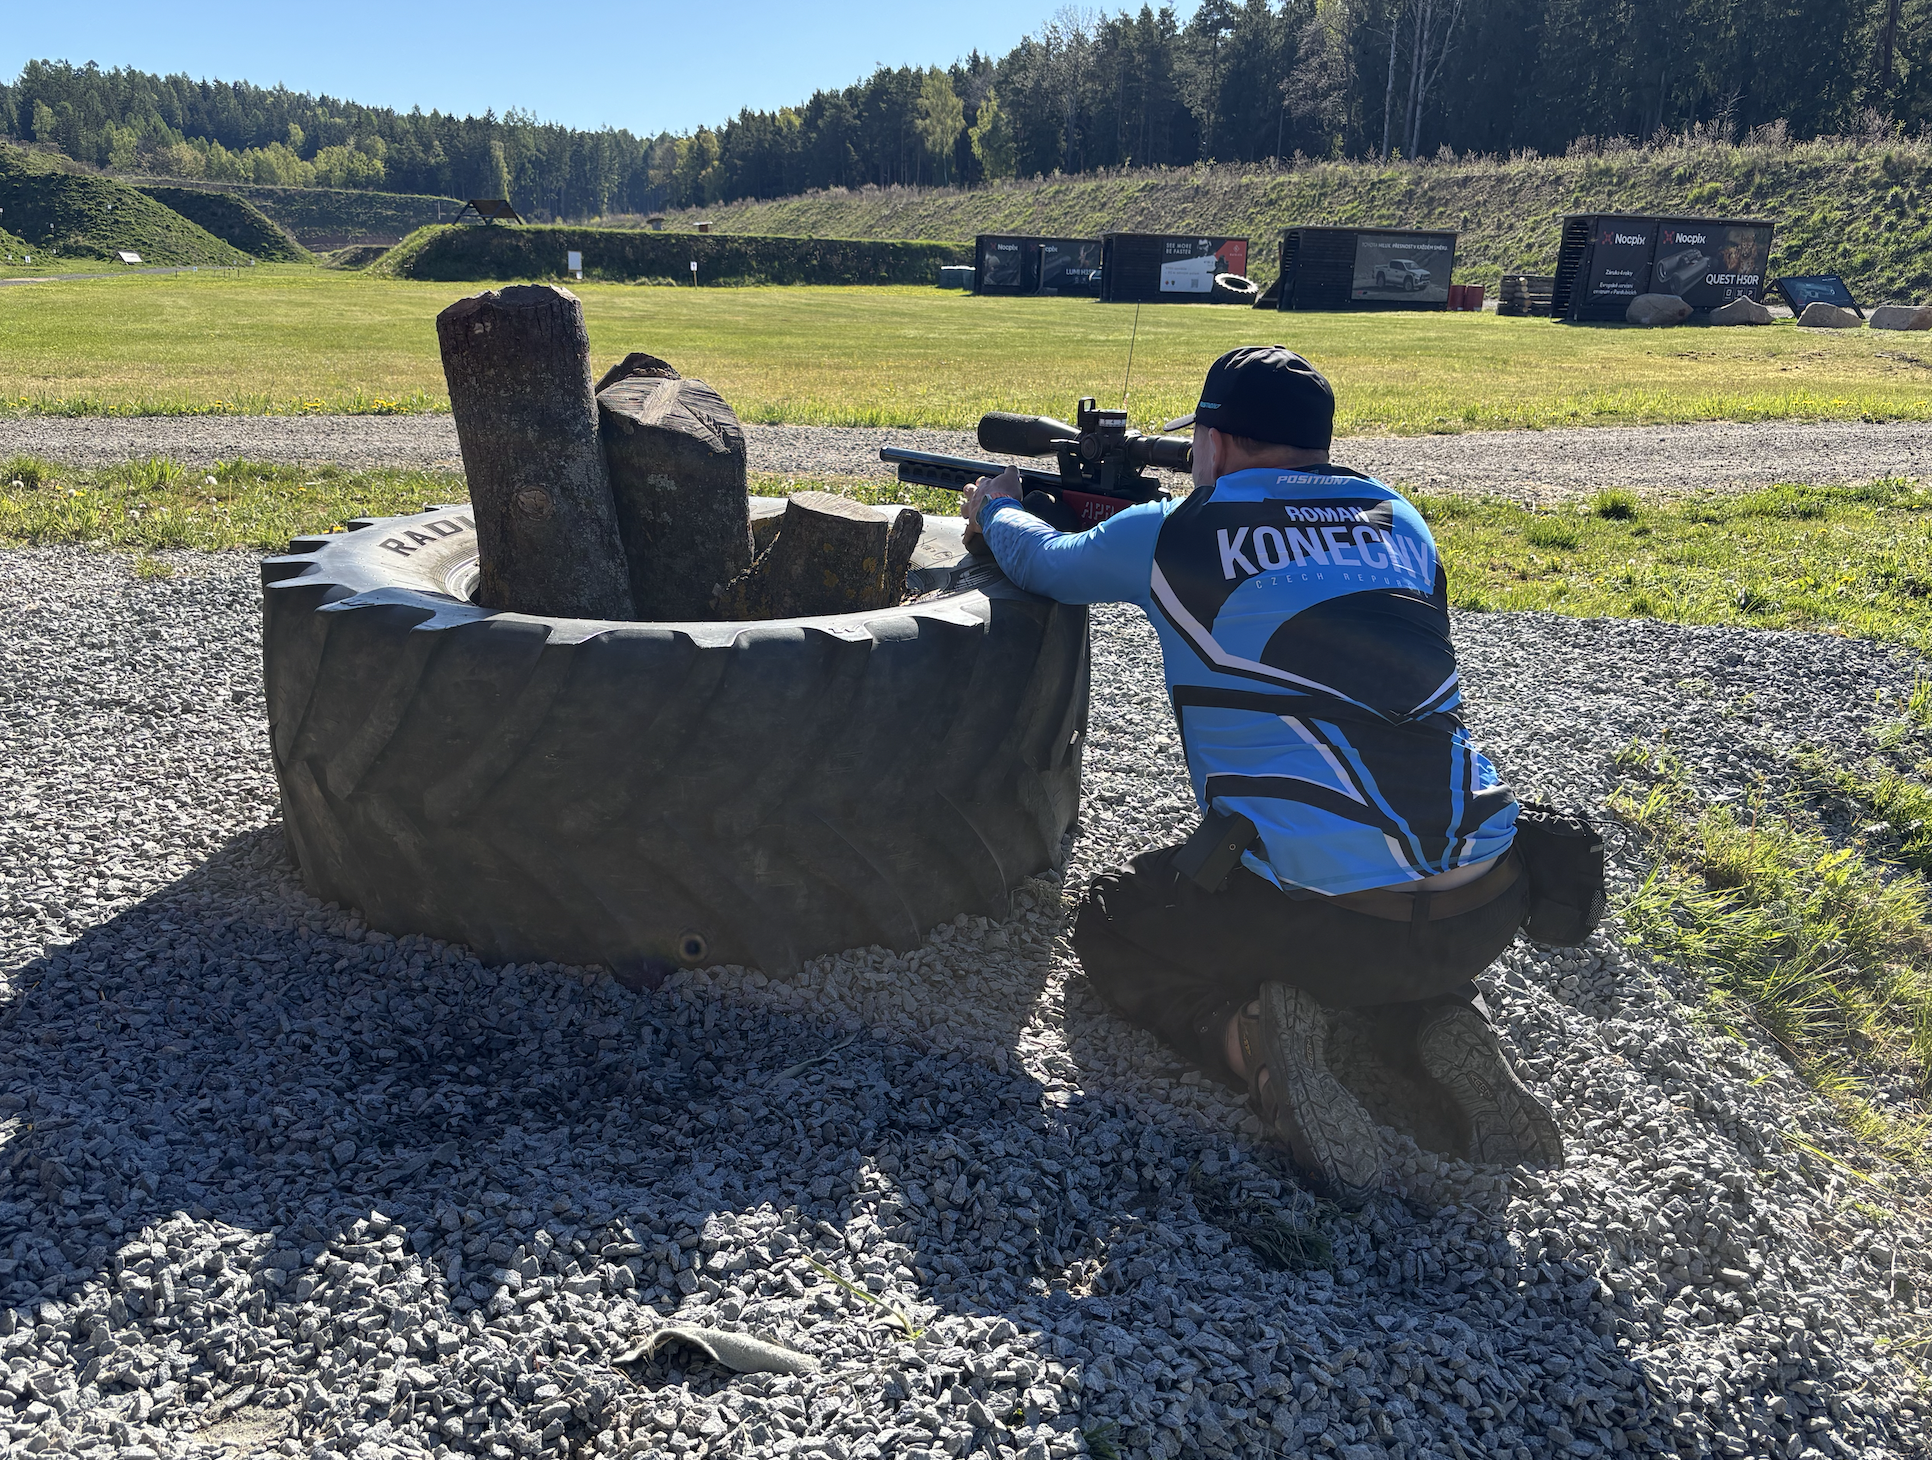
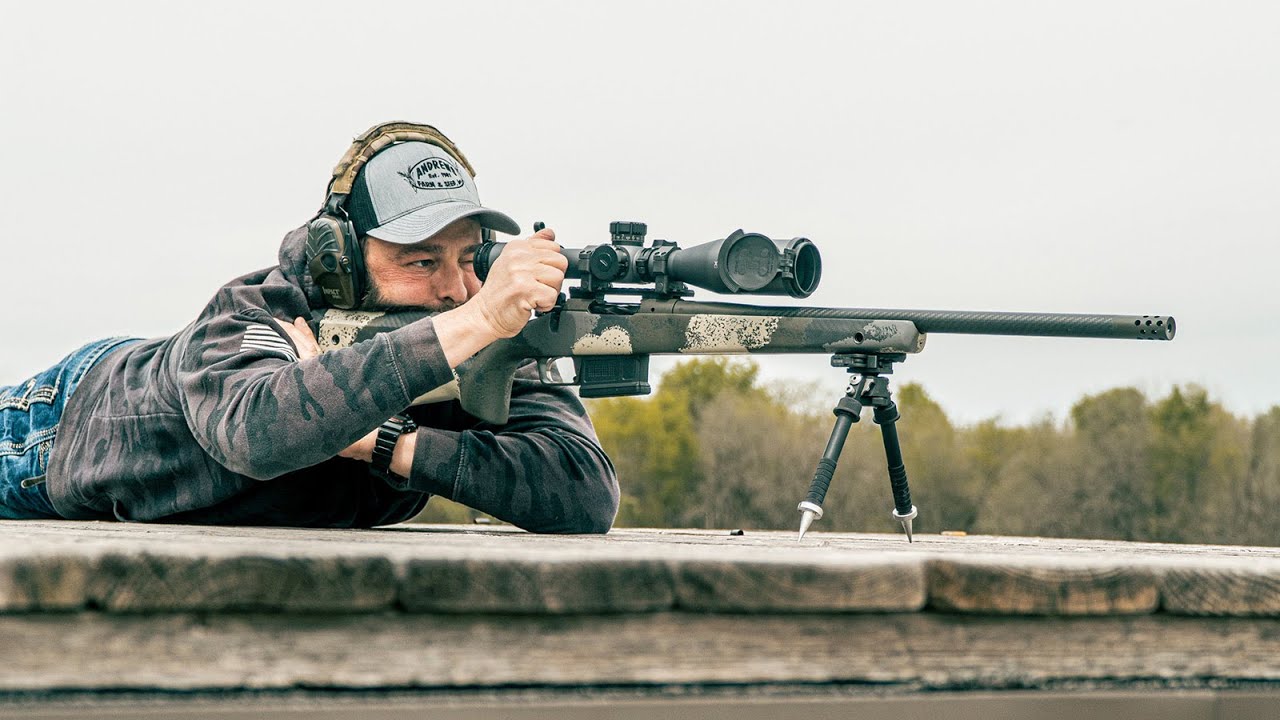
One of the most common mistakes in PRS is trying to force the rifle onto target using muscle tension. Many shooters apply excessive pressure into the buttstock, aggressively load the bipod or barricade, tense their shoulders, or constantly fight the rifle to keep the reticle centered. The problem is that muscular tension is inconsistent. As soon as the timer starts, heart rate increases, or the position becomes awkward, that tension introduces instability, wobble, and inconsistent recoil behavior.
A properly built position should allow the rifle to settle naturally onto target with minimal effort. Basically, if we didnt need to watch our shots / impacts, we would be shooting “free recoil”, meaning that we our shoulder wouldn’t even touch the buttstock. If you need to constantly “hold” the rifle on target, the position itself is usually the problem.
How to fix it:
There are basically 3 main shooting positions in PRS. Standing, kneeling and prone. With these 3 and their variations, you should be able to engage from almost any prop. Always try to be square with your rifle, meaning the line between your shoulders should be perpendicular to the barrel.
- Build structure, not tension
Use bone support and body alignment instead of muscular force whenever possible. - Relax the firing hand
Grip the rifle consistently, but avoid excessive tension that can disturb the rifle during the shot. - Reduce shoulder pressure
You generally need far less buttstock pressure than most shooters think. - Let the rifle settle naturally
Instead of forcing the reticle onto target, adjust your body position until the rifle naturally points where you want it. - Watch recoil behavior
A stable position allows the rifle to recoil consistently and makes spotting impacts significantly easier. - Prioritize repeatability
The best positions are not always the most aggressive — they are the most repeatable.
Learn To Use Your Shooting Bag Properly
Even the best shooting bag will not perform well if it is used incorrectly. A surprisingly common mistake is using only one side or orientation of a shooting bag.
Many shooters place the bag the same way on every obstacle regardless of barricade shape, width, or position. The result is reduced contact area, less stability, and unnecessary rifle movement. Different barricades require different bag orientations to maximize stability and contact surface. This is especially true when used with a bag carrying plate, where it forces you to use the bag in just 1 orientation.
Another issue is trying to “float” the rifle on top of the bag instead of building solid contact and allowing the bag to fully conform to both surfaces.
Finally most bags are sold intentionally overfilled, so that the shooter can fine tune the volume to his/her preference. Unfortunately many beginners dont know this and think they should just use it as it came from the manufacturer. Overfilled bag are too heavy and dont conform to the rifle and/or barricade as well.
The goal is to create a stable, repeatable interface between:
- the barricade
- the shooting bag
- the rifle
The less movement between those three elements, the more stable and predictable the rifle becomes.
How to fix it:
Let some of the fill out into a ziplock bag, so that you can add it back later if you prefer. Position7 bags are sold with around 5.5Kg of fill but we run our bags with roughly 1kg less. Let some of the fill out and handle the bag. If its still too “bloated” let some more out. A good rule of thumb is that you should not be able to touch the top and bottom fabric together, there should be around 1-2 cm of material when you pinch the bag by the middle. If you pinch it and the top fabric touches the bottom, you have probably gone too far and let out too much fill.
Play around with your bag and figure out what orientations work best for different types of props. Most shooting bags are designed to work in multiple positions. Different props require different bag orientations to maximize stability and contact area.
• On flat surfaces, place the bag on its side.
This creates a much larger and more stable contact surface between the barricade, bag, and rifle.
• On thicker barricades or tank traps, the normal upright orientation usually works best.
This often provides the best combination of height, support, and rifle control.
• On narrow props, flip the bag upside down.
Using the narrower side of the bag can create a significantly more stable interface on thin rails, pipes, or awkward barricades.
• Let the rifle seat into the bag
Do not gently lay the rifle on top of the bag. Allow the rifle’s weight to fully compress and conform the bag to both the prop and rifle shape.
Dont use bag carrying plates that encourage using the bag in only one position unless the stage is super quick and the props are well suited for it.
• Bonus tip: if you’re short on time and need to shoot prone, forget deploying your bipod and stand your bag upright. You can get a surprisingly stable position this way.
Use your support hand properly
A very common beginner mistake is incorrect support-hand placement. Many newer shooters place their non-trigger hand on the scope, barrel, chassis, or somewhere else on the rifle without actually connecting with the shooting bag itself.
This creates several problems:
• the rifle is not properly locked into the bag
• the system can move more during recoil (especially if we are correctly not placing too much pressure on the buttstock)
• stability becomes inconsistent from shot to shot
One of the worst habits is placing pressure directly on the barrel. Even relatively small amounts of thumb pressure can flex the barrel slightly and potentially affect accuracy, especially on lighter-profile barrels.
Instead, the support hand should help lock the rifle and shooting bag together into one stable system.
The goal is to lock the rifle, the bag and the barricade together. The more connected those three elements become, the more stable and repeatable the position will feel.
How to fix it:
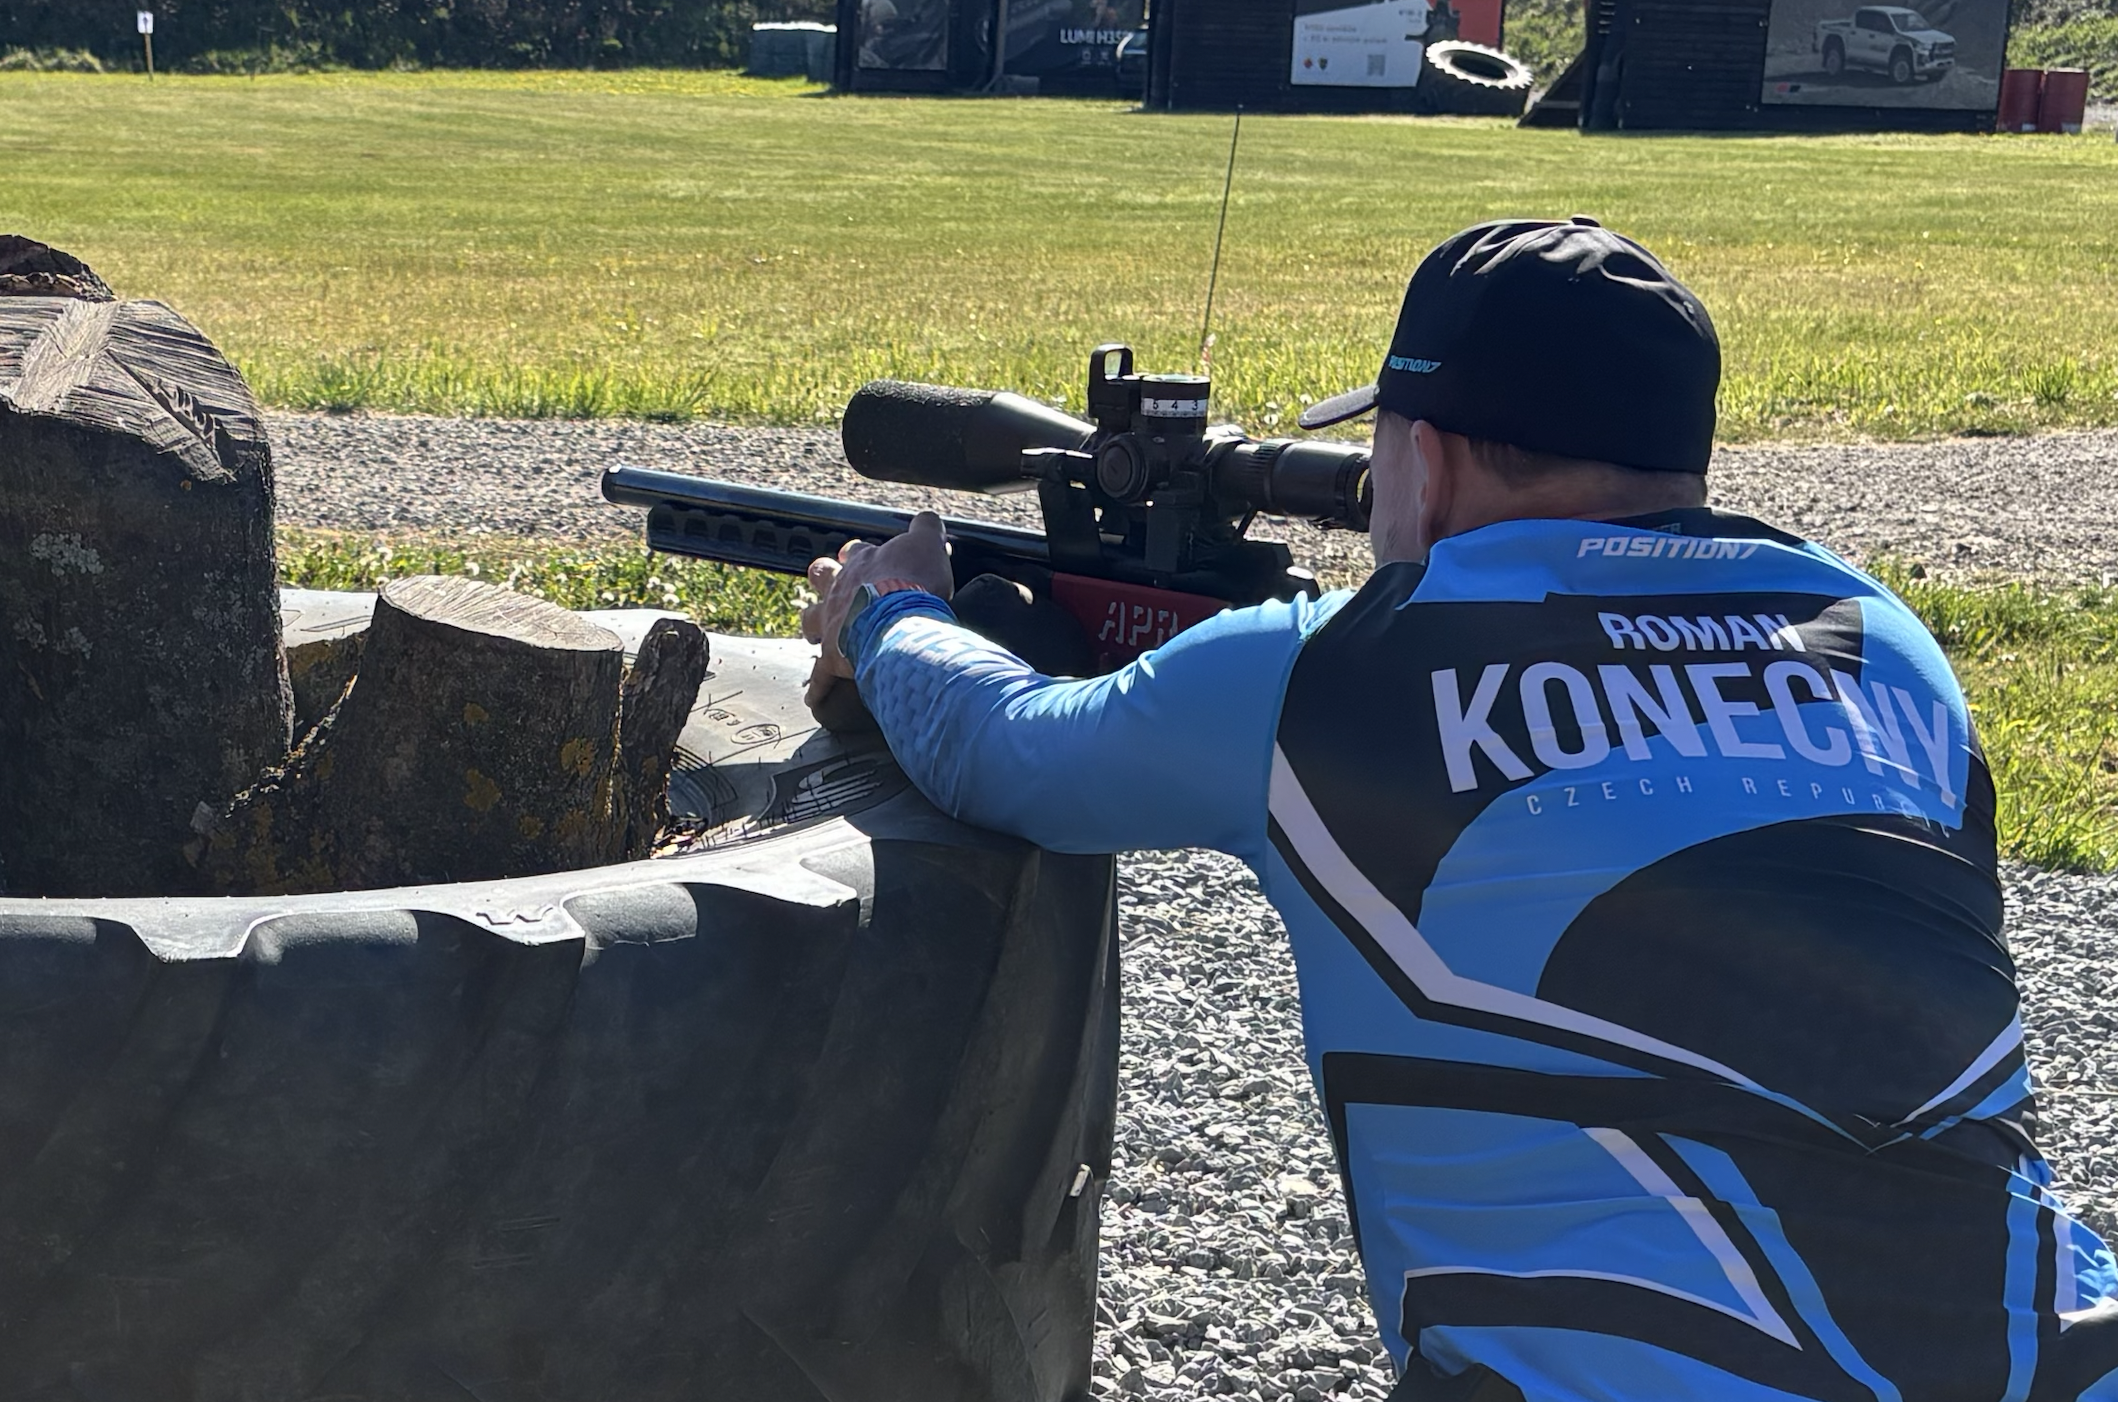
• Grip the rifle and bag together
Use your support hand to create contact between both the rifle and the shooting bag at the same time.
• Avoid touching the barrel
Do not apply pressure directly onto the barrel during positional shooting. Add a thumb rest, baker wings or similar accessory to your stock / chassis, to have a good grip surface
• Do not rest your hand on the scope
You are wasting potential by not controlling your bag.
• Focus on locking the system together
The rifle, bag, and barricade should behave as one connected unit during recoil.
• Use only enough pressure to stabilize the position
You do not need excessive force — small amounts of controlled pressure are usually more effective. Practice and observe, how adding grip pressure on the bag locks everything together.
• Pressure on rifle stock (or thumb rest) should be in the down and forward direction, to counteract recoil.
A properly stabilized position makes it much easier to stay on target and spot impacts after the shot.
Bonus Tip
Once you master the fundamentals, one of the most powerful positional techniques to learn is using a tripod as rear support.
With a bag or barricade support in the front and the buttstock connected to a tripod in the rear, it is possible to achieve stability that feels surprisingly close to shooting prone. It is an extremely effective technique for difficult positional stages, especially when maximum precision is required.
The downside is that it takes significant practice to deploy quickly and efficiently under time pressure. Because of that, newer shooters should first focus on mastering the basic fundamentals before adding this technique into their match workflow.
Still, it is a very valuable tool to have in your arsenal.
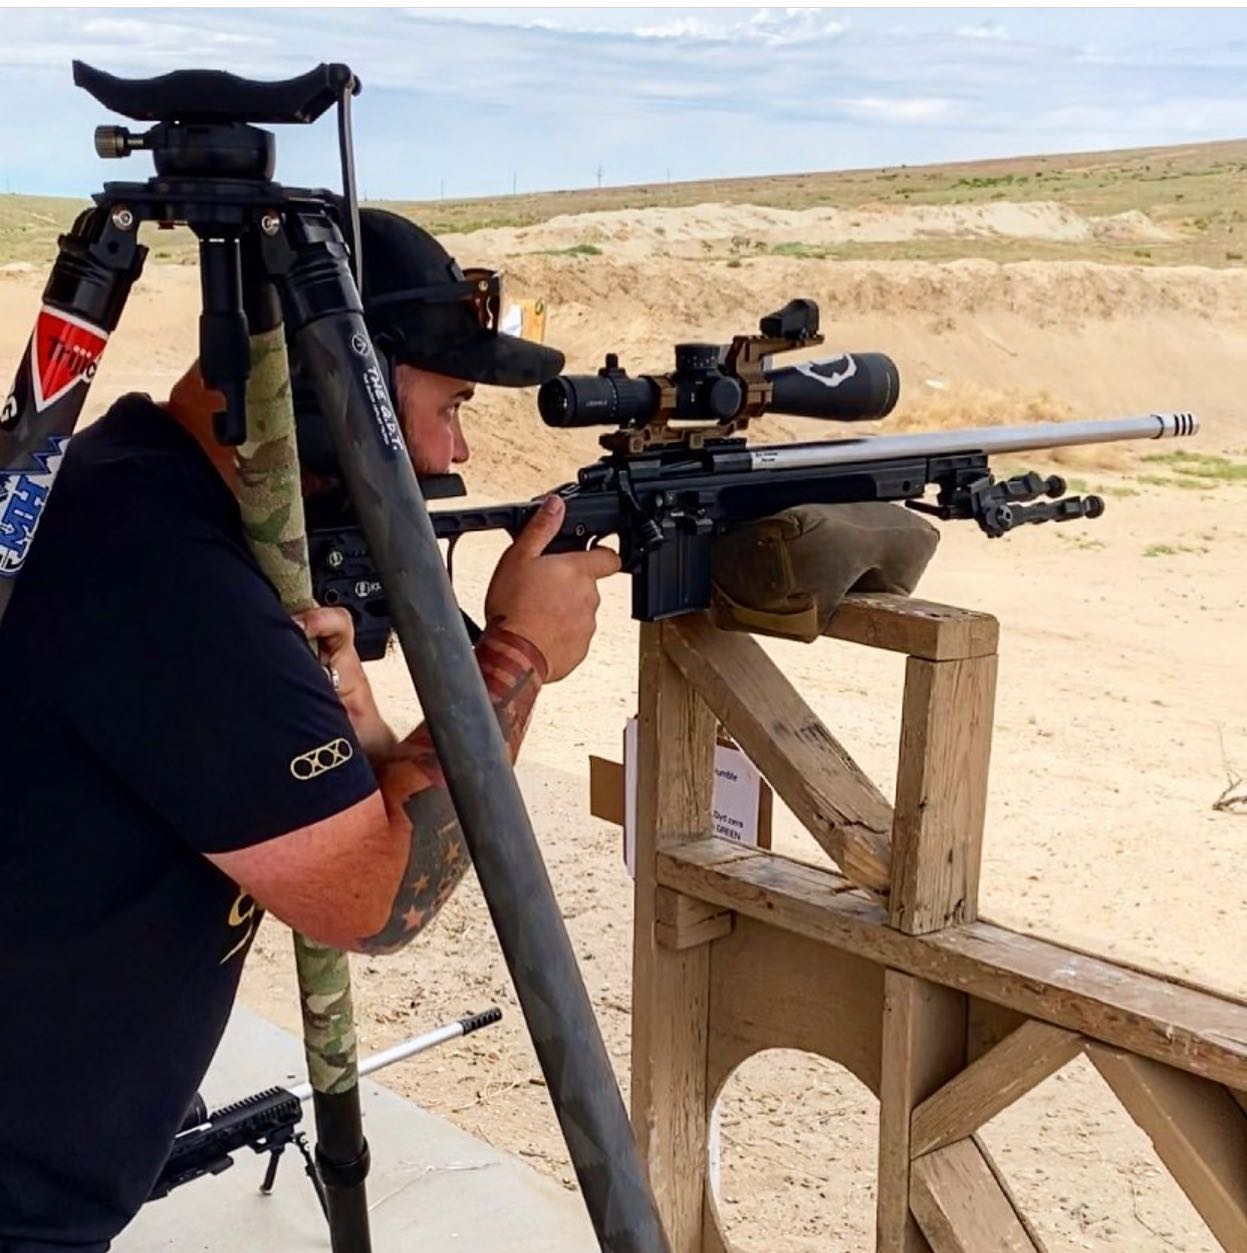
Technique:
• First build the front support
Place your bag and rifle onto the barricade or prop and aim naturally toward the target.
• Only then bring in the tripod
Once the rifle is already stable on target, position the tripod next to the buttstock.
• Always pull the tripod into position — never push it away
Pulling the tripod toward you keeps the legs loaded safely and reduces the risk of the tripod folding or collapsing under pressure.
• Loop your shooting arm between the tripod legs
• Grip the tripod leg and buttstock together with your support hand
This effectively combines two stable points of contact into one locked system.
• Let the rifle recoil naturally
A properly built tripod rear position should track extremely well and make spotting impacts significantly easier.
• Know when not to use it
This method is extremely stable, but it is also relatively slow to deploy. On fast “rush” stages, it is often smarter to leave the tripod at the spotting line instead of wasting valuable stage time.
Jan Charouz