
User Manual: Magazine for Bergara B-14 R
Thank you for purchasing our premium AICS-pattern .22LR magazine, designed specifically for the Bergara B14R platform. Built from precision-machined billet aluminum with a tunable catch system, this magazine ensures flawless feeding across a variety of chassis and bottom metals.
1. Maintenance
Our billet magazine uses a two-piece clamshell design. Routine maintenance is critical to ensuring reliable feeding, especially after heavy field use or exposure to fine dust and debris.
Disassembly
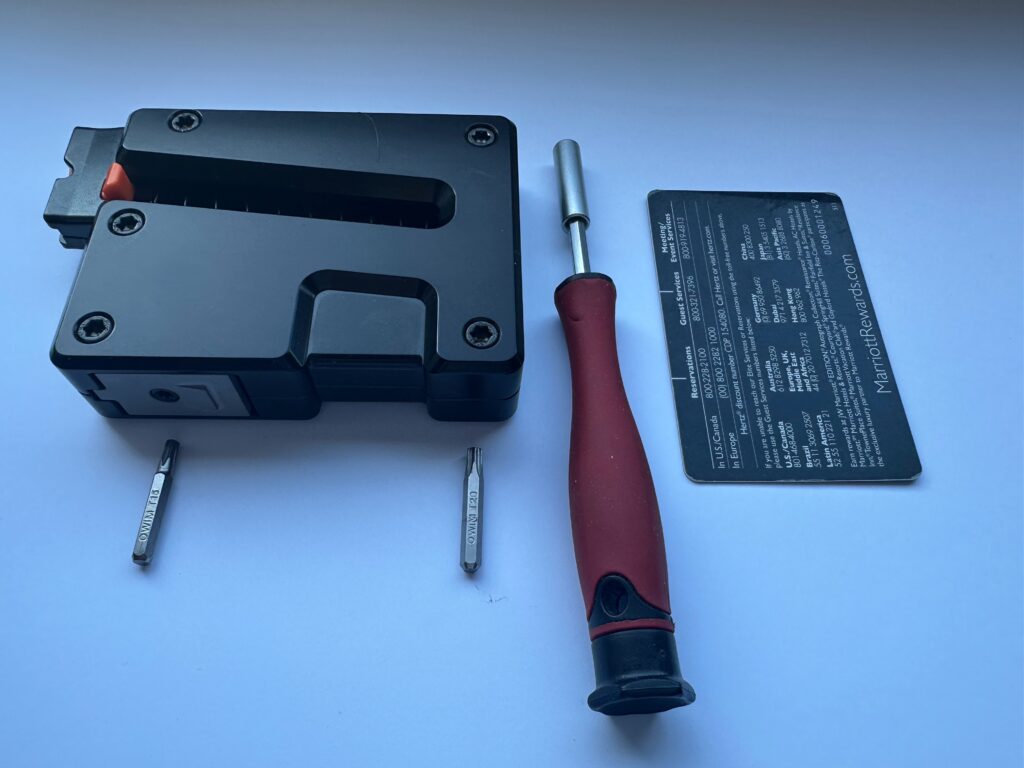
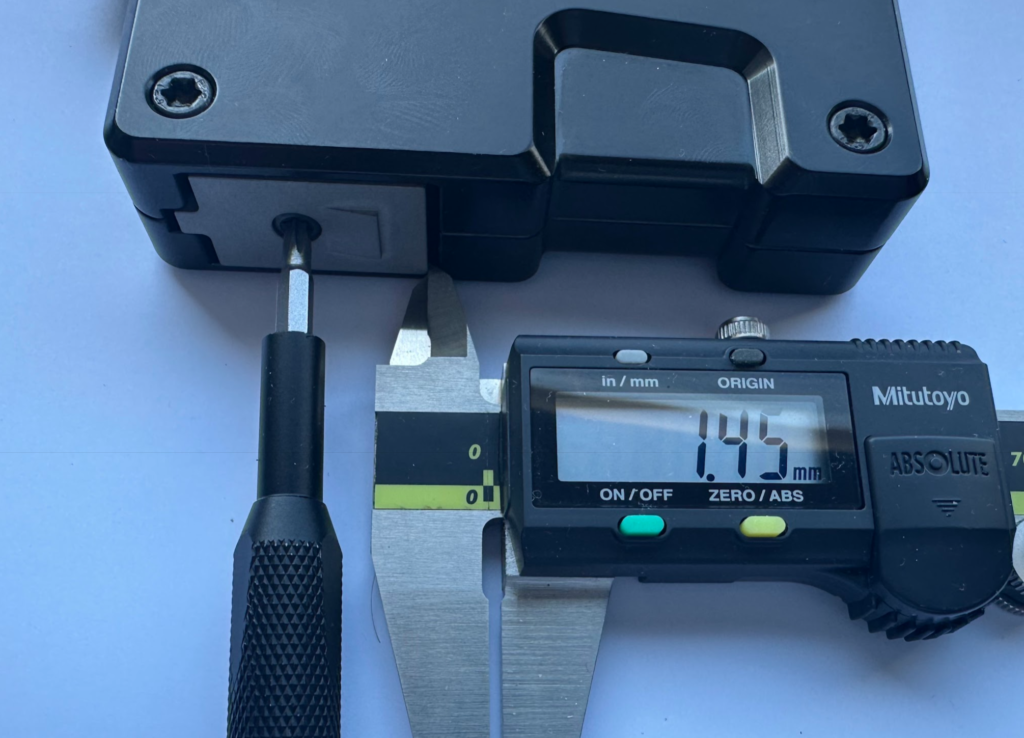
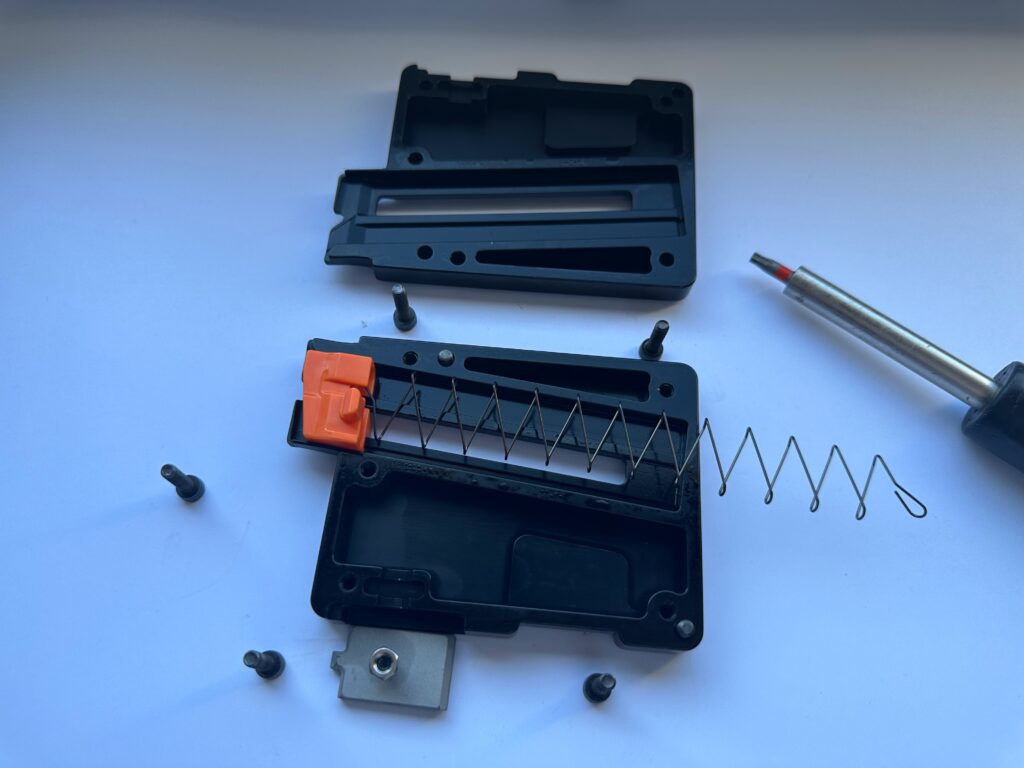
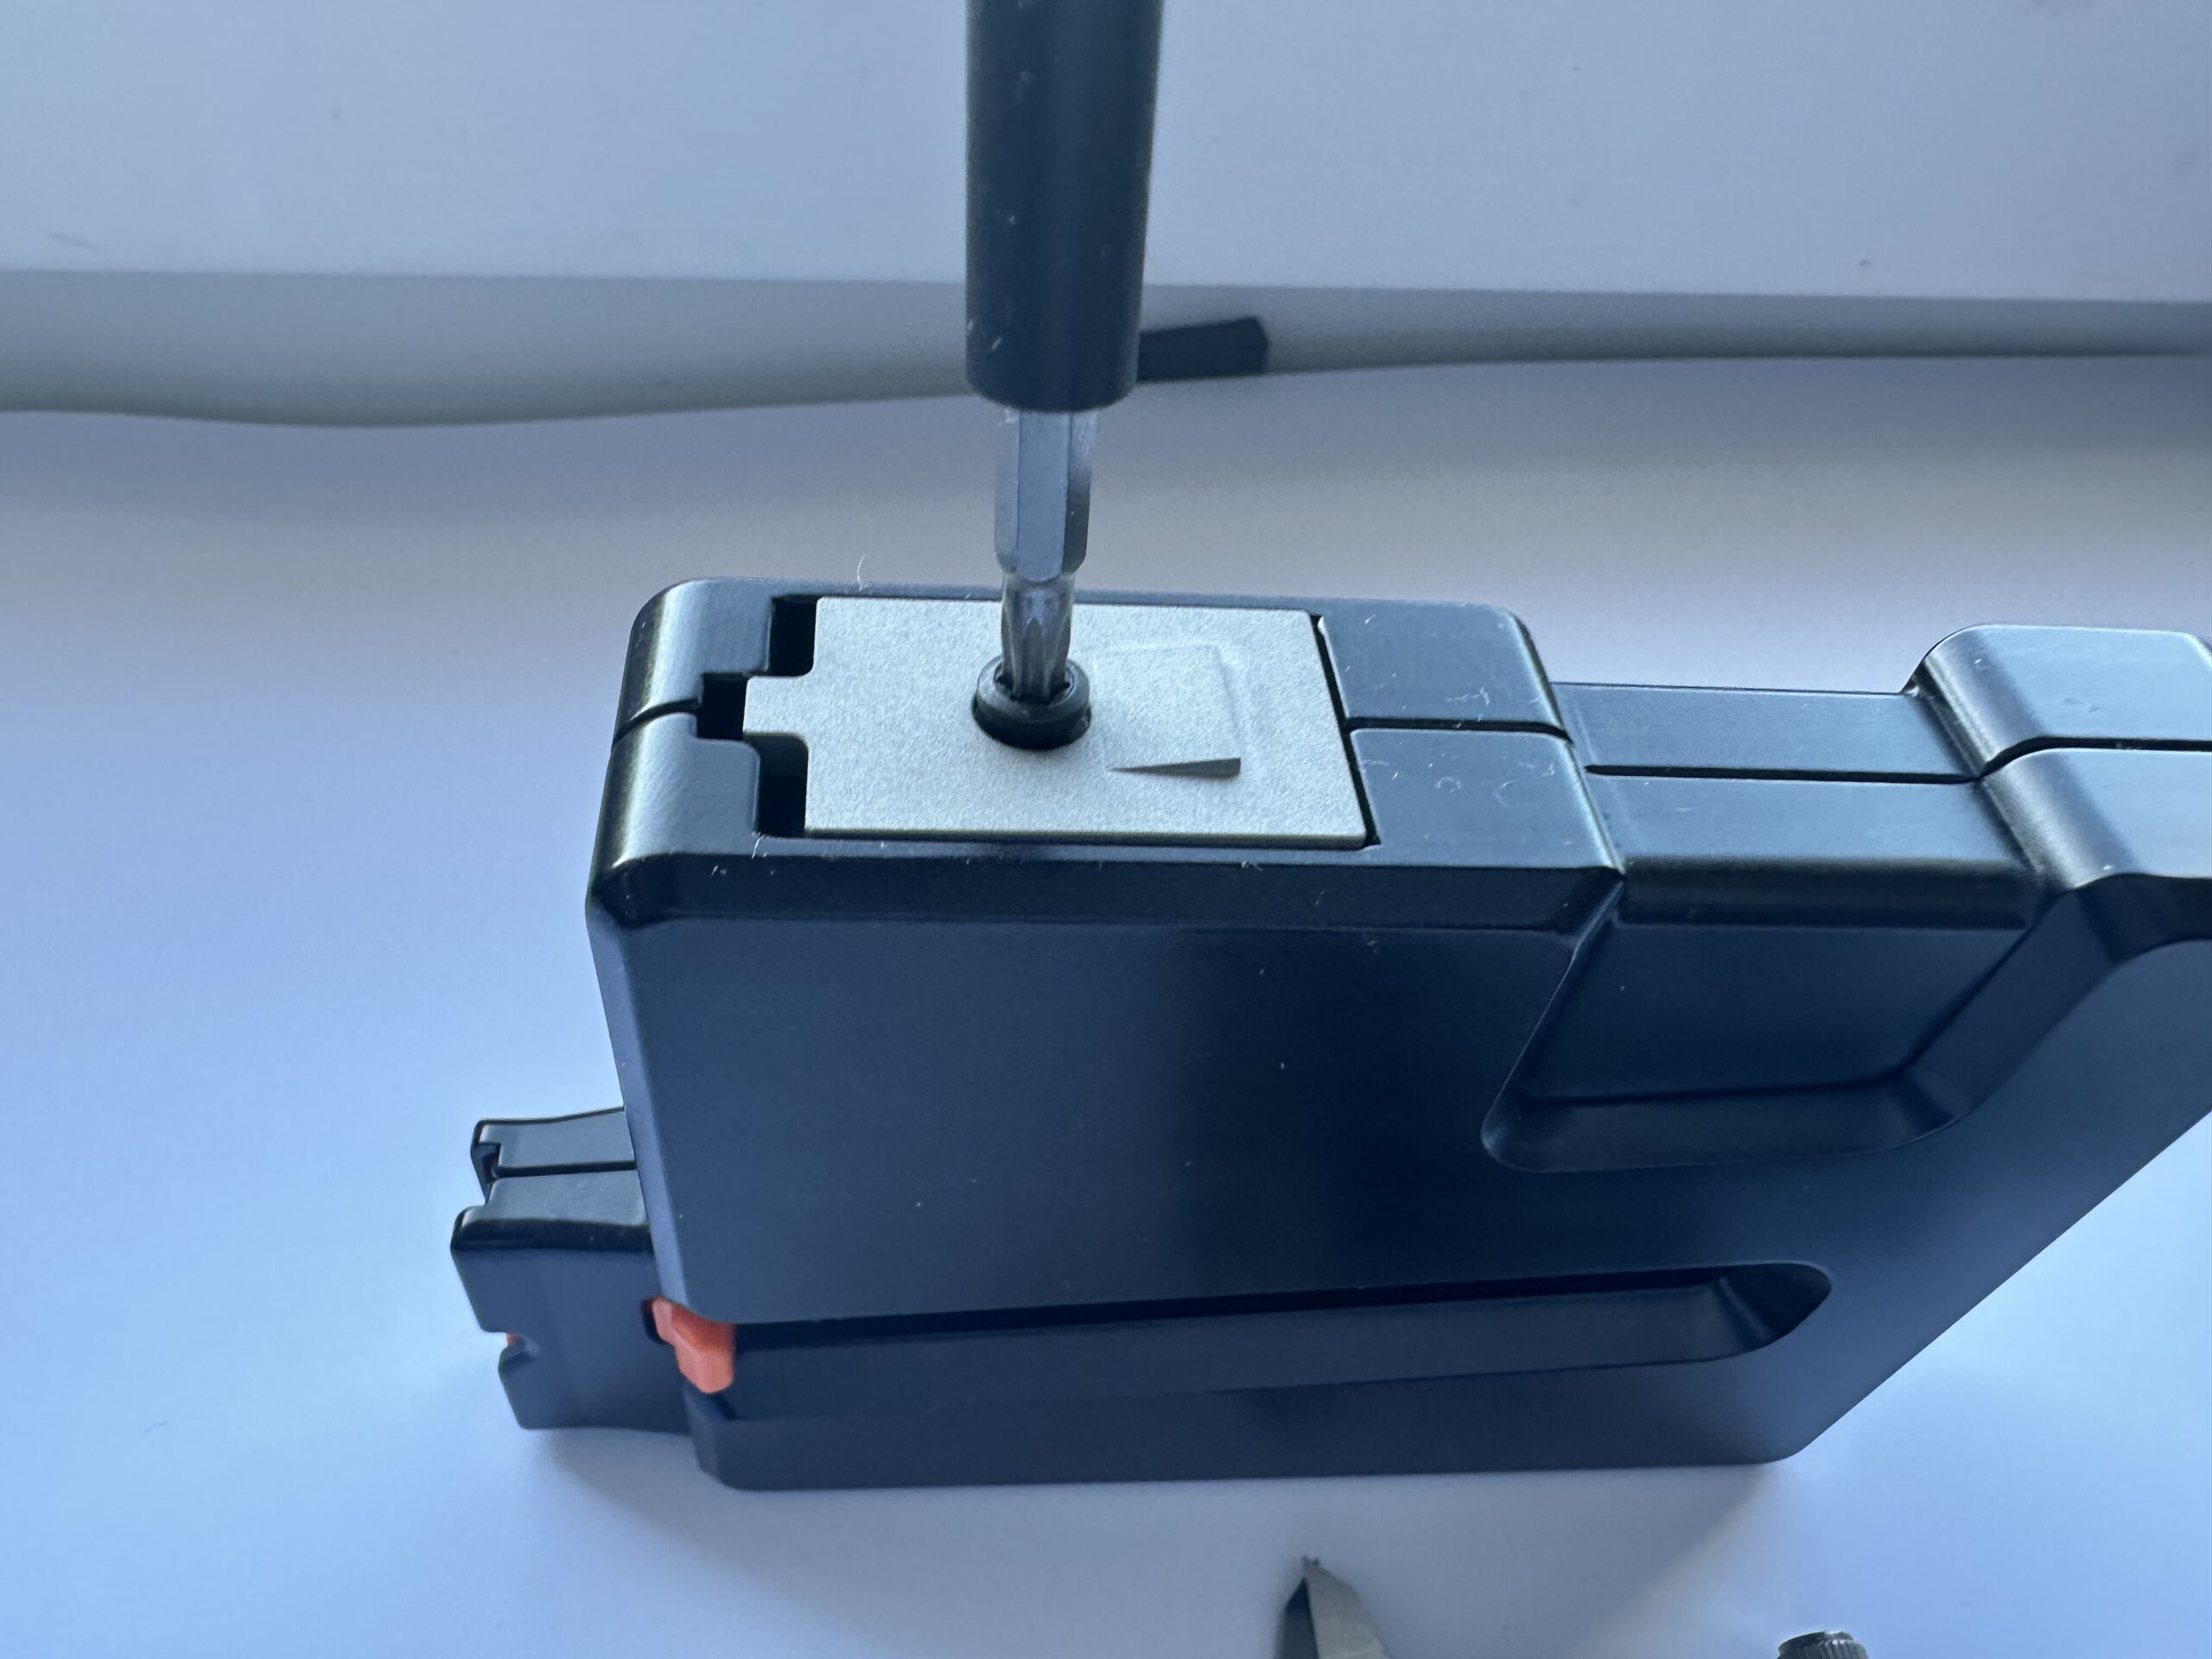
- Mark or measure current catch plate height, and the using a T15 Torx driver, loosen catch plate, by about 1 turn.
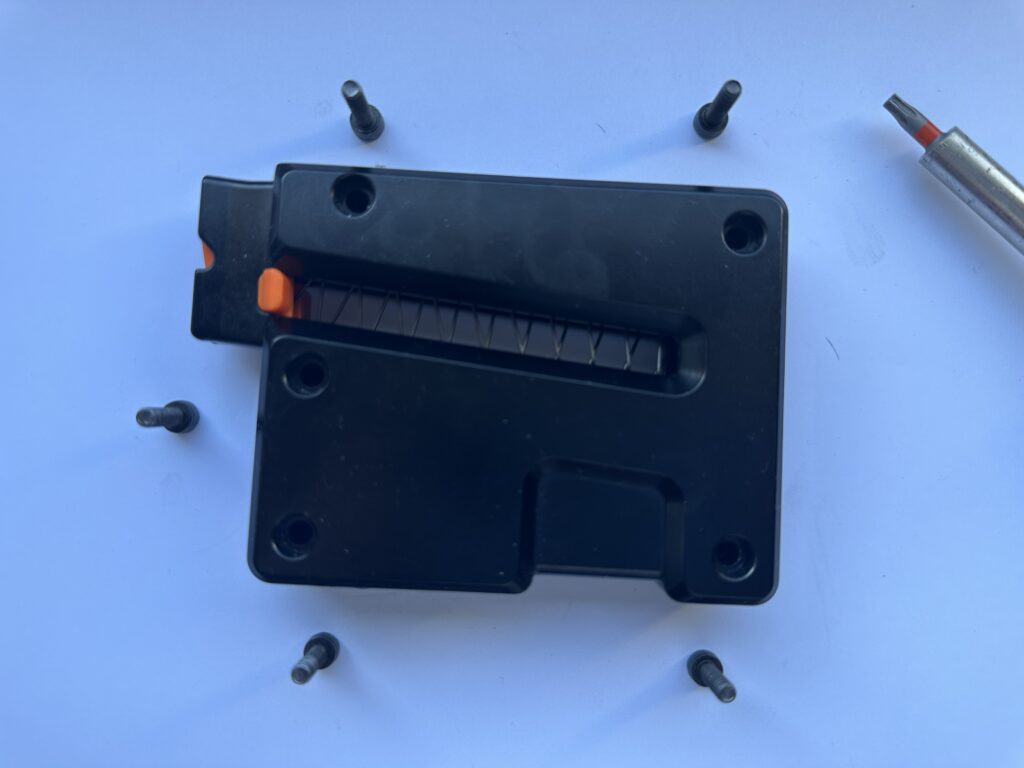
- Using a T25 Torx driver, loosen and remove the 5 M4 screws located on the side of the magazine body.
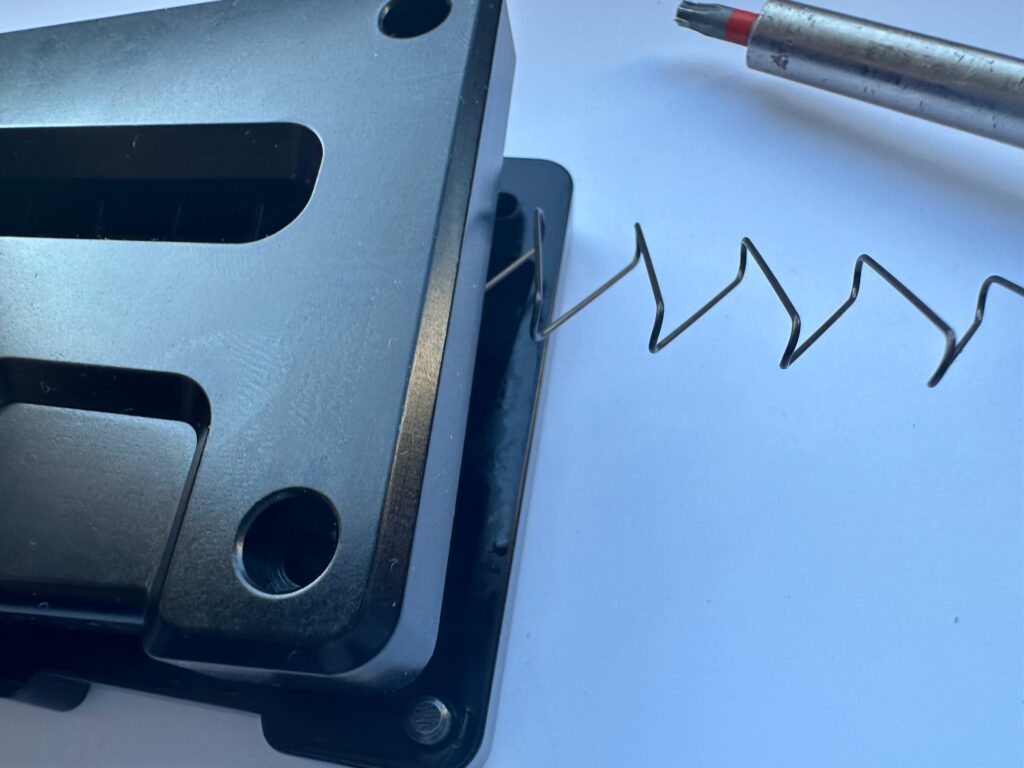
- Carefully separate the two billet halves. The halves might be stuck together, as loctite is used to hold in the guide pins. You may need to pry them apart the first time with a plastic wedge/tool. Be careful not scratch the surface finish. Caution: The internal spring is under tension. Keep downward pressure on both halves while removing the final screws to prevent the spring from ejecting.
- Once separated, remove the spring and the follower from the magazine body halves.
- There are two guide pins inside, that align the two halves. Try not to loose them.
Cleaning
- Wipe down the inside tracks of both billet halves using a clean, dry microfiber cloth.
- Wipe clean the follower and spring.
- Do not use heavy oils or wet lubricants inside the magazine. Wet lubes attract carbon and dirt, causing the follower to bind. If lubrication is absolutely necessary, use a lightweight dry PTFE spray and wipe away any excess.
Assembly
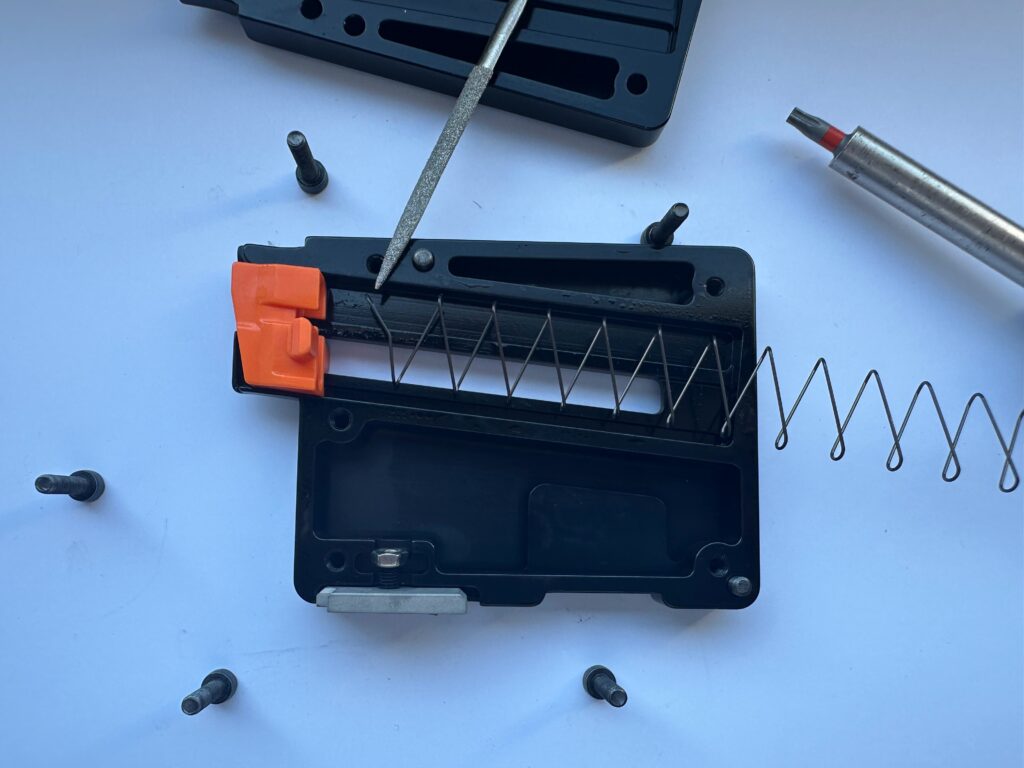
- Lay one of the billet halves flat on your workbench.
- Place the follower and spring into their designated channels within that half, ensuring the follower is facing the correct direction.
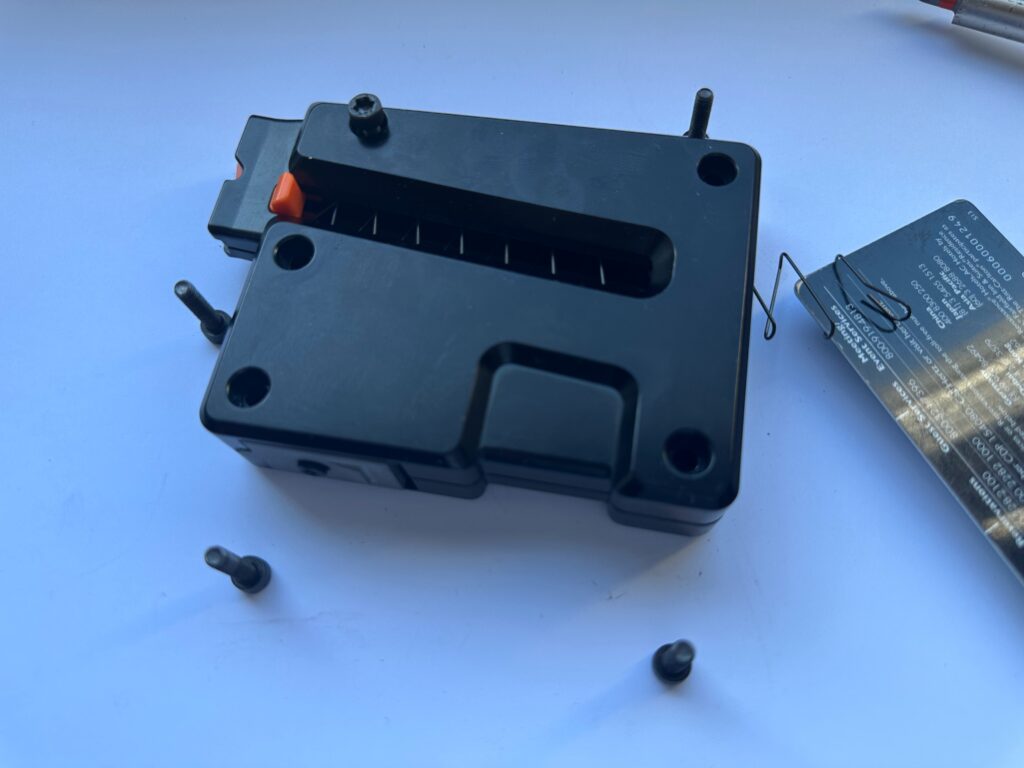
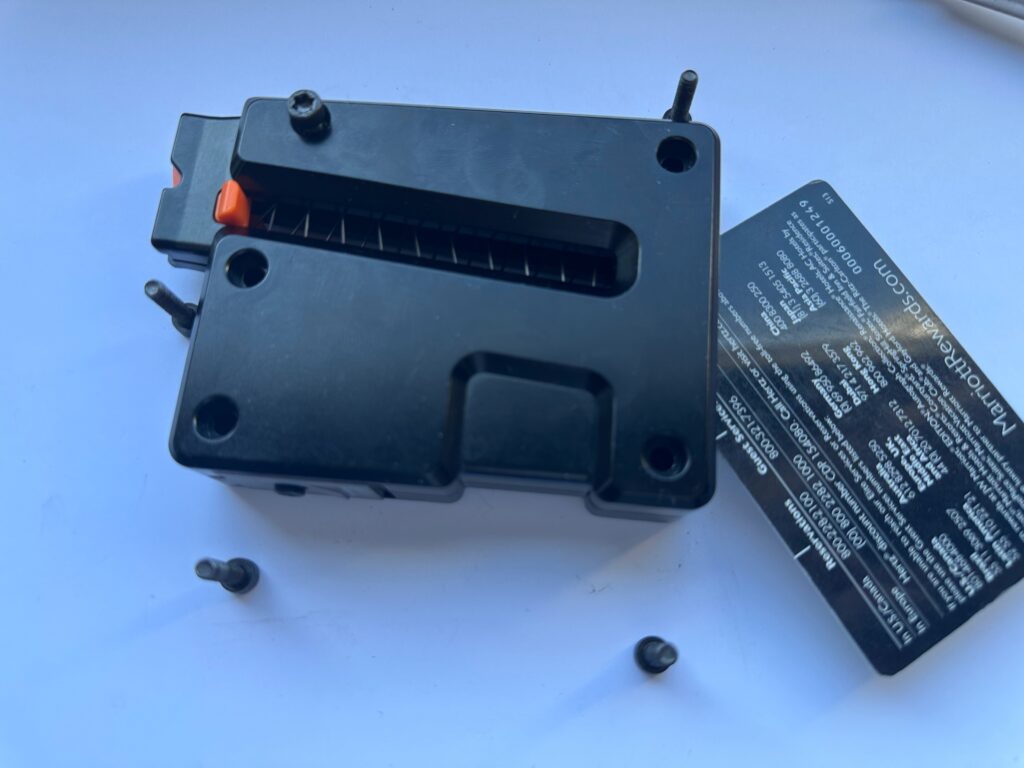
- Carefully place the second billet half on top. You may need knife or credit card corner to compress the spring to keep to put it inside the track before fully closing the halves together.
- Thread the 5 M4 screws back into their holes and hand-tighten them evenly in a star pattern using your T25 Torx driver. Use about 2nm torque.
2. Magazine Catch Height Setting
Because chassis and action tolerances vary, our magazine features an adjustable catch system. This allows you to set the exact height the magazine sits inside the magwell, ensuring the bolt smoothly strips the .22LR cartridge from the feed lips.
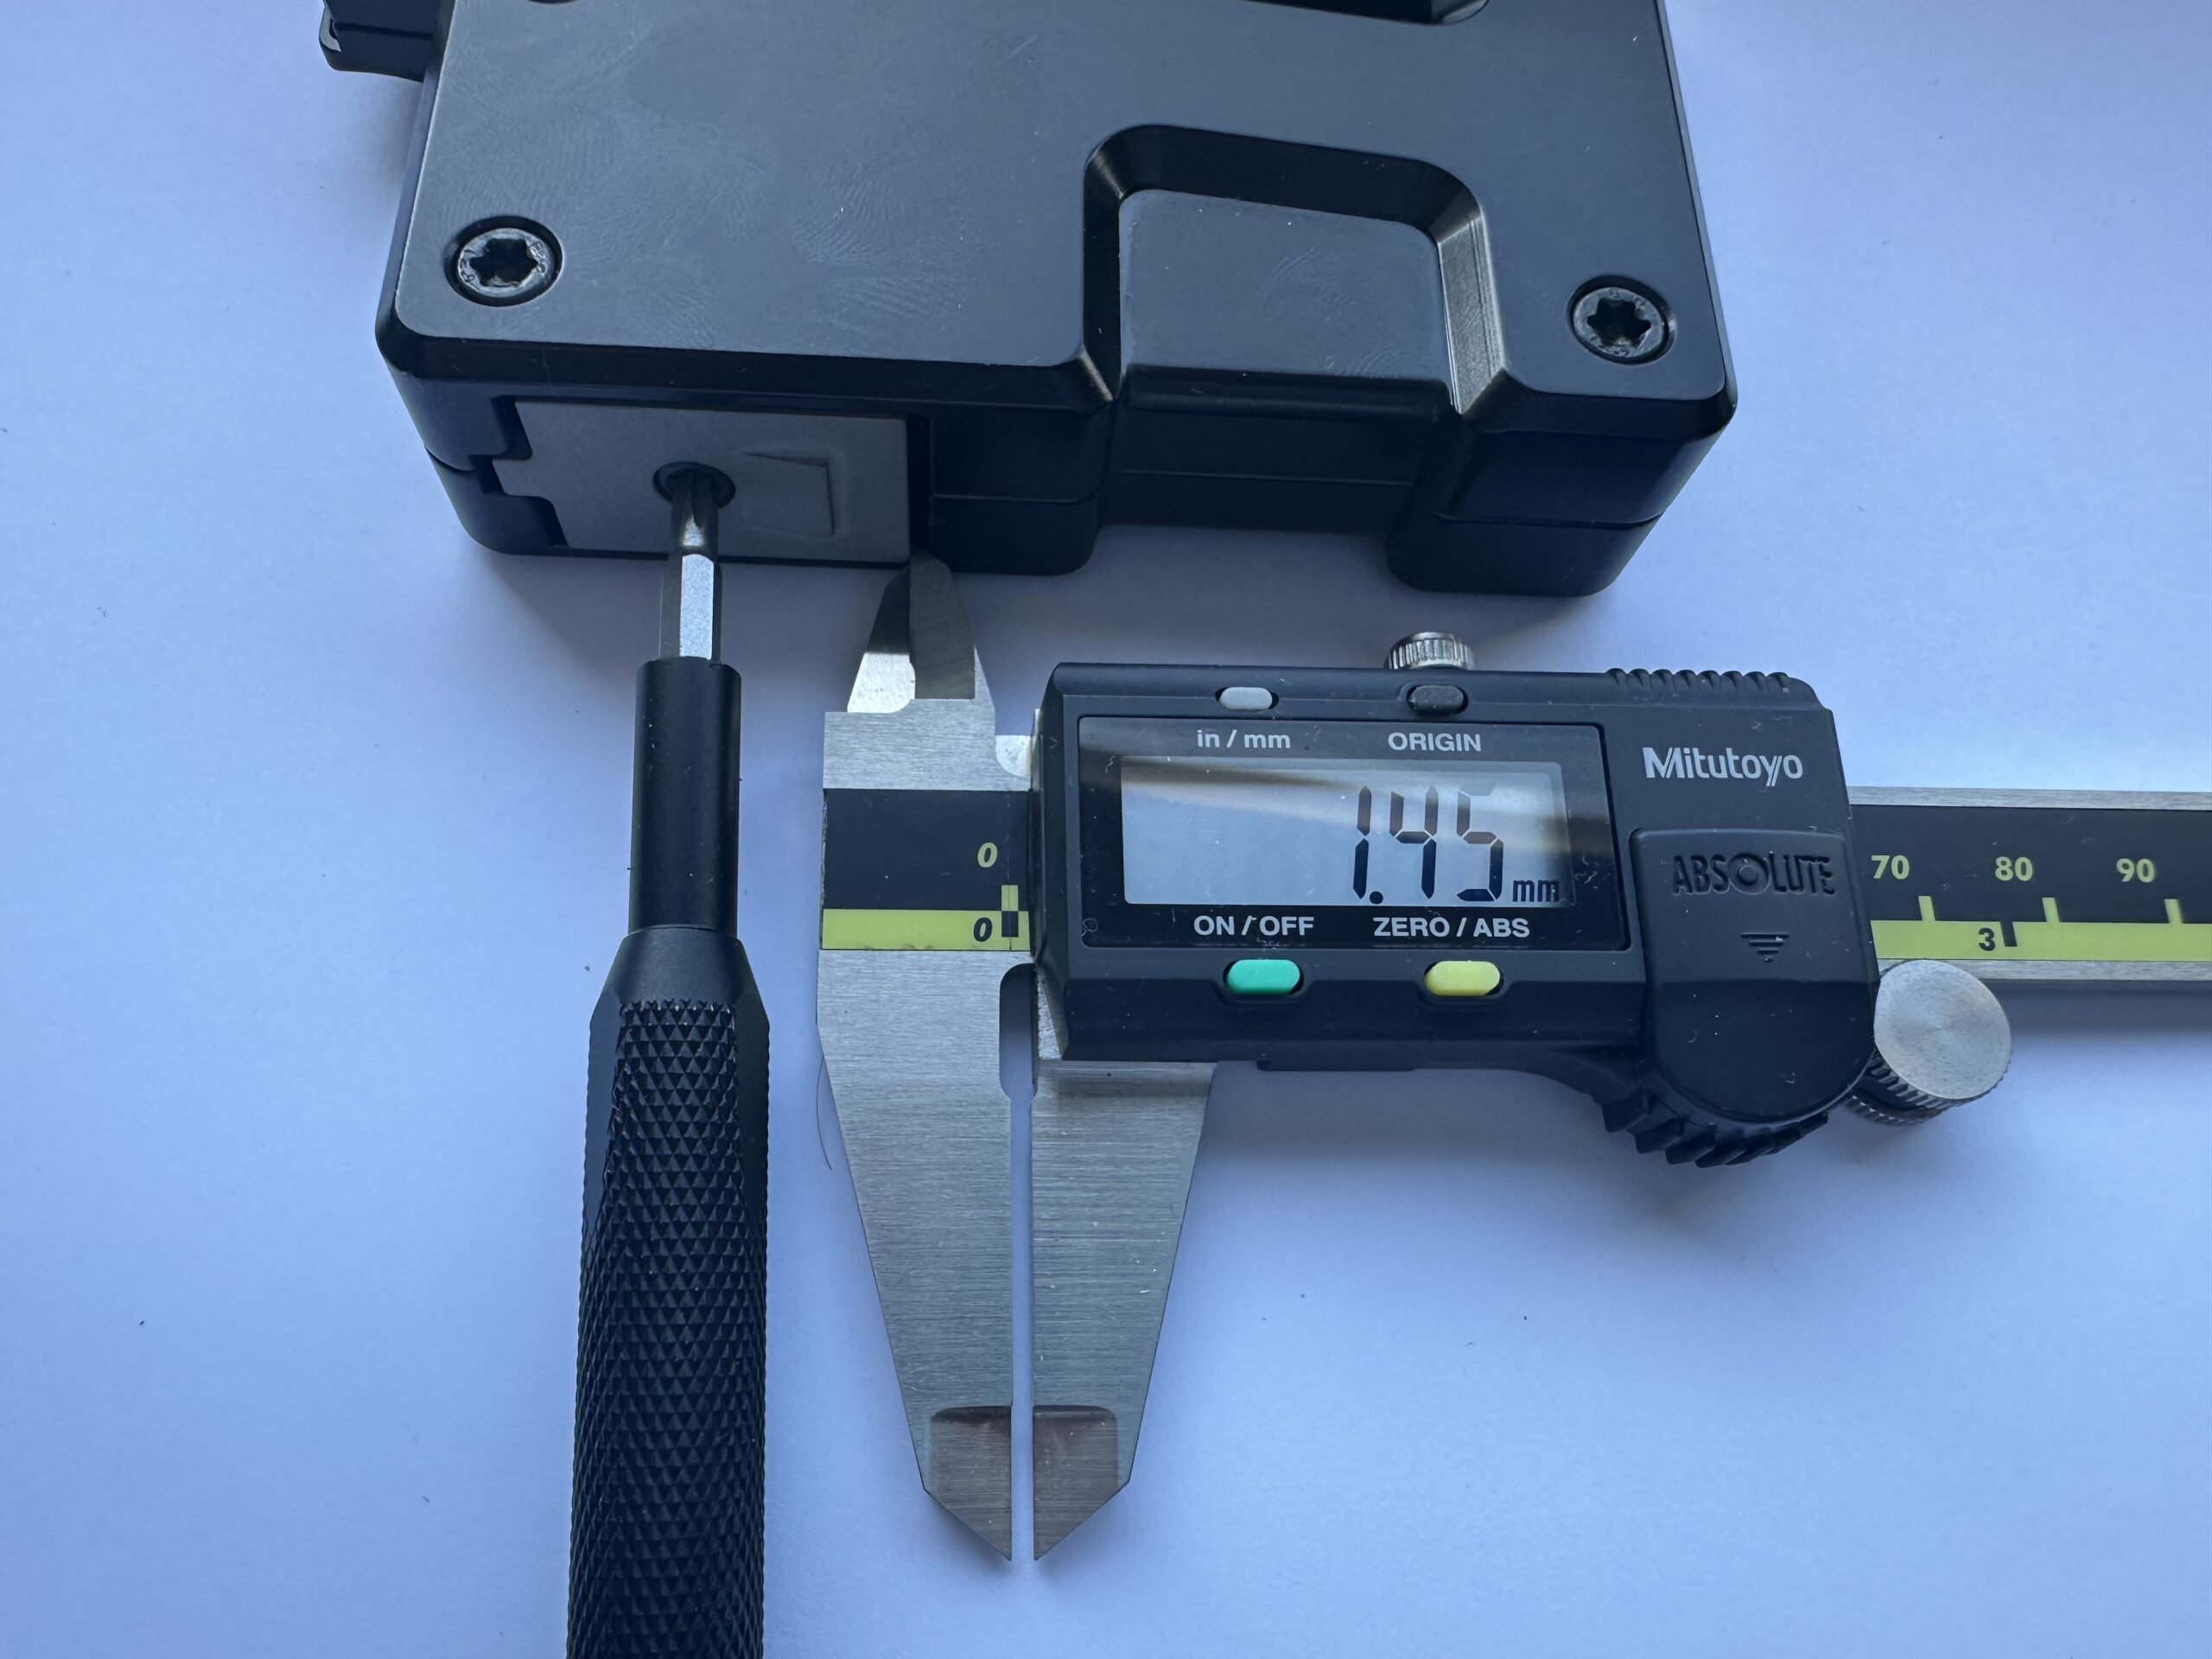
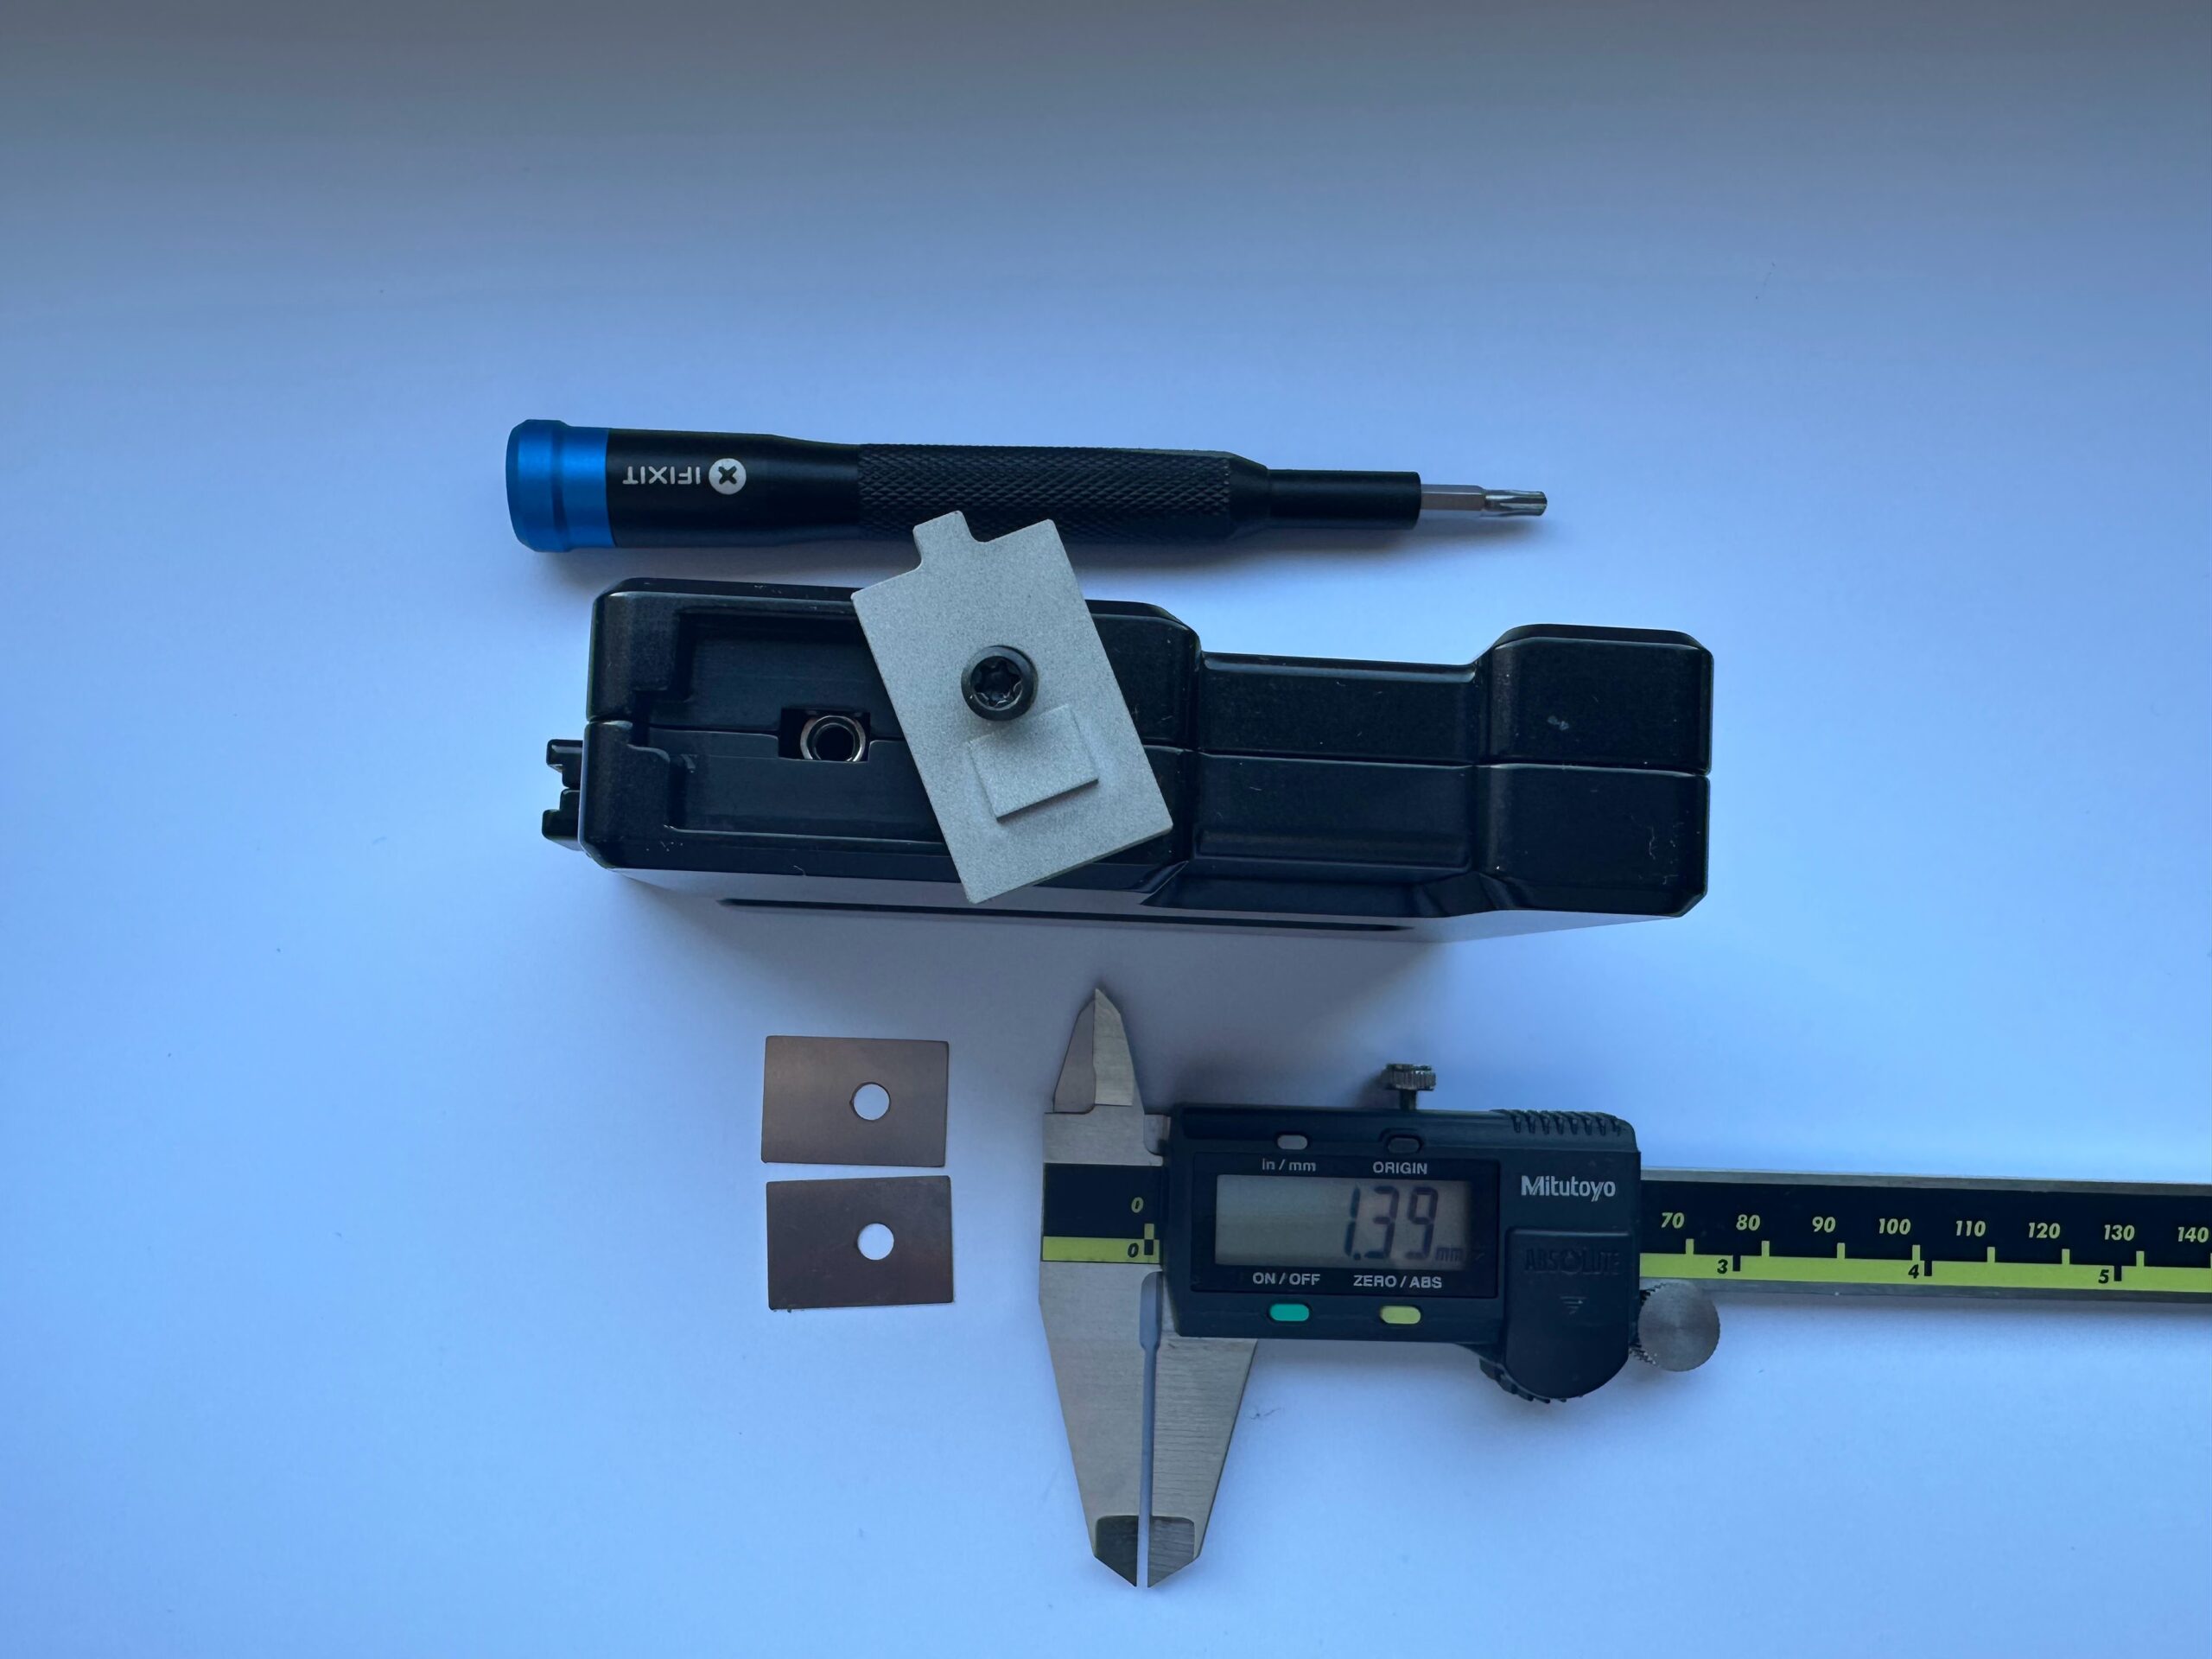
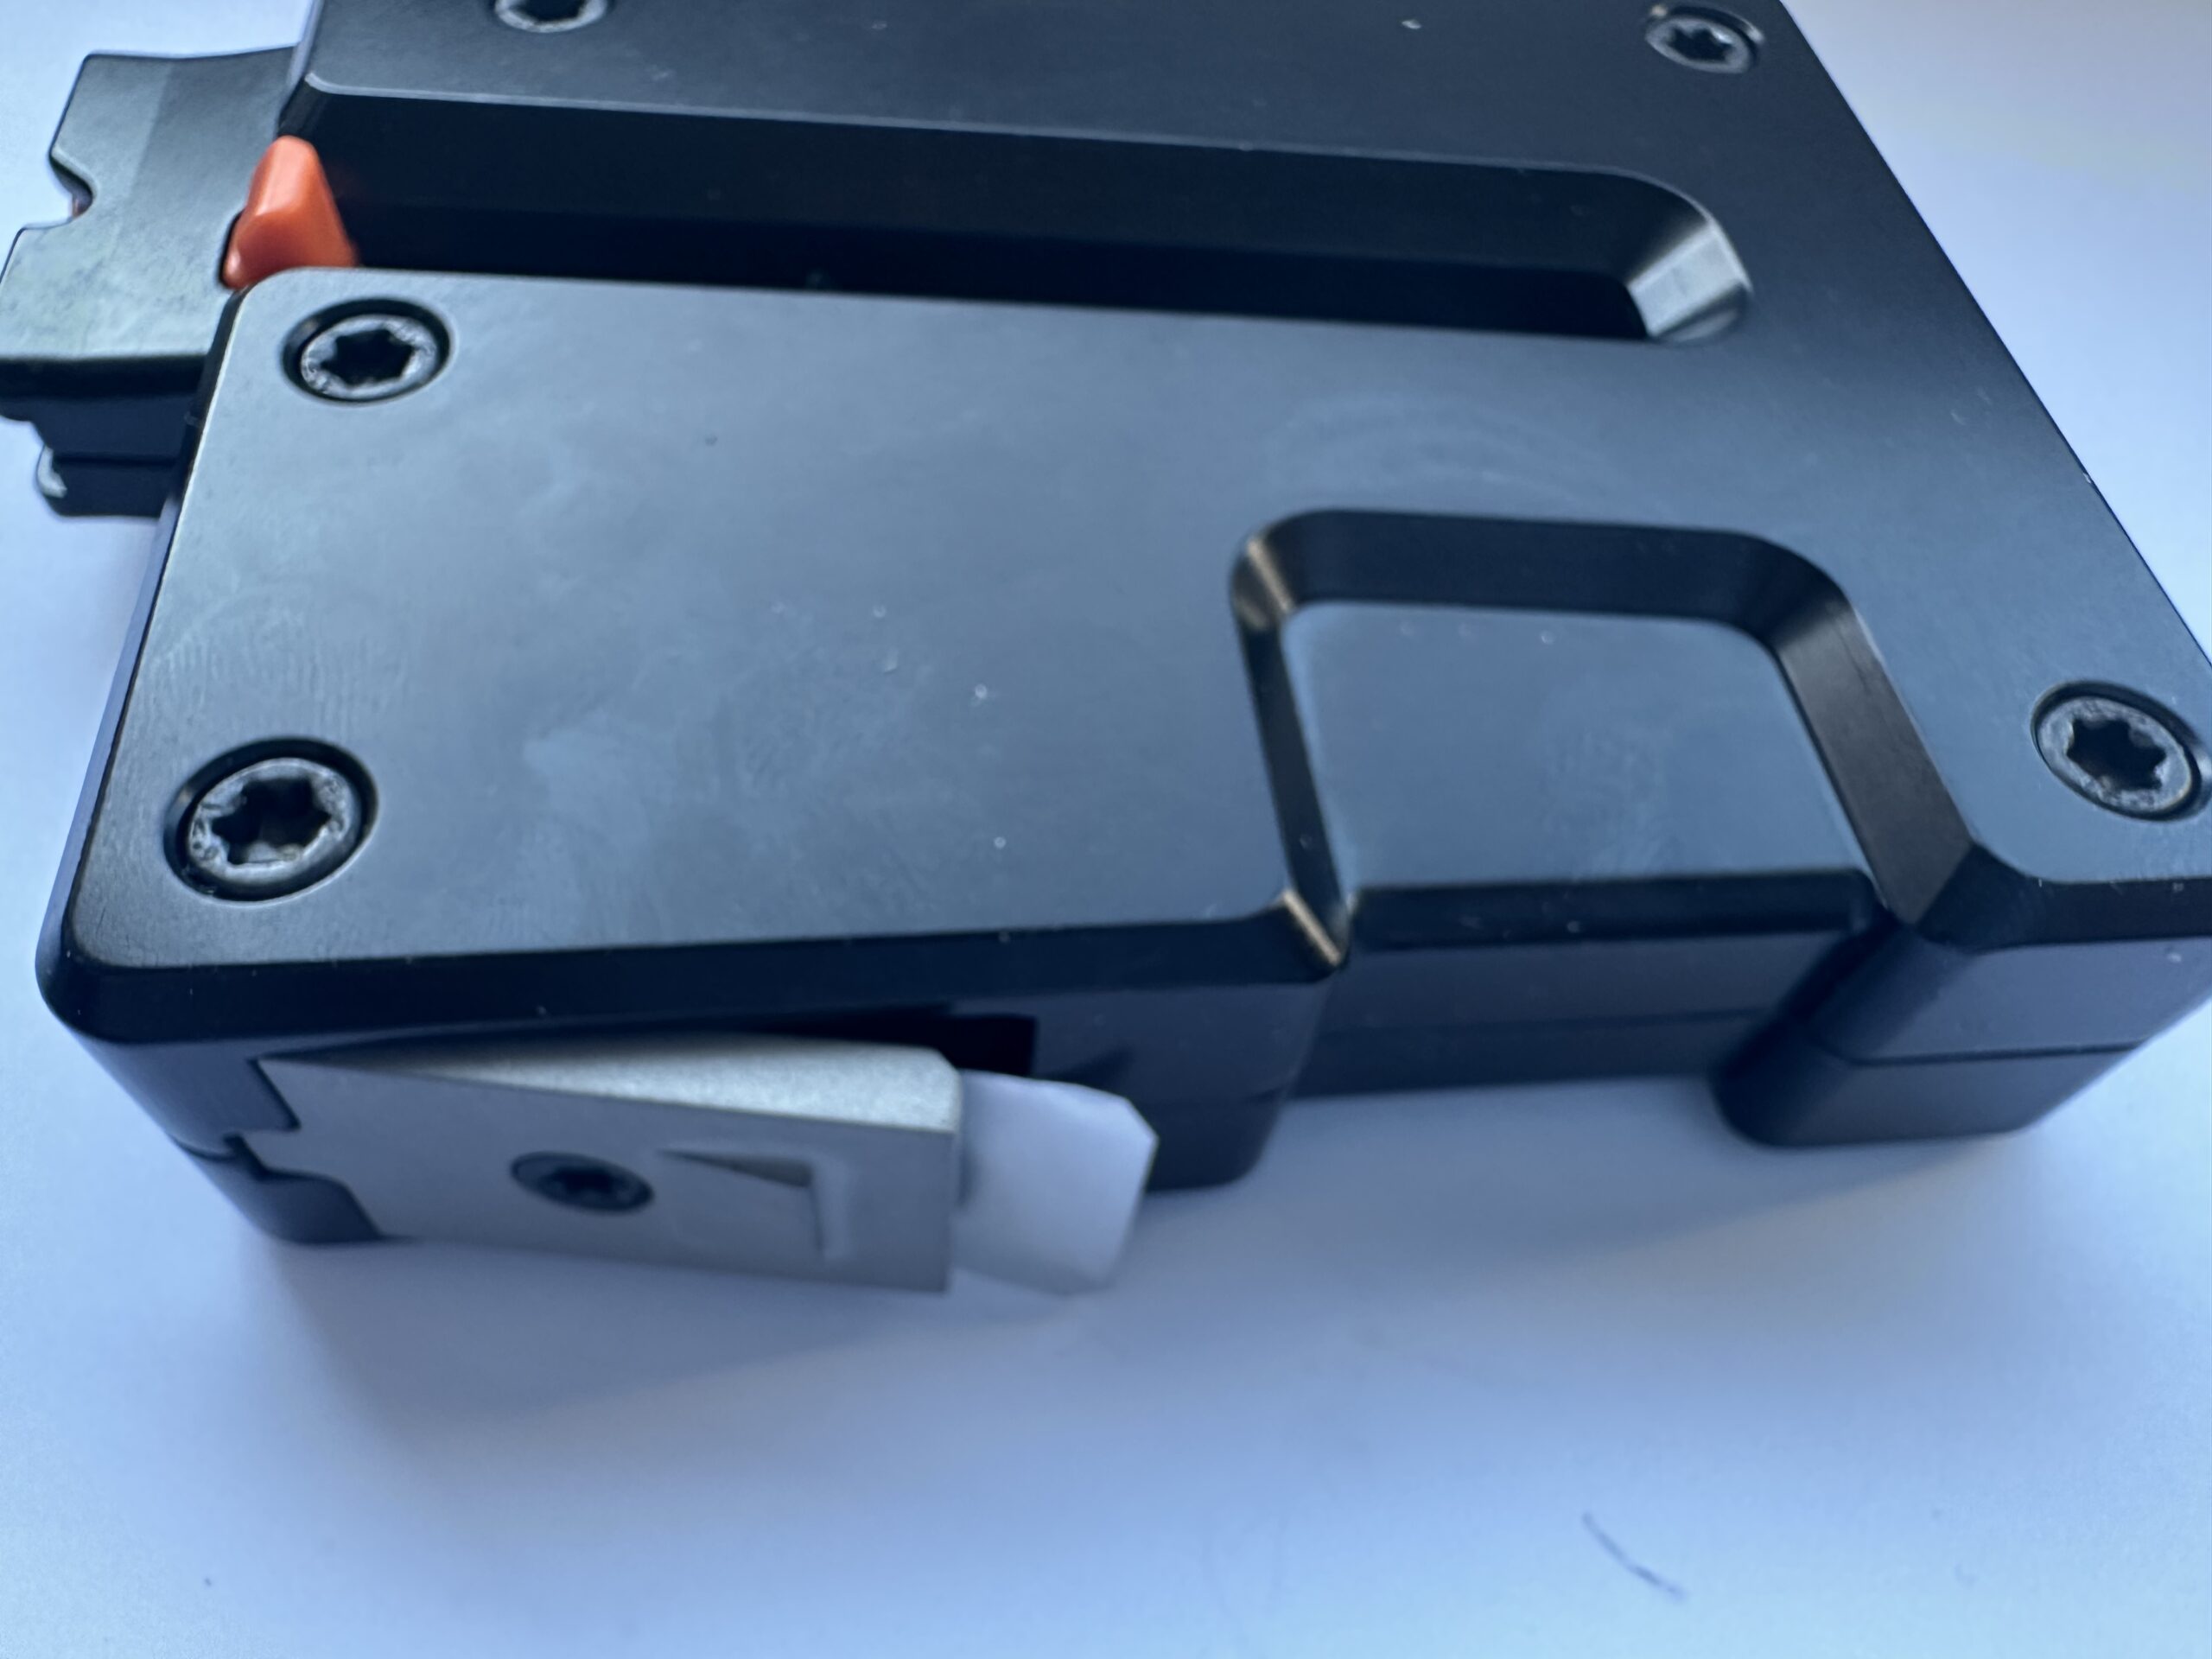
To adjust the basic catch height, use a T15 Torx driver to slightly loosen the retaining screws on the magazine catch plate located on the spine of the magazine. Slide the plate up or down to achieve the desired lock-up height, then re-tighten the screws. The magazine should lock in positively without requiring excessive force, while the catch latch is holding it is as height as possible.
We recommend to start from top plate position and iterate down by small about 0.2 mm decrements. Caliper is recommended, but not needed.
3. Width Fine-Tuning
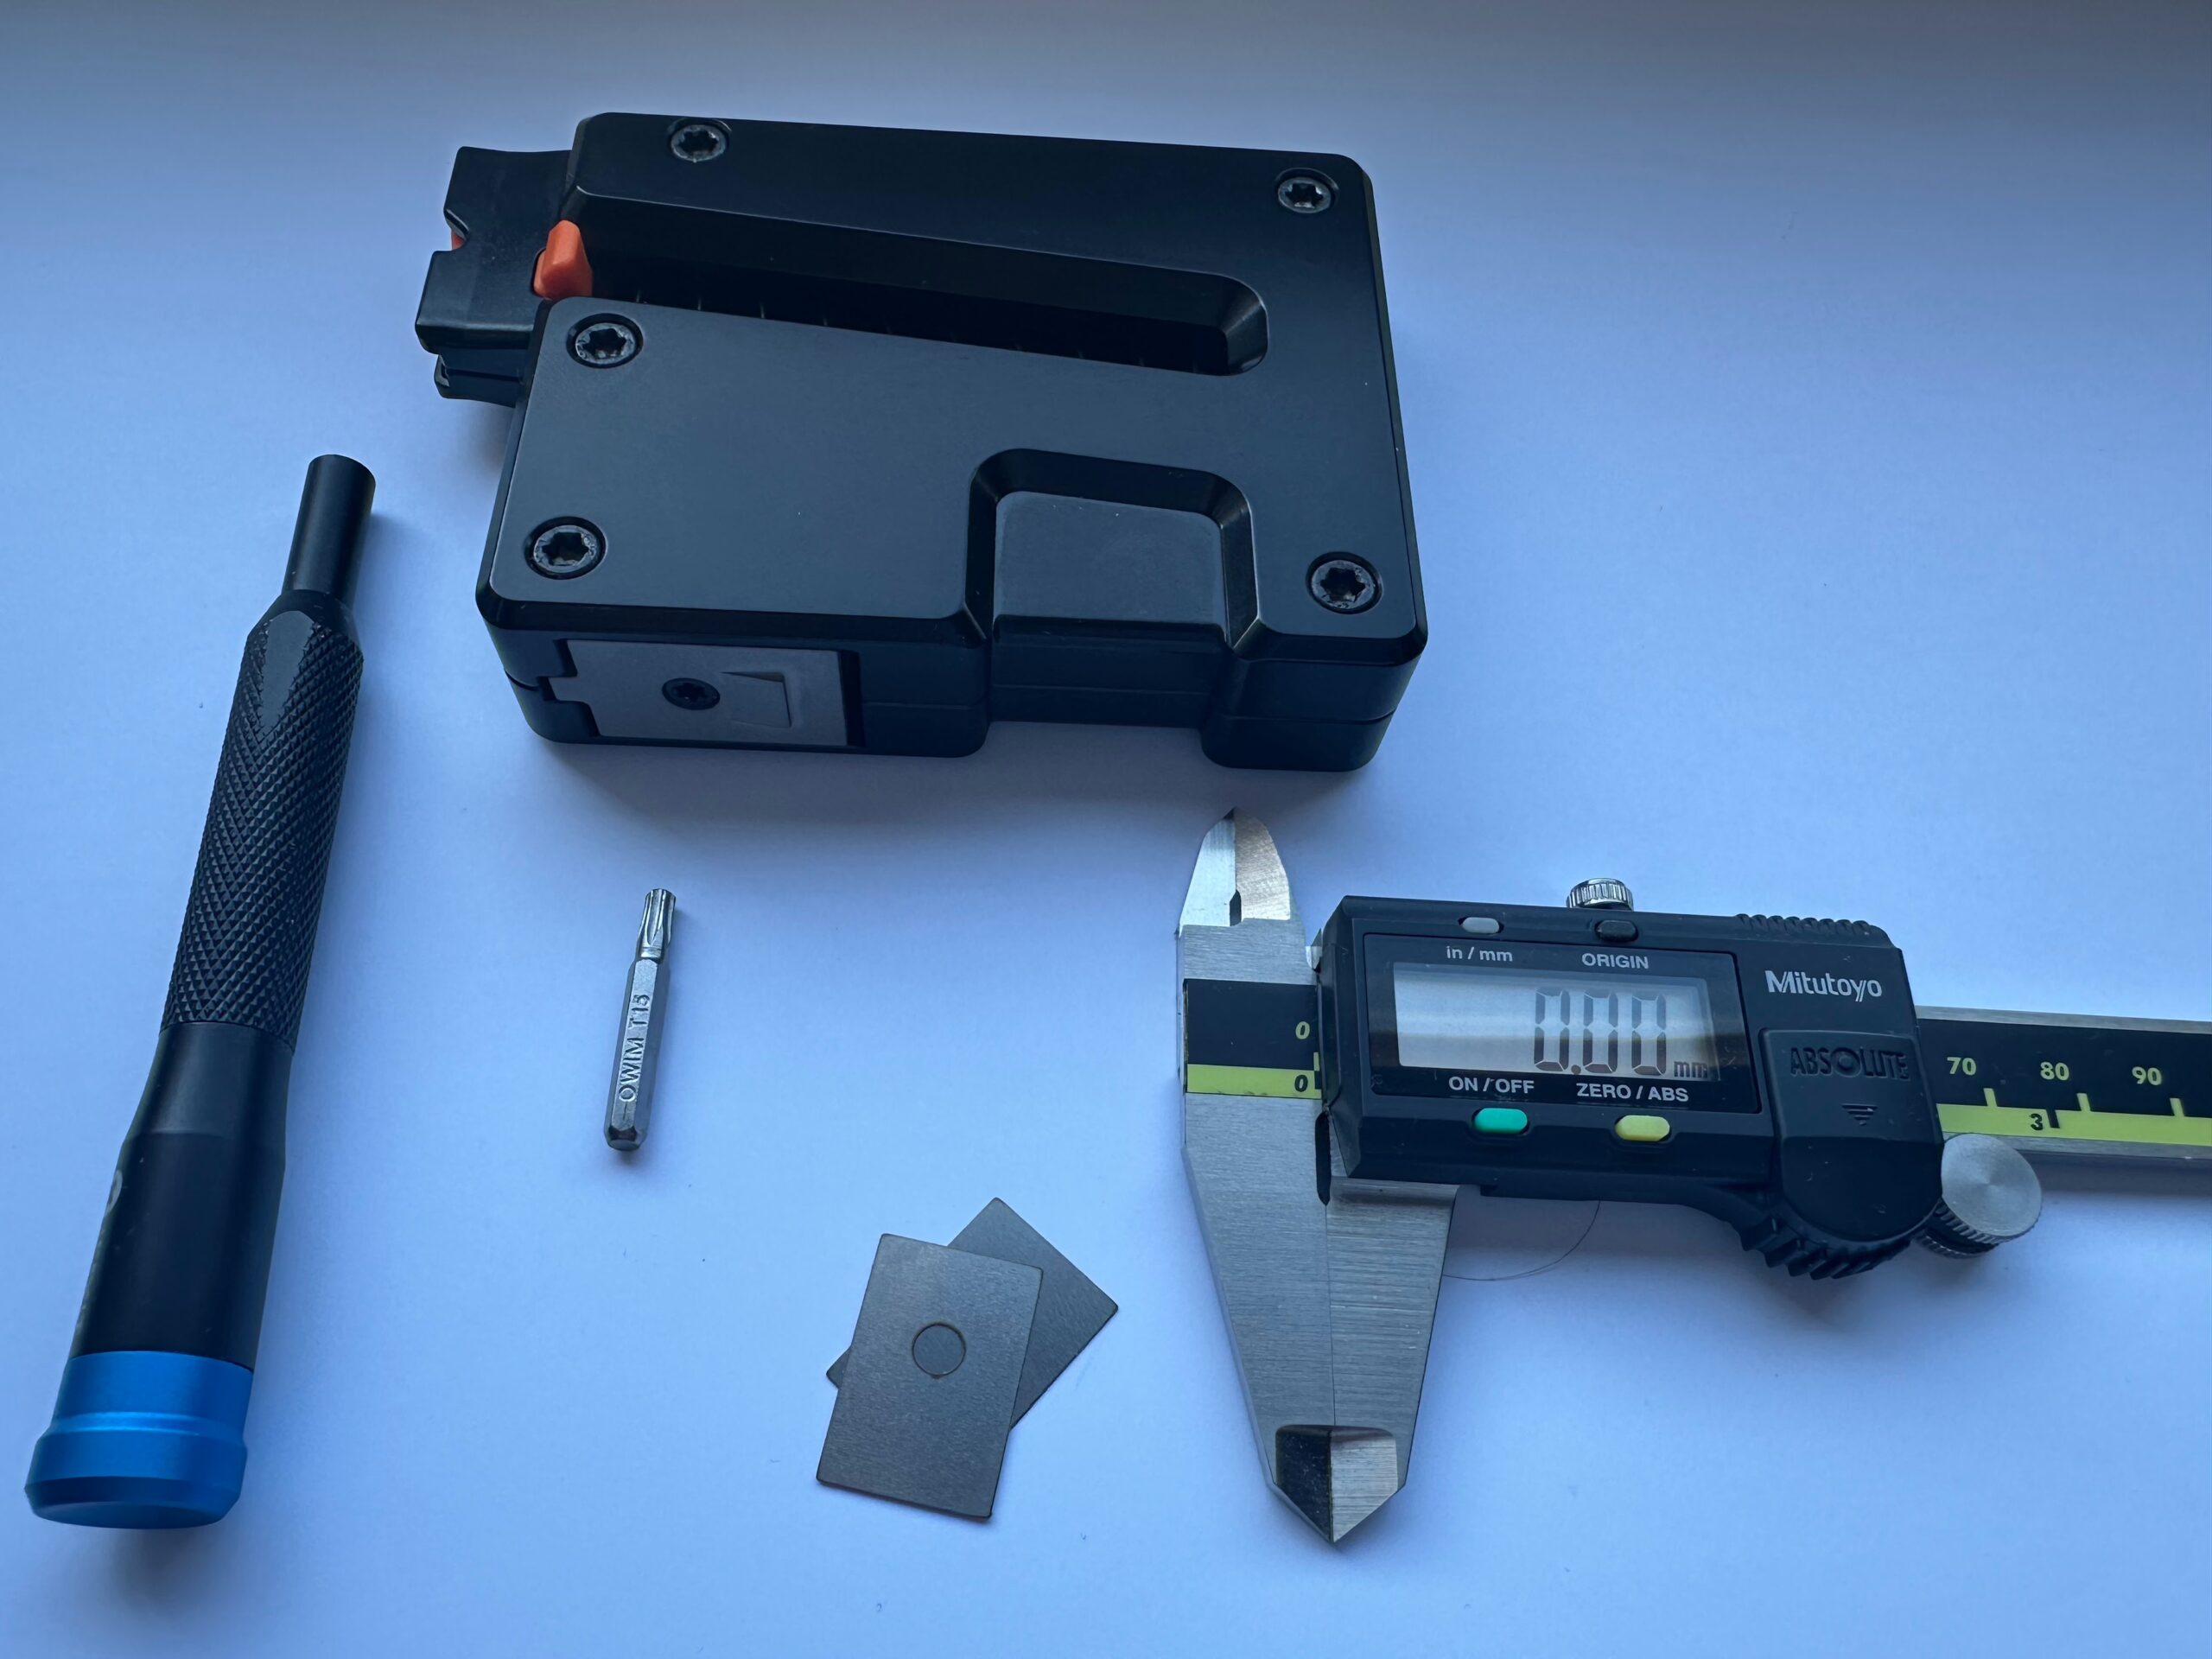
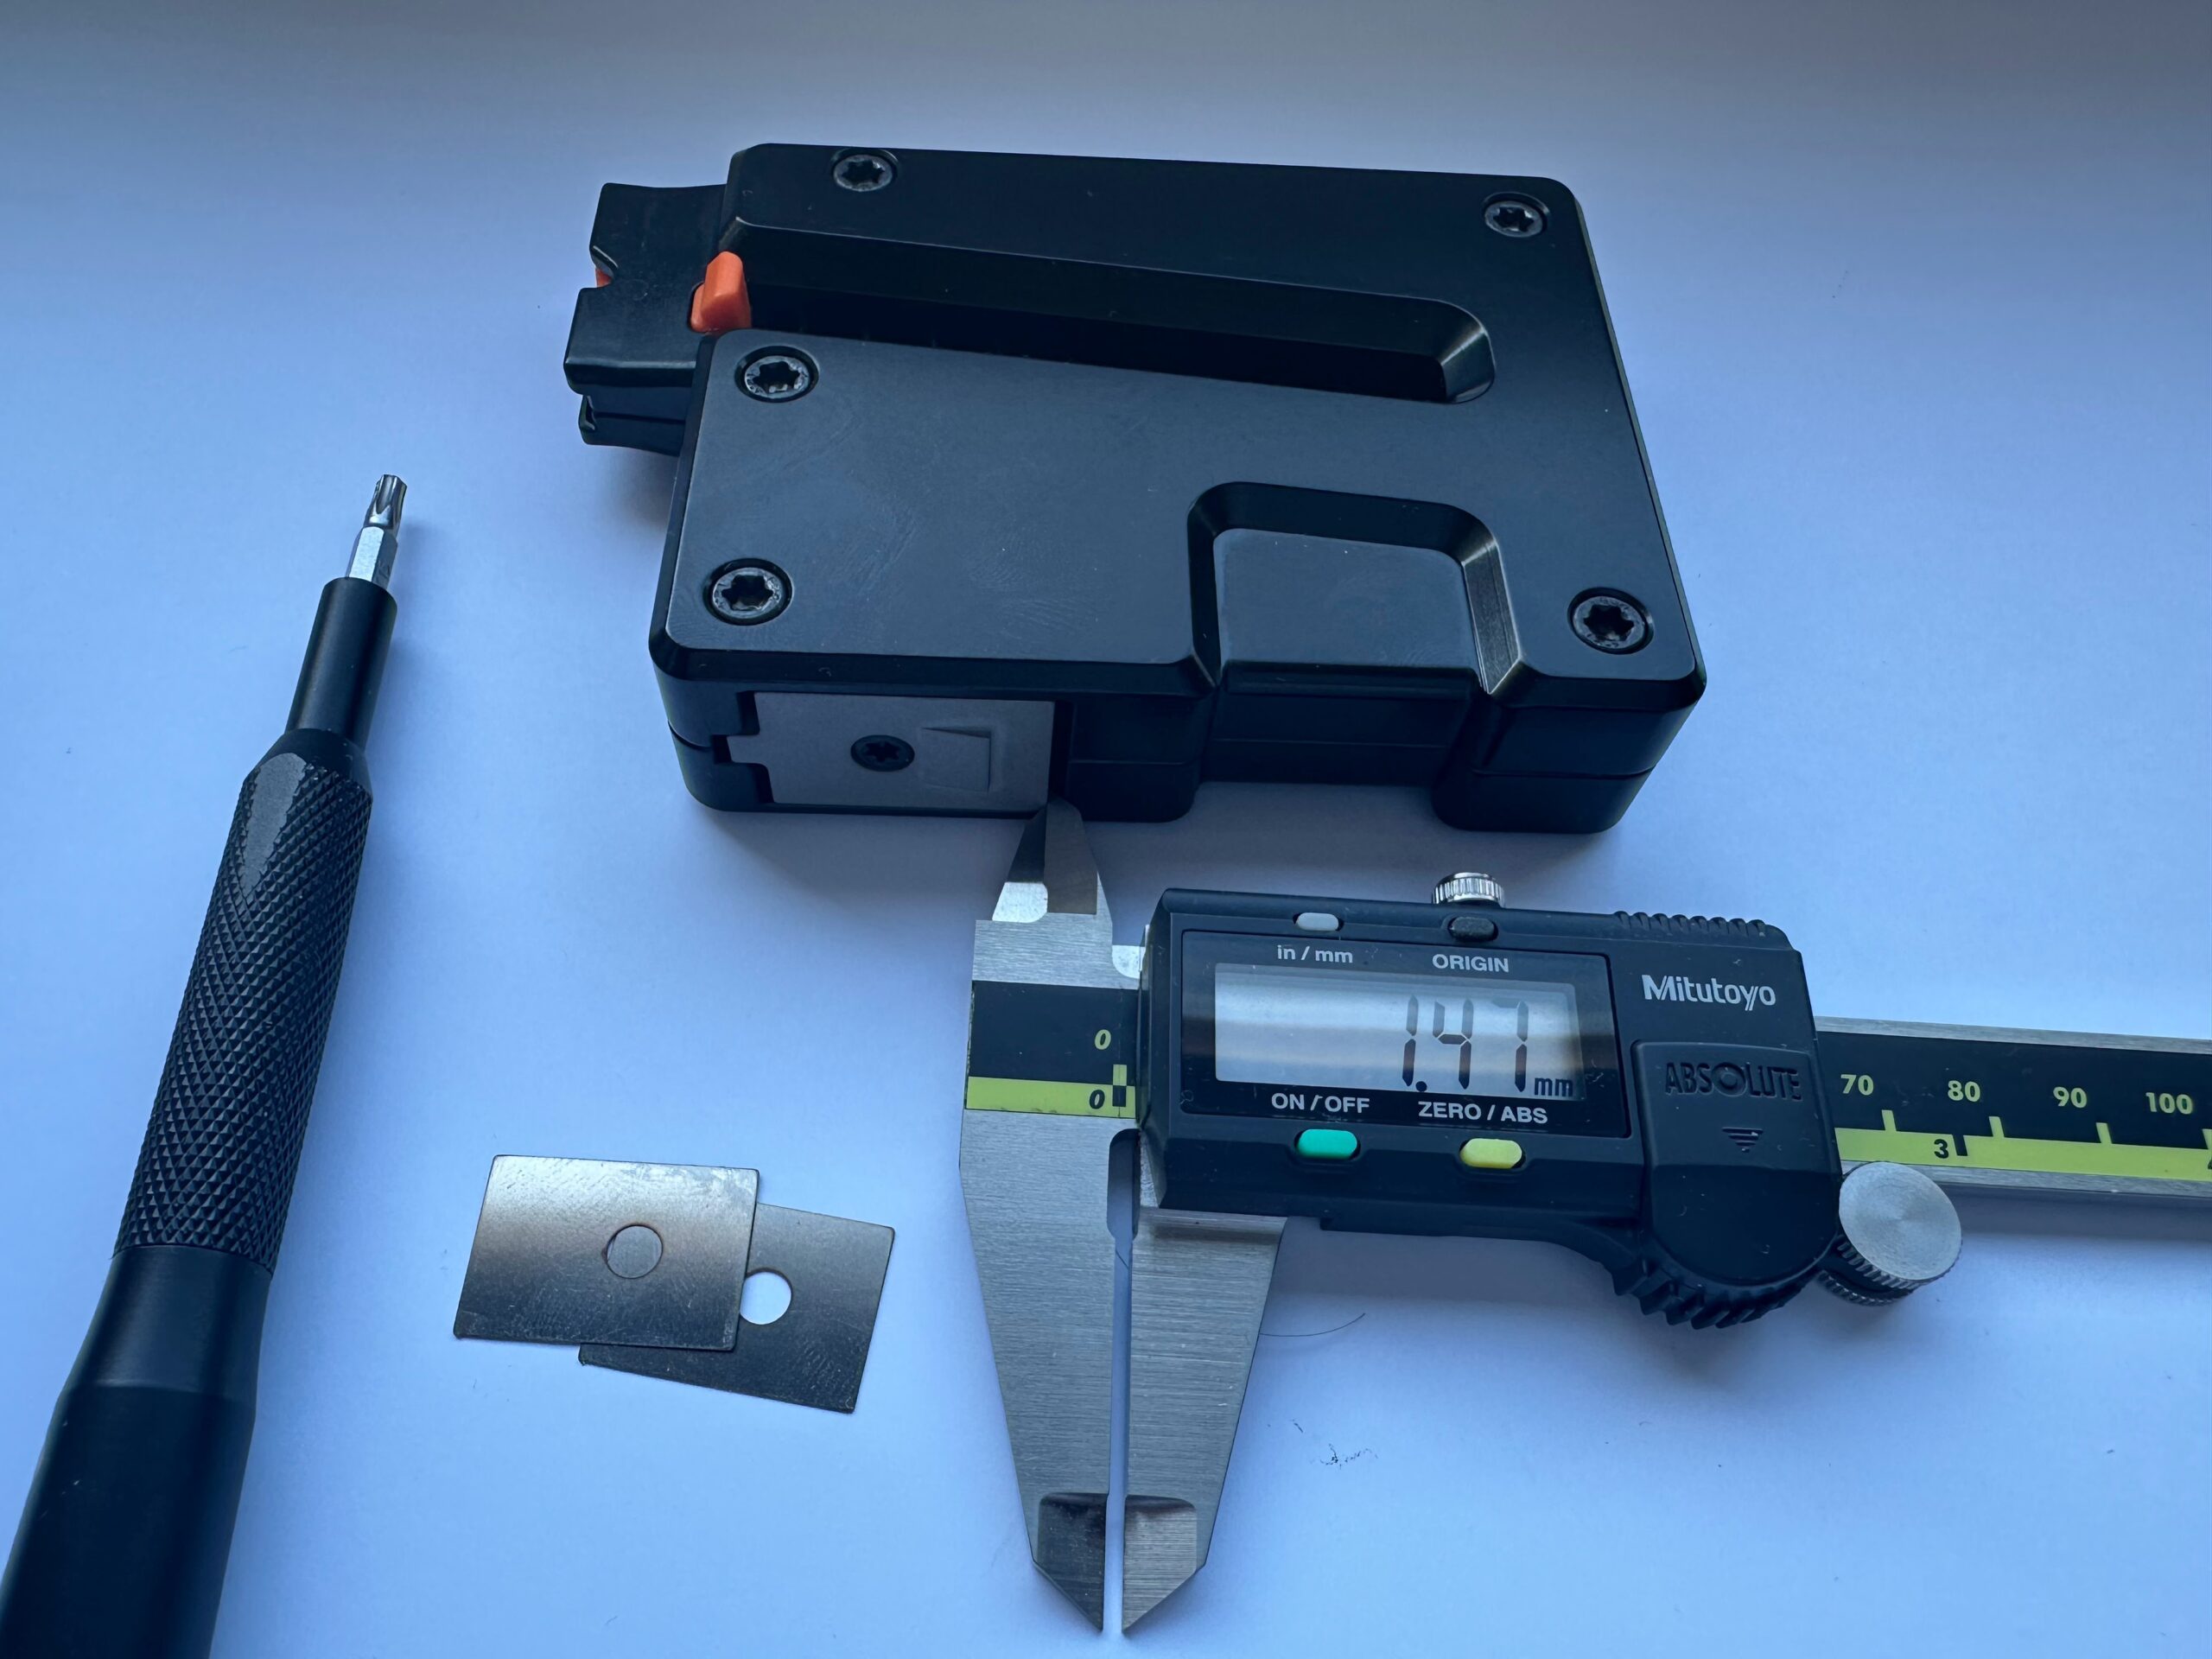
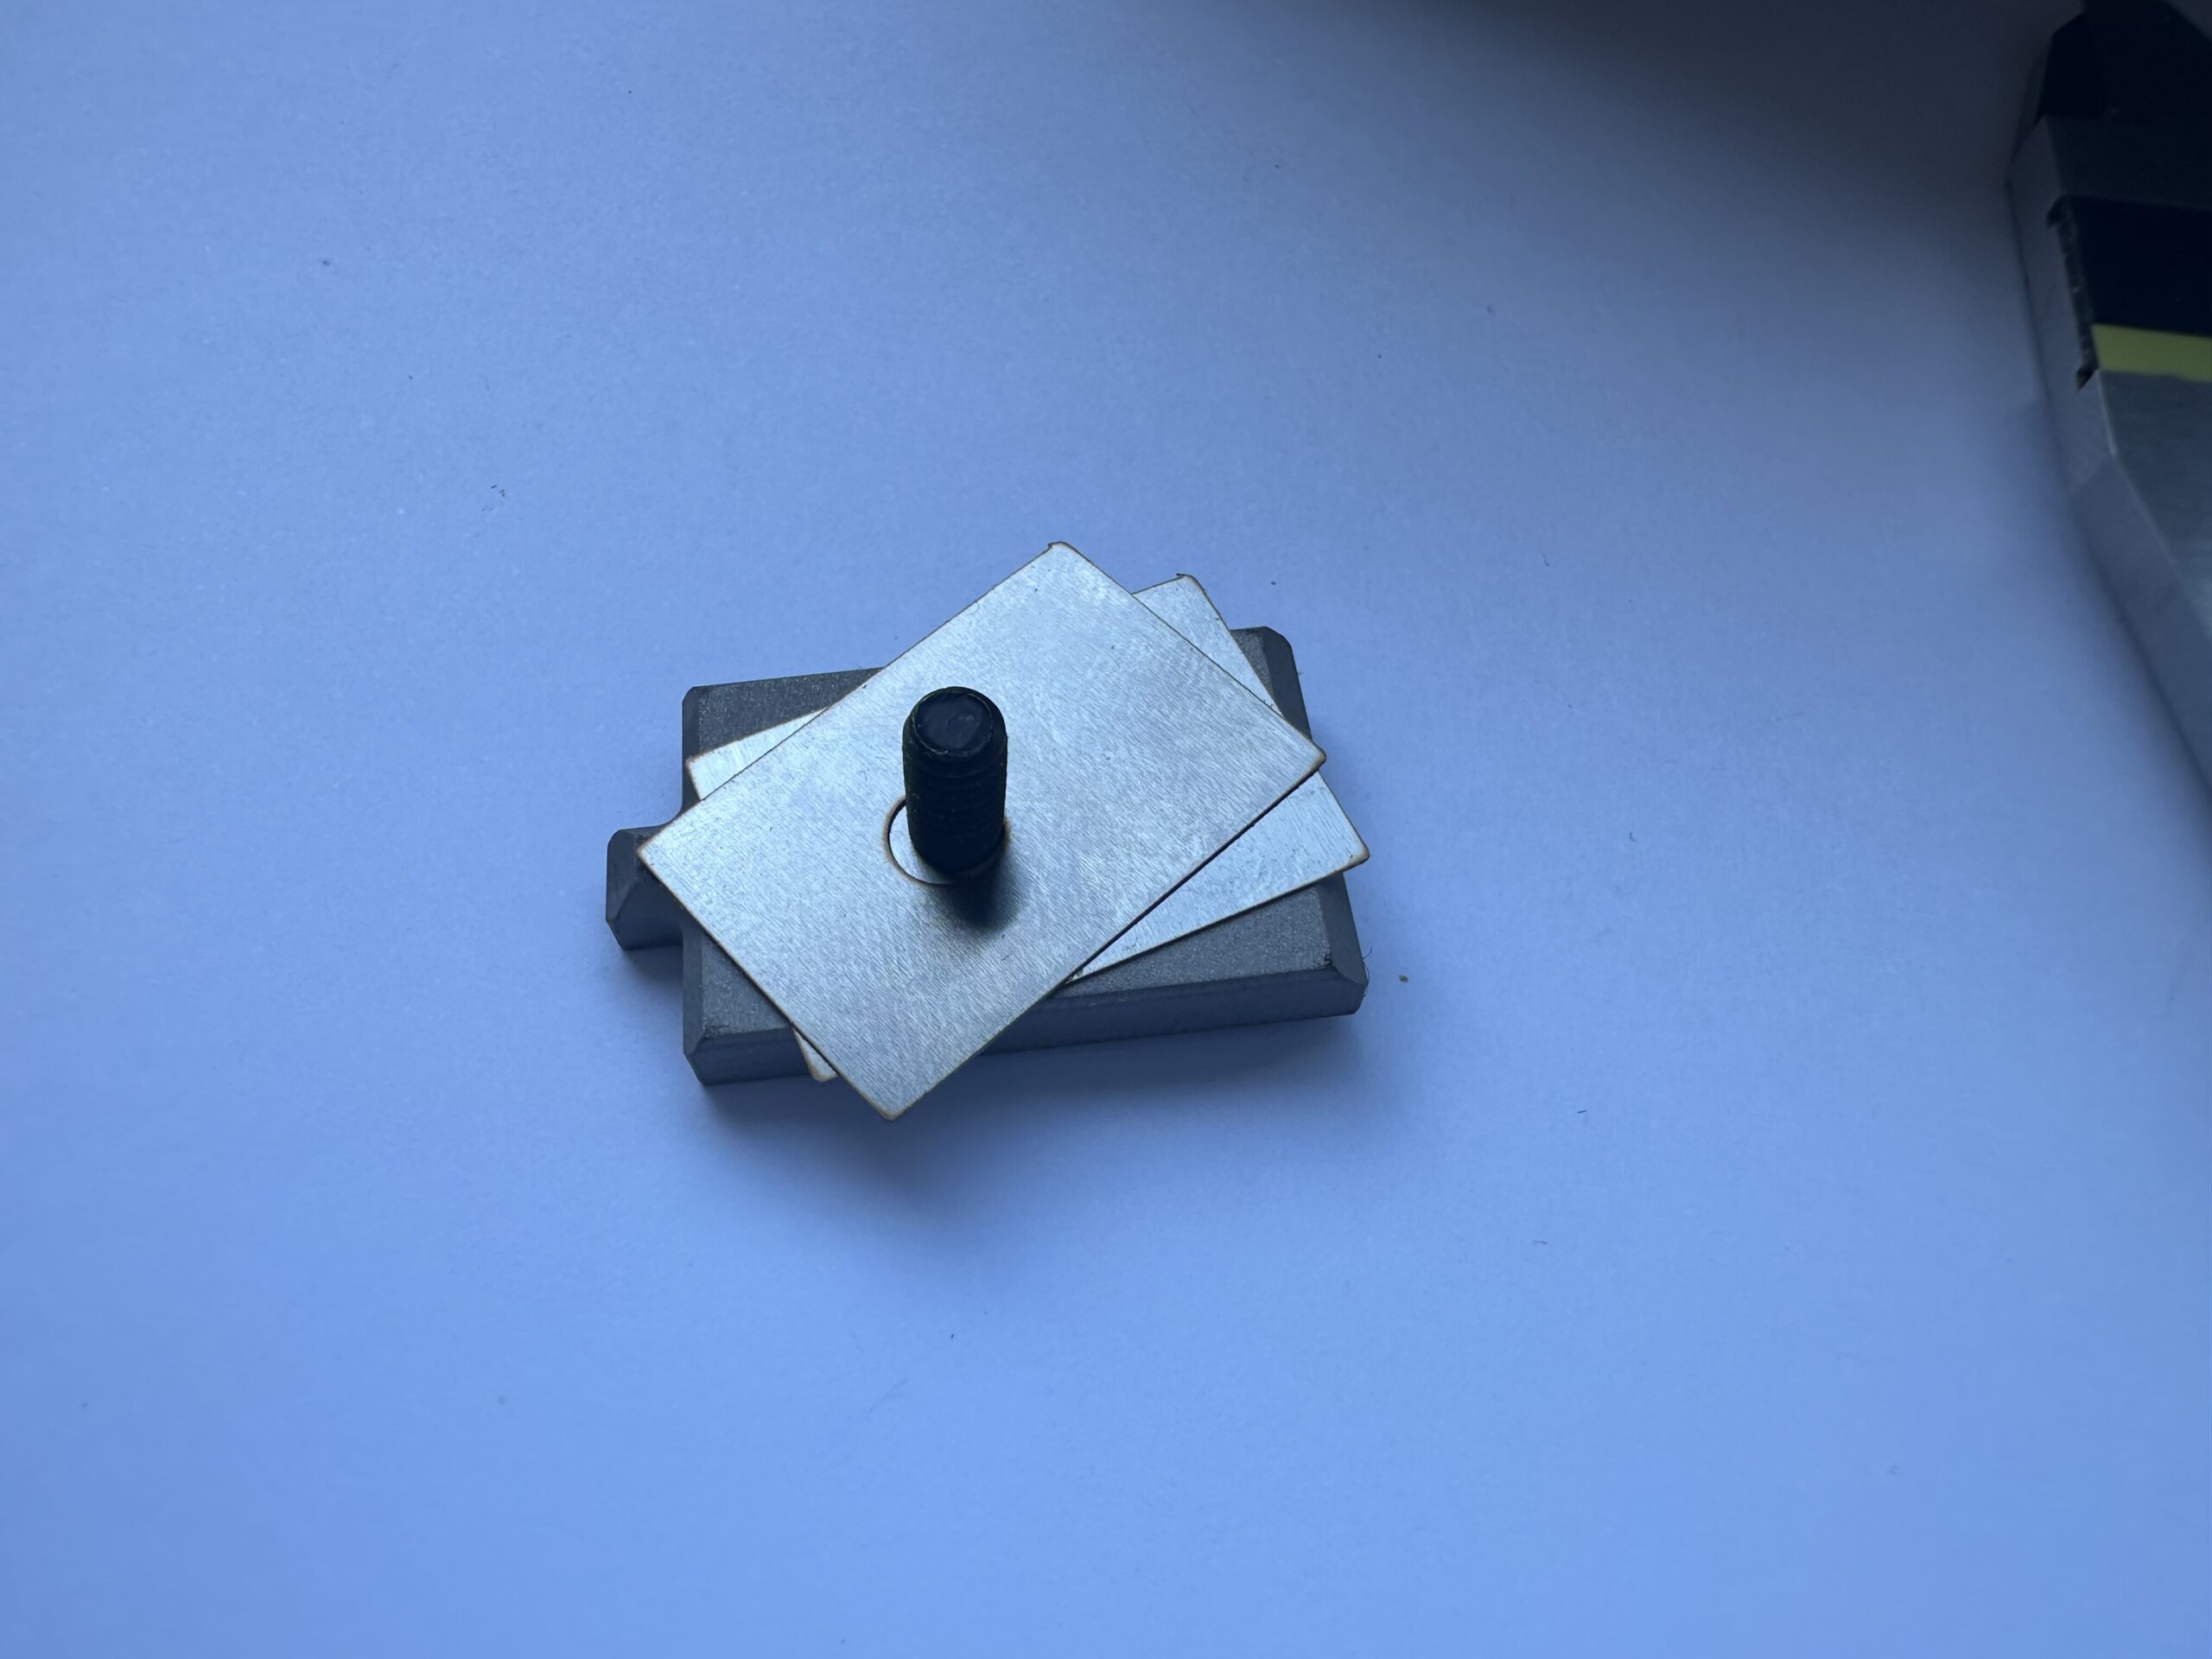
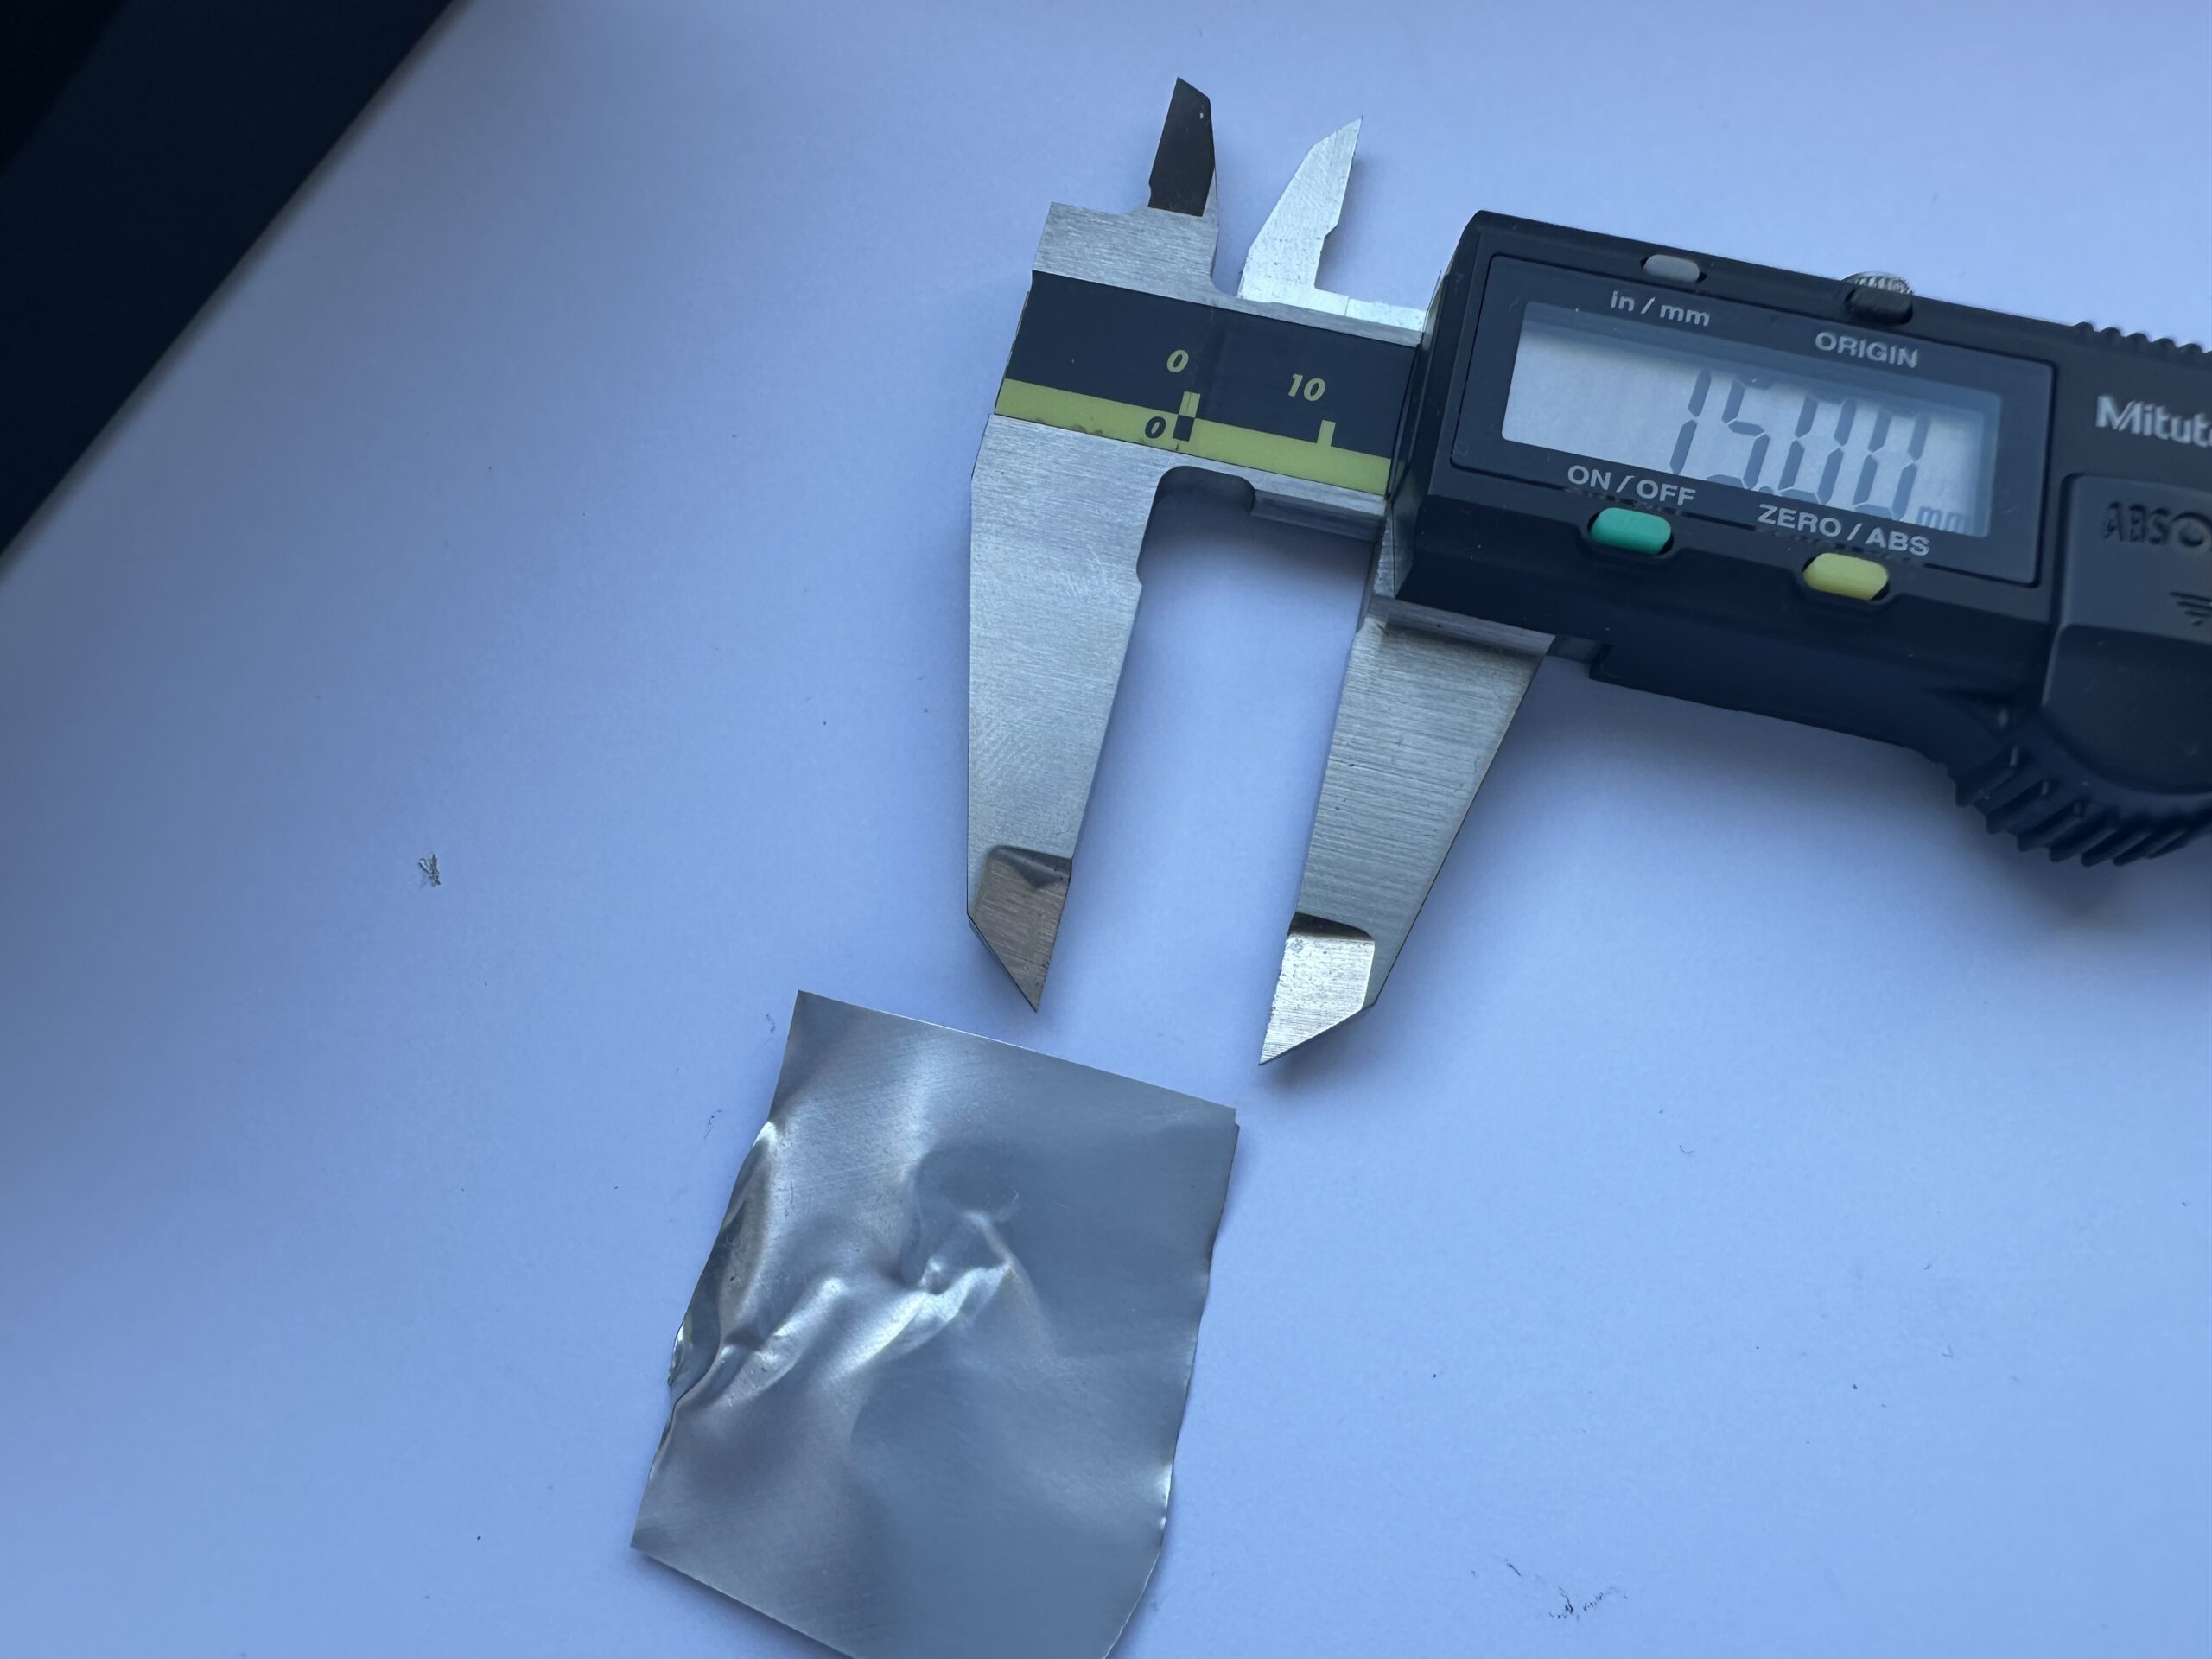
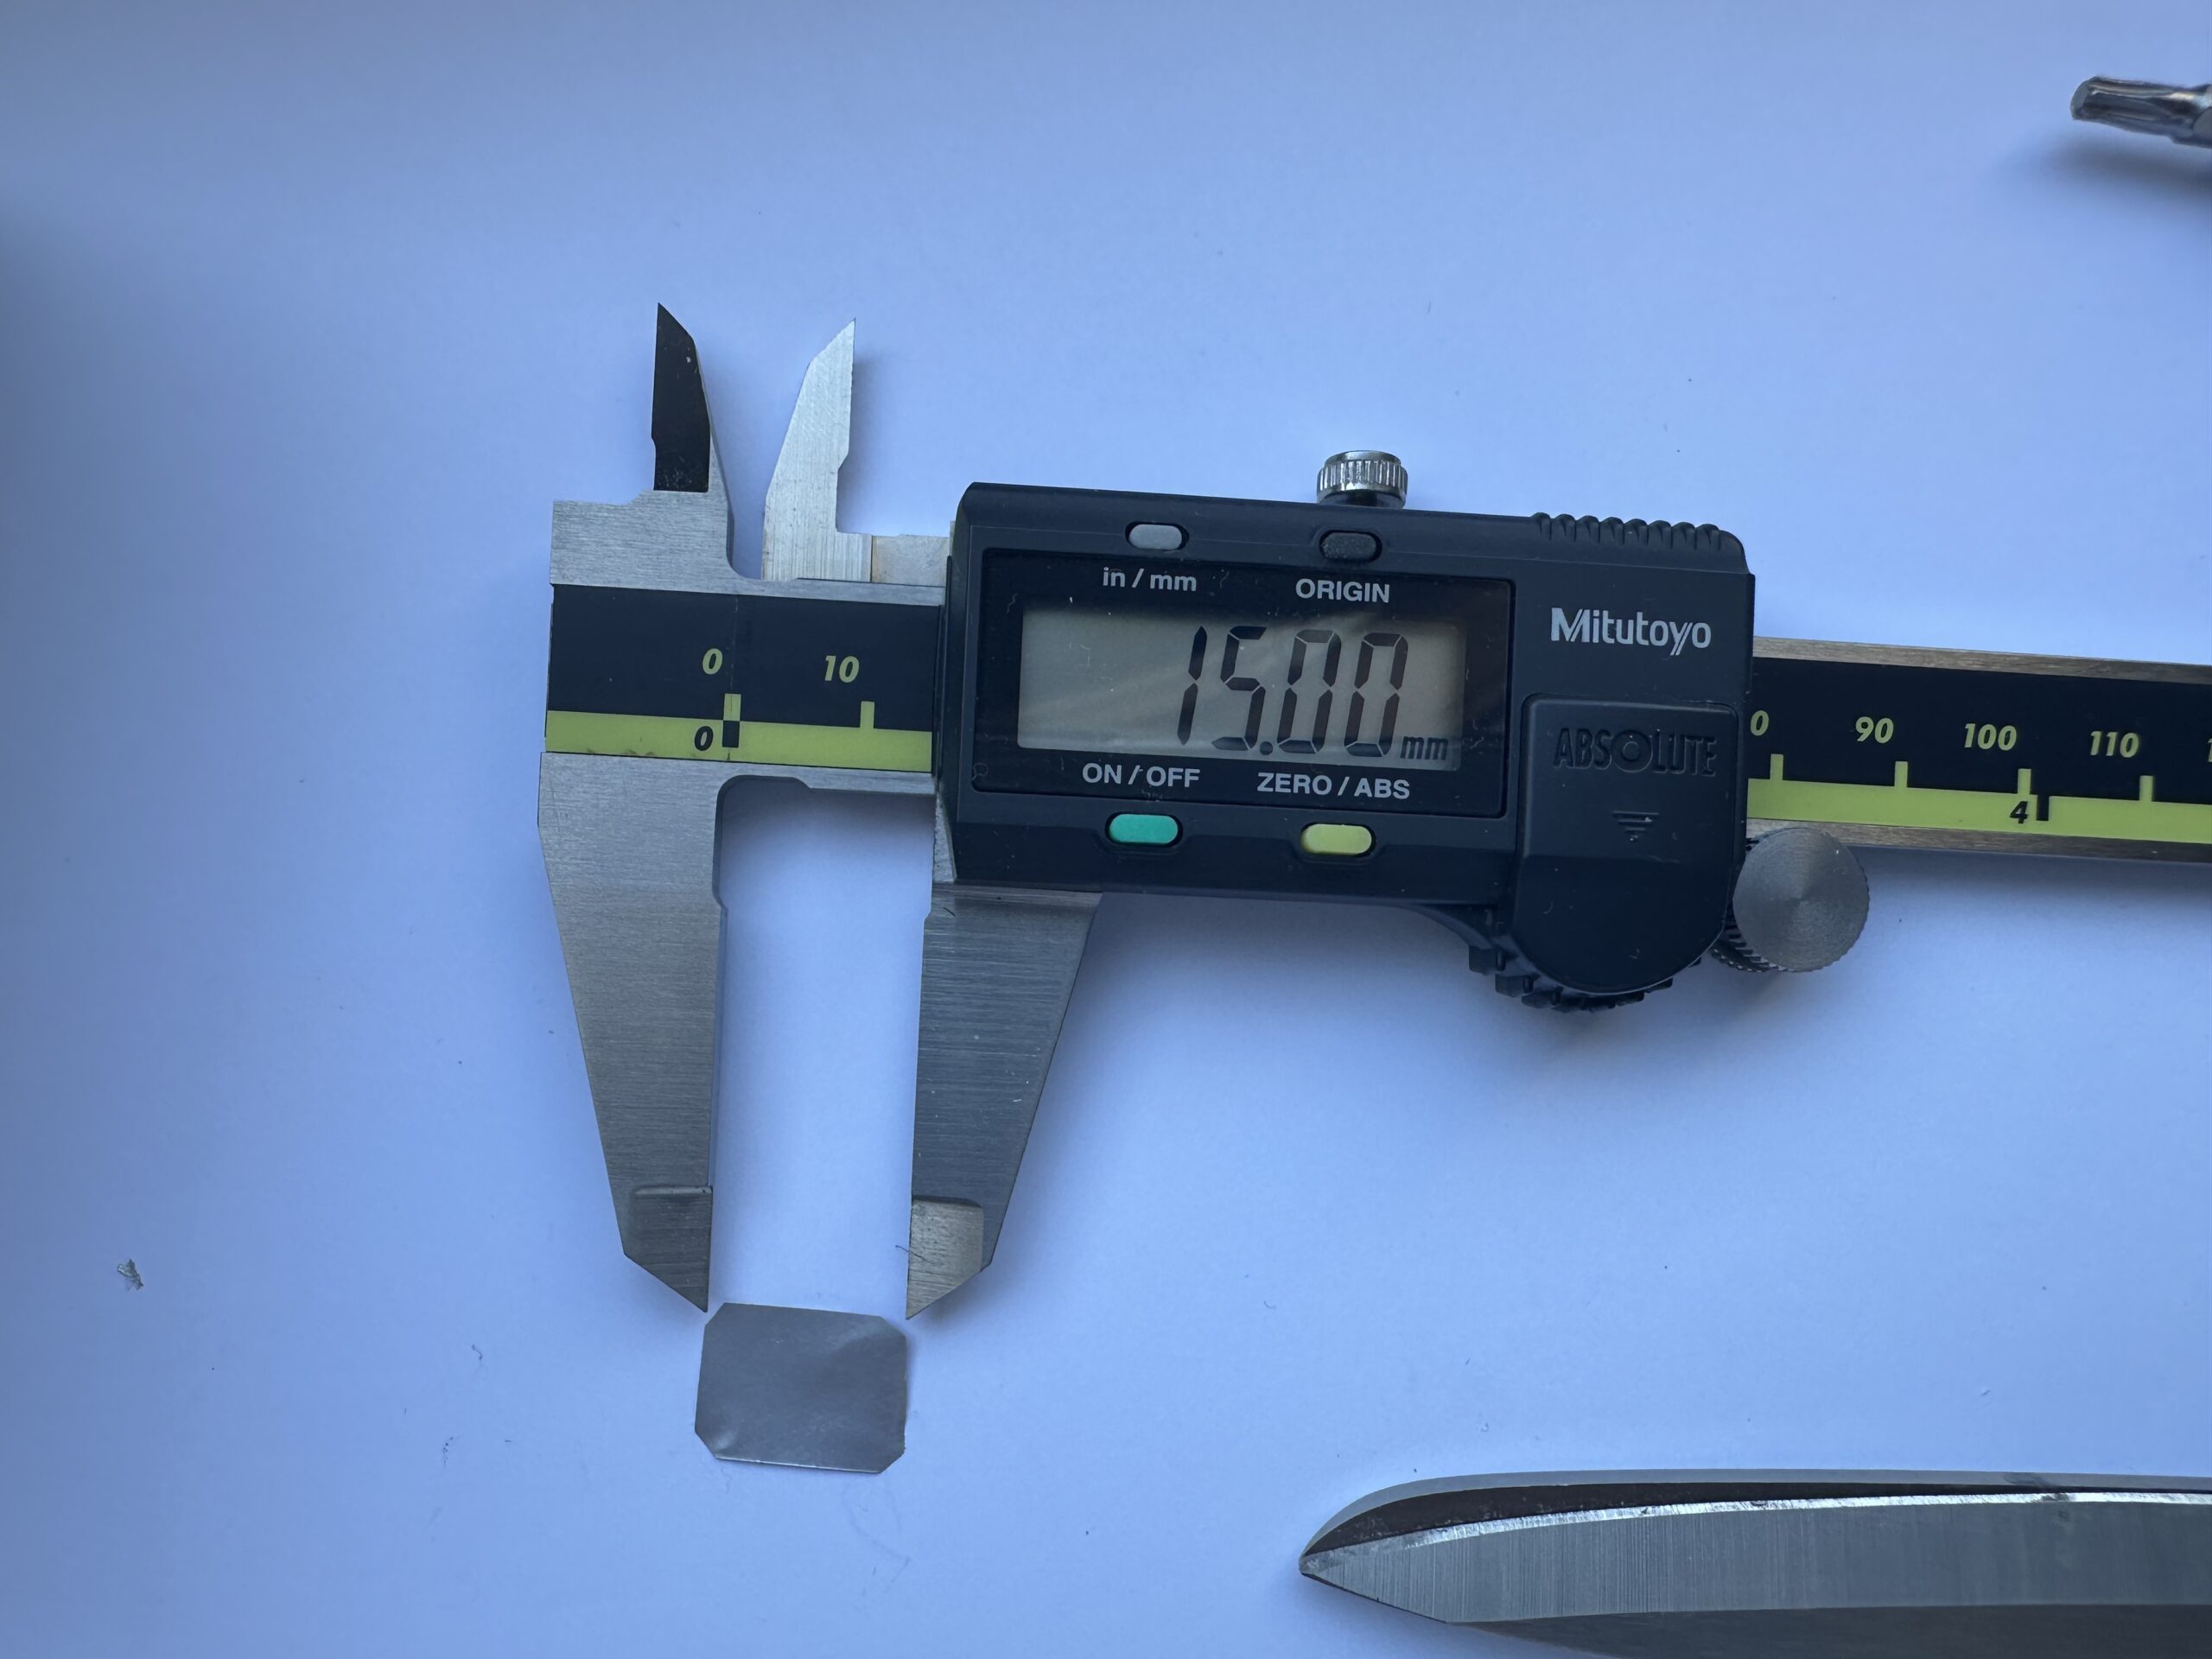
Interchangeable spacers allow the magazine to be adjusted longitudinally within the magazine well, removing front-to-back play and creating a precise, snug fit in your chassis. For micro-adjustments and maximum stability, the magazine width can be tuned by shims . We provide 3ultra-thin 0.15 mm shims that can be installed directly under the mag catch plate.
- Using a T15 Torx driver, remove the screws holding the mag catch plate entirely.
- Place the required number of 0.15 mm shims underneath the plate to push the catch outward or adjust the engagement angle.
- Reinstall the catch plate and tighten the screws securely. This provides a rock-solid, precise fit tailored to your specific chassis and mag release latch.
- Optimal width is with minimal back front rocking but magazine can still fall down freely when released.
4. Troubleshooting
If you experience feeding issues, consult the guide below before modifying the magazine. Most issues are related to magazine height or action placement.
| Symptom / Issue | Diagnosis & Solution |
|---|---|
| Bolt is sliding above the cartridge (Bolt fails to strip the round) | Magazine catch height is too low. The magazine is sitting too low in the magwell. Adjust the catch plate to raise the magazine higher into the action. |
| Ammo jams against the barrel (Nose dives or catches below the chamber) | Magazine catch height is too low. A low magazine alters the presentation angle of the cartridge. Adjust the catch plate to raise the magazine so the bullet nose points into the chamber. |
| Magazine cannot be inserted (Binds or hits the action before locking) | Action is incorrectly installed in the chassis and is too far forward. Loosen your chassis action screws. Push the barreled action as far back as possible into the recoil lug recess, then properly re-torque the action screws. This will clear space in the front of the magwell. See: https://youtube.com/shorts/cLYmCRXh3d8 |
For further assistance or replacement parts, please contact us.